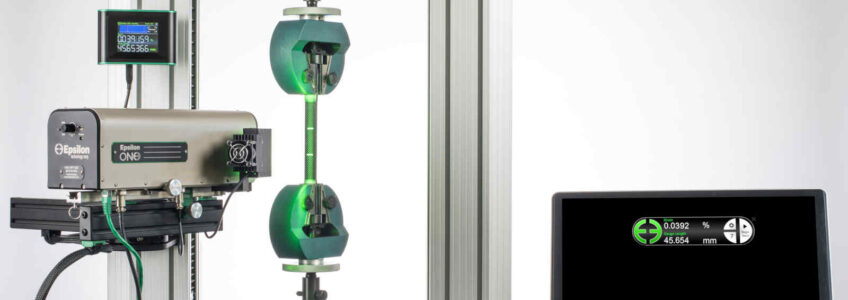
Precision Optical Extensometers – Epsilon ONE®
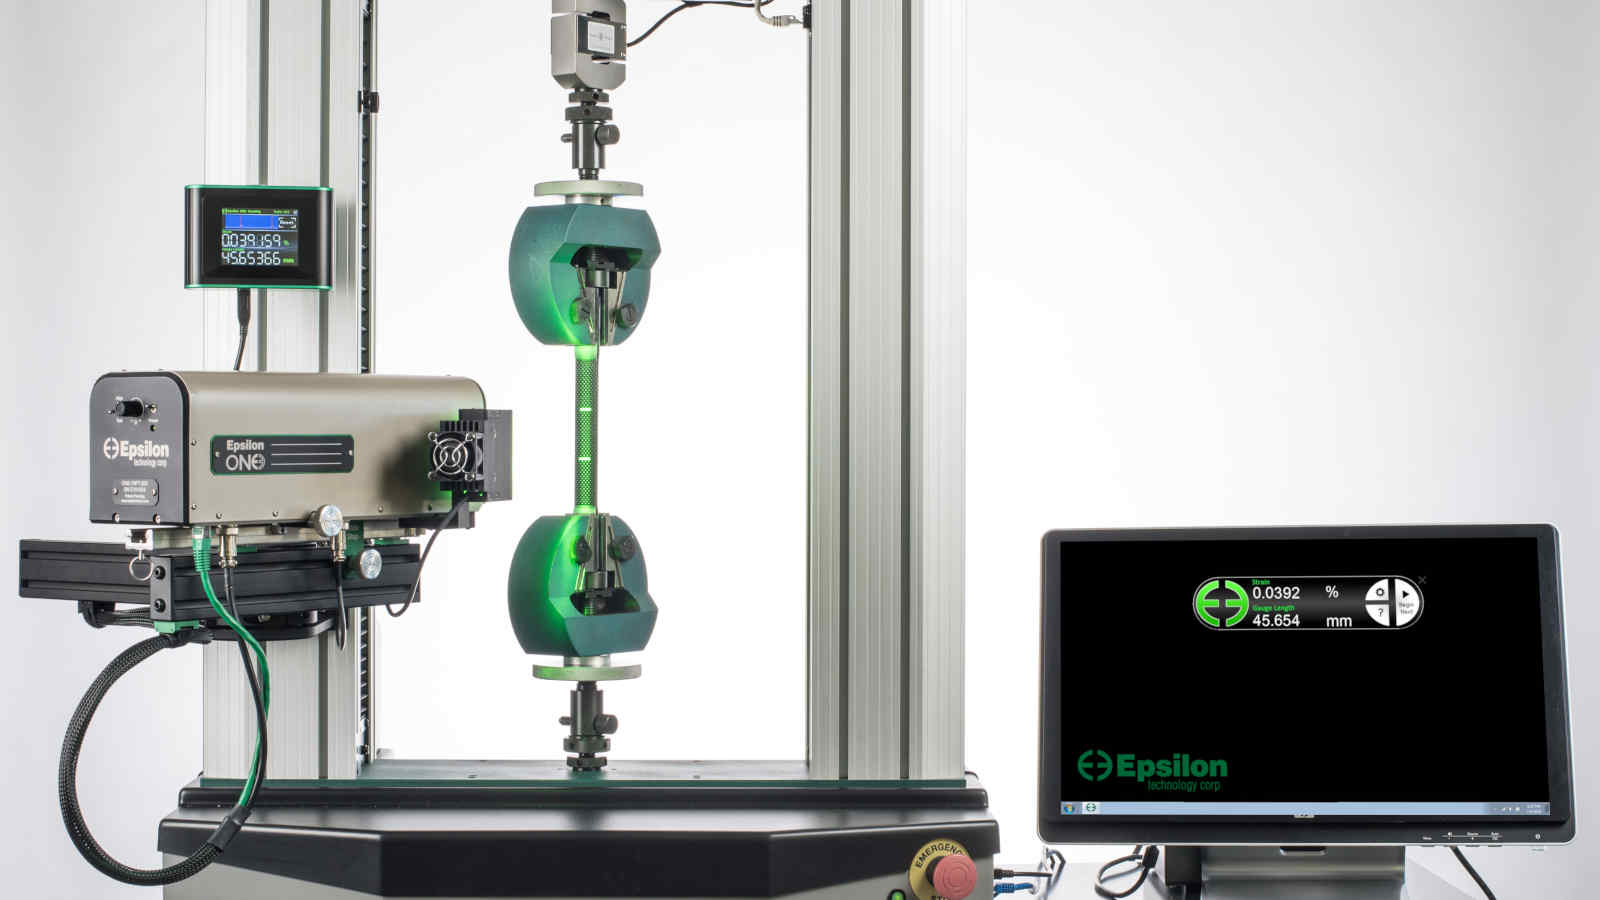
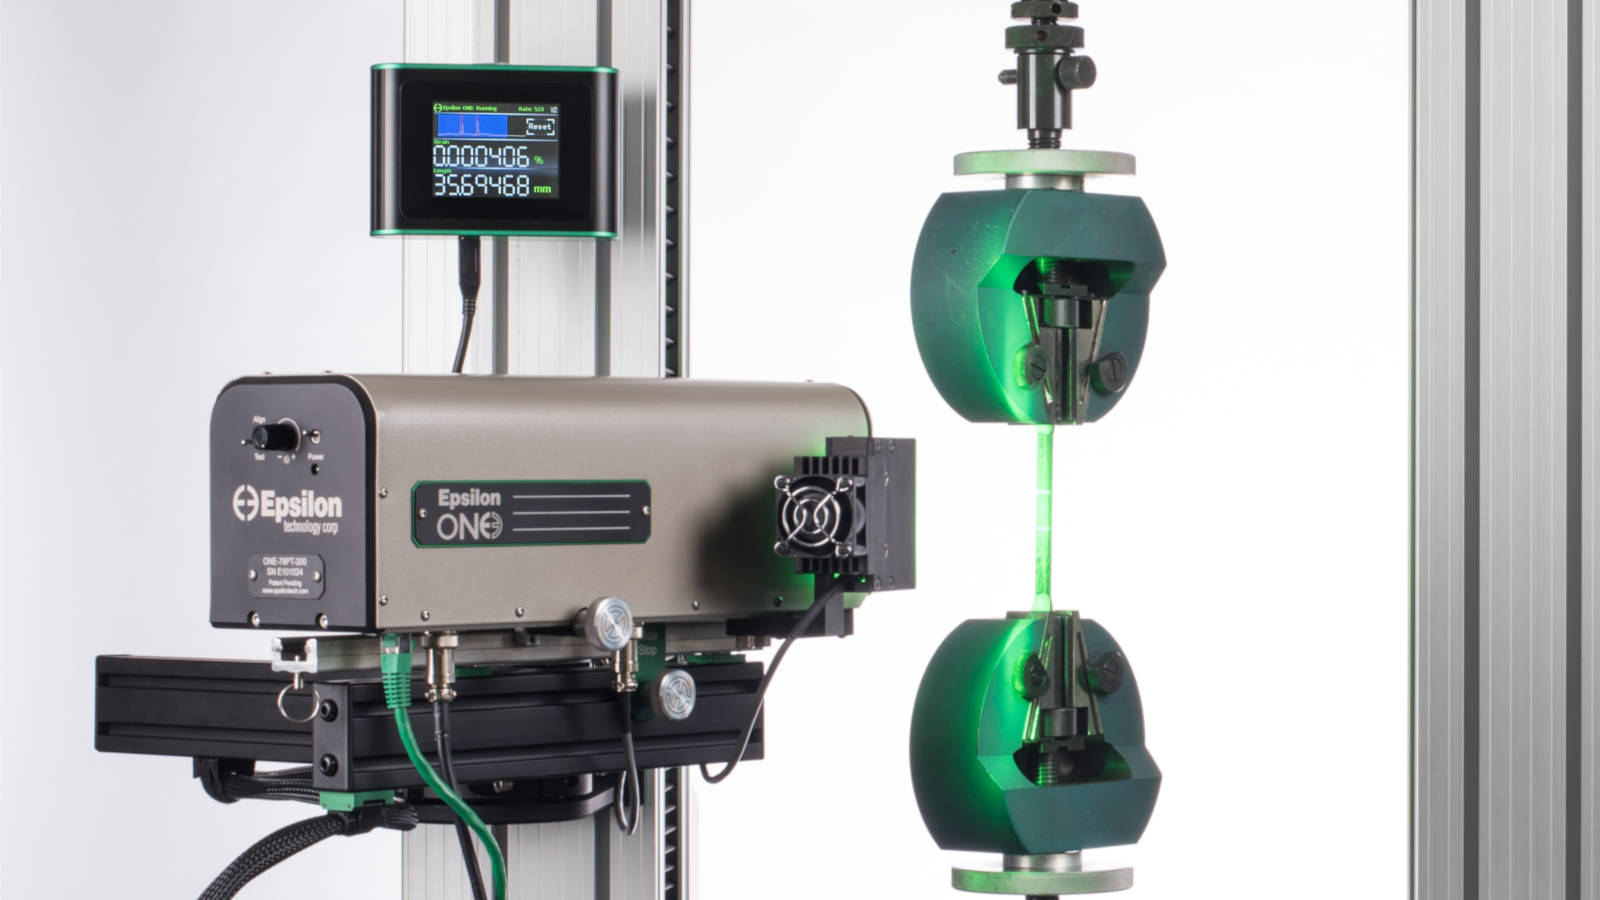
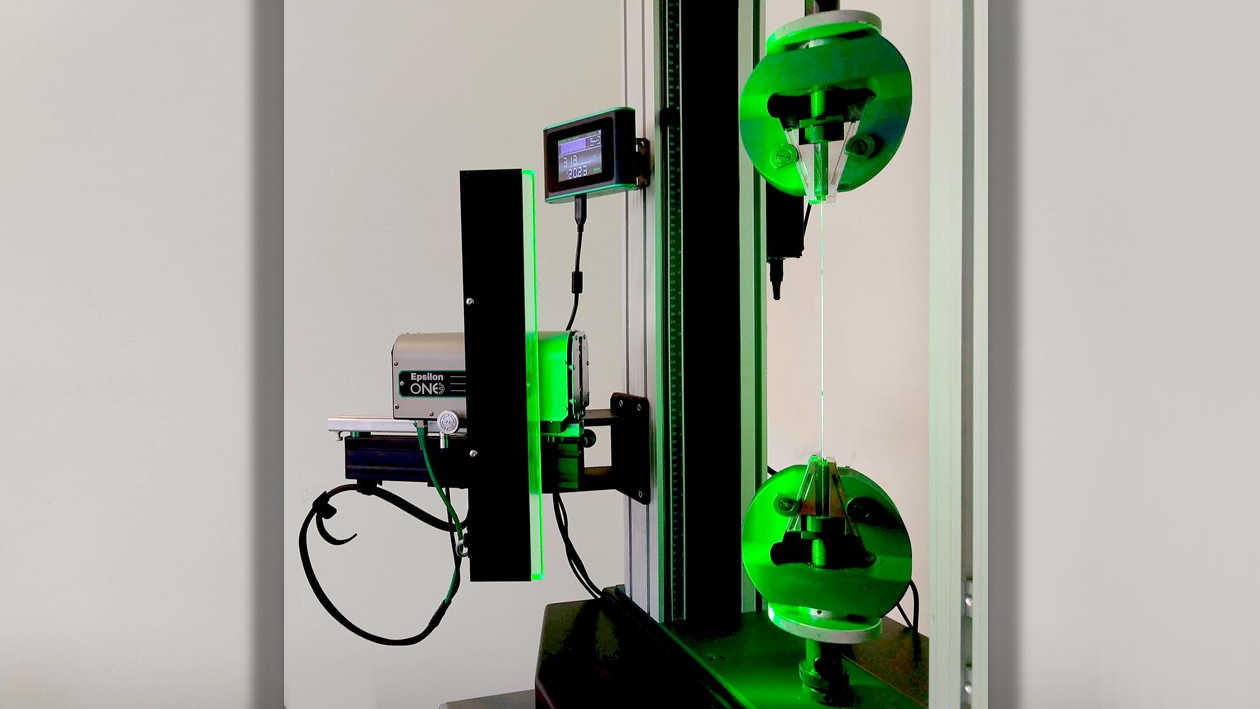
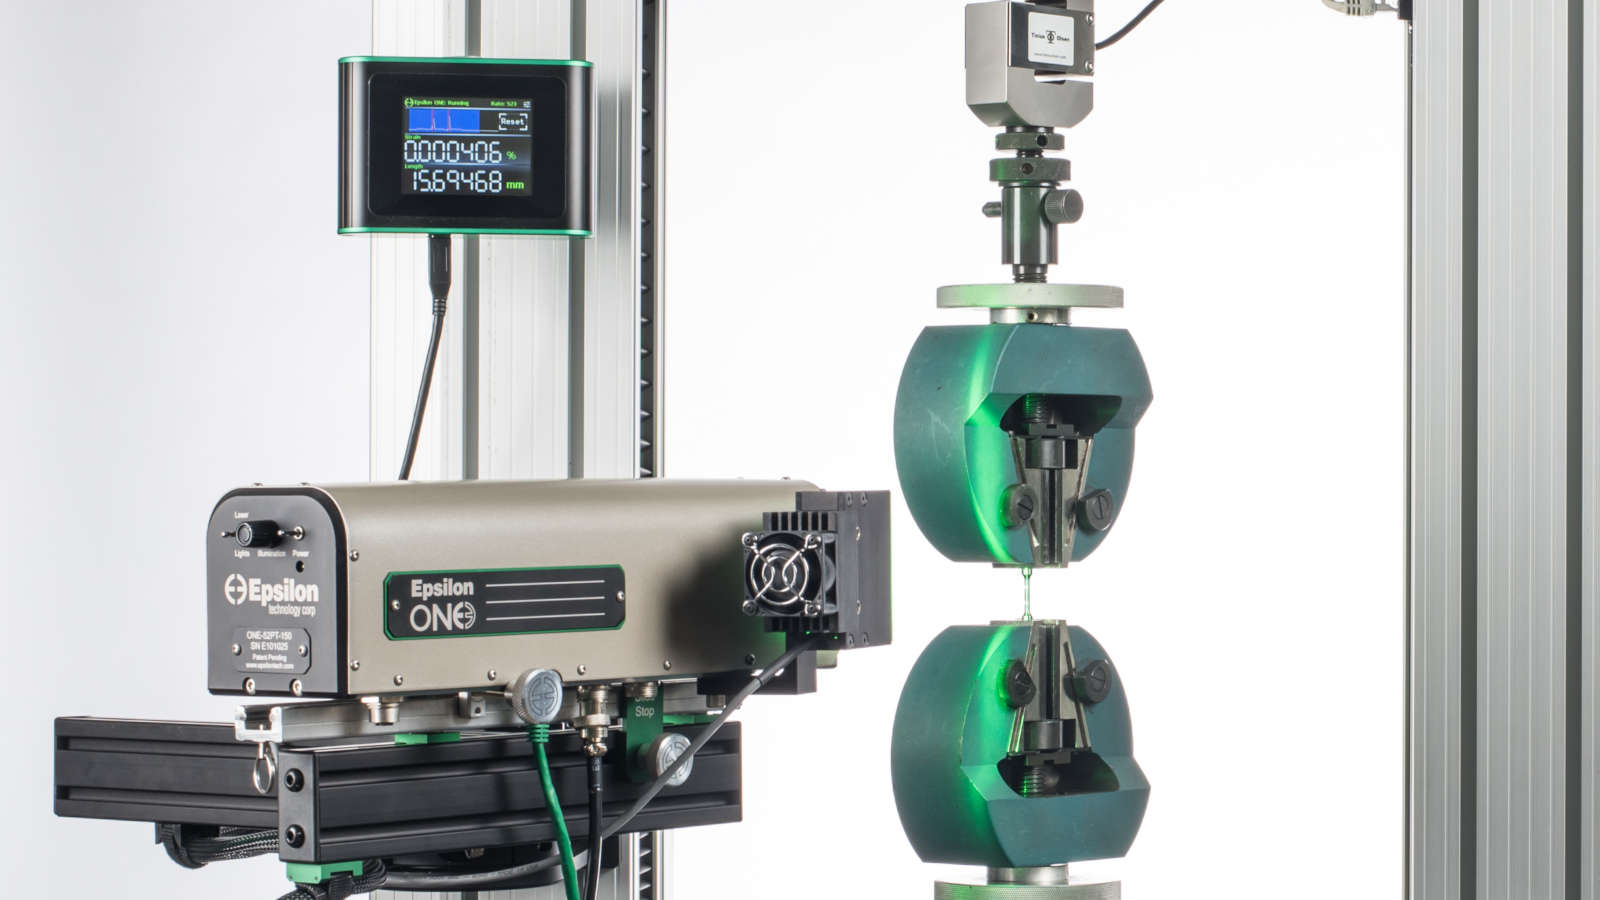
Epsilon ONE® optical non-contact extensometers perform high-accuracy, high-resolution, non-contacting axial strain and displacement measurement. These extensometers are suitable for testing high-modulus materials such as metals and composites, high-elongation materials, thin or delicate specimens, cyclic fatigue, strain controlled testing, deflectometer applications, and measuring crack opening displacements. Strain or extension is measured and output in real time.
Epsilon ONE’s high resolution and ISO 0,5 / ASTM B-1 accuracy classes make it suitable for non-contact measurement of a wide range of strain values, from very small strains required to measure modulus* of metals, composites, ceramics and CMCs through elastomers and everything in between.
Class-leading accuracy and resolution are achieved by Epsilon’s comprehensive optical path optimization, a unification of several optical technologies and signal processing algorithms. Ultra-high camera resolution, real-time data rates up to 3000 Hz, minimization of optical error sources, and signal processing techniques provide high strain resolution and accuracy with the lowest noise. No other system on the market combines all of these technologies.
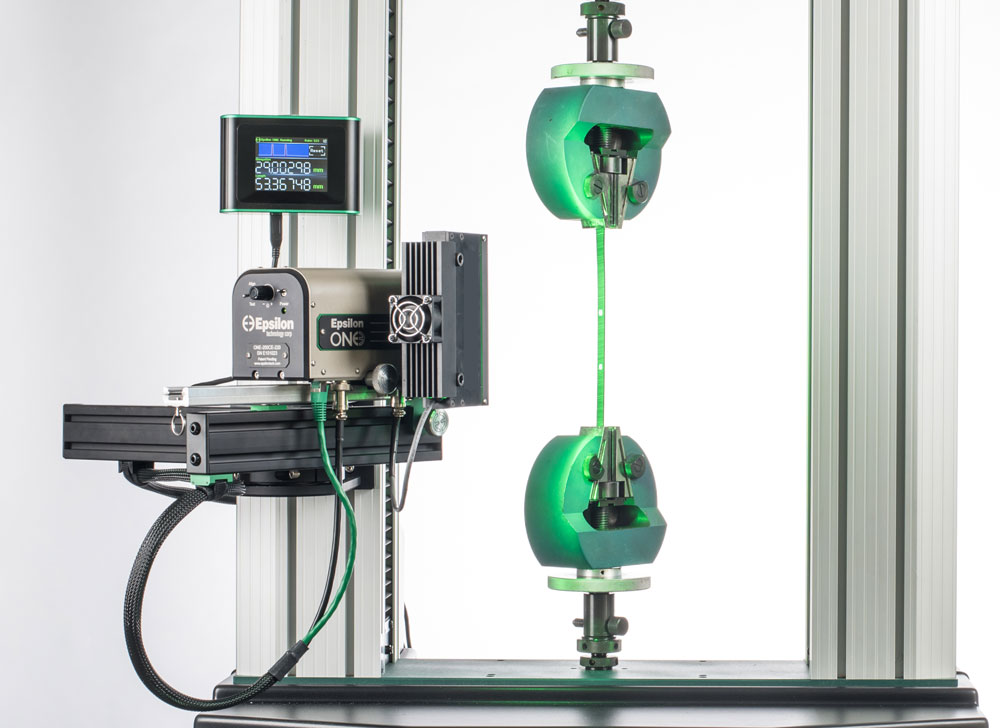
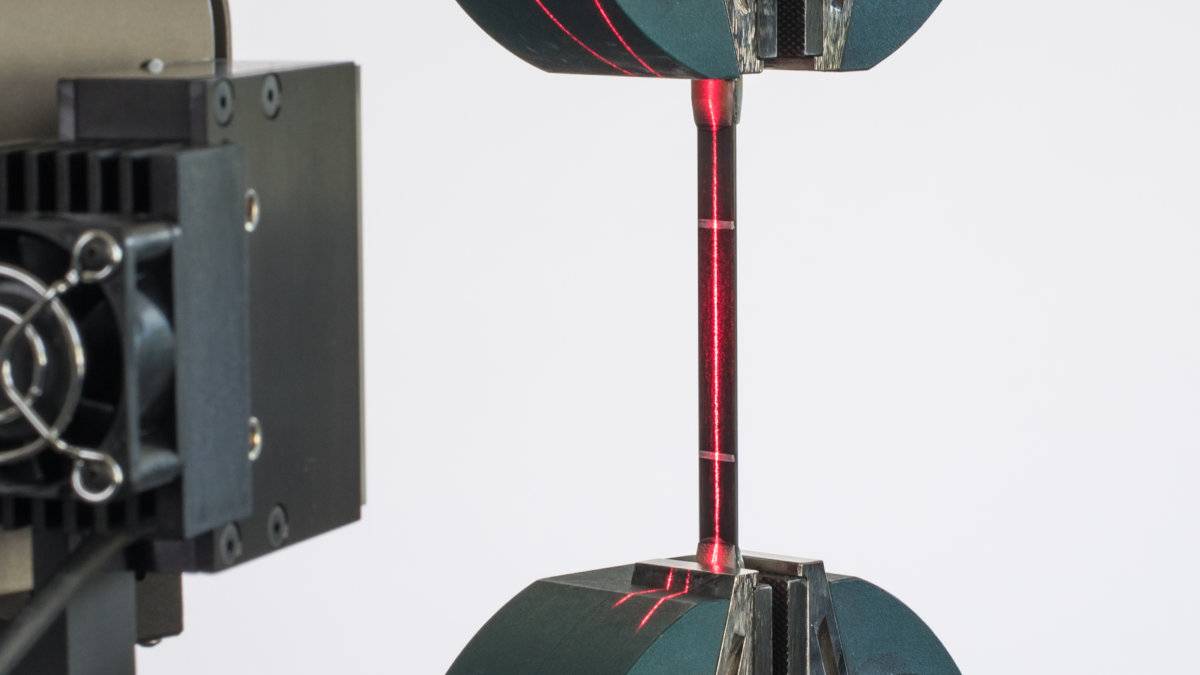
The Laser-Assist Alignment System provides an instant alignment and distance spot check. Epsilon ONE will project pre-aligned laser lines on the specimen before the test, revealing any misalignment. During the test, high precision telecentric lenses on the PT models eliminate errors due to out-of-plane movements – a common source of errors for many video extensometers. Epsilon ONE arrives factory calibrated – there are no calibration grids or gauge length bars, saving a great deal of time.
The system sets up for new specimen types in minutes and requires very little training or skill to use. The desktop user interface software and optional Touch Interface provide continuous digital readouts and status information.
Epsilon ONE was designed for the fastest specimen cycle times. Auto-start repetitive tests without any software interaction; Epsilon ONE is always running, and its Instant Reset and Automatic Mark Detection eliminate software start/stop interactions common with video extensometers.
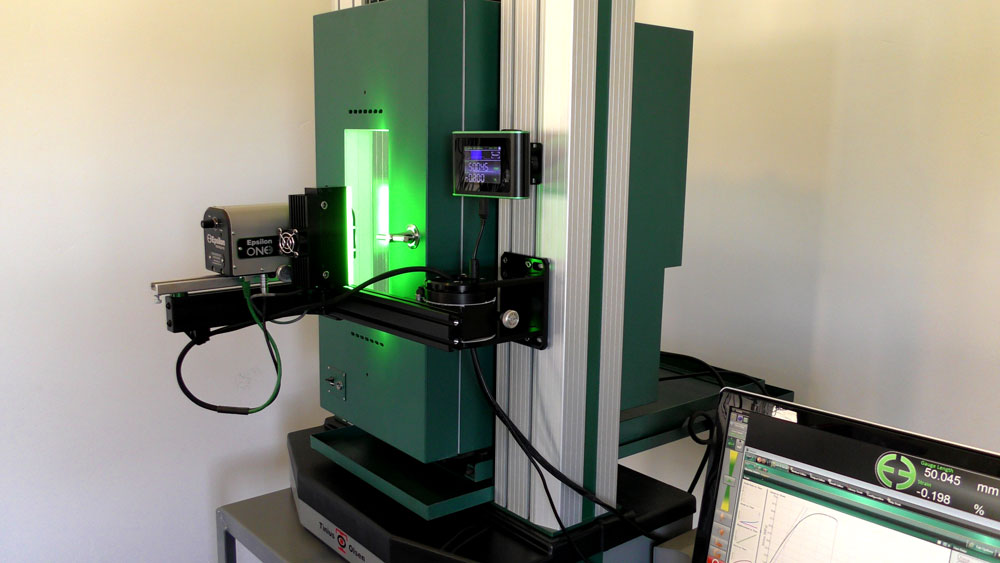
Epsilon ONE provides a calibrated ±10V strain signal as an input for the testing machine’s controller. The extensometer fits all types of materials testing machines, including machines that have an environmental chamber with a window (contact Epsilon for fitment).
*As with clip-on extensometers, accurate measurement of modulus requires a well-aligned load train and grips, and symmetrical specimens that are centered in the grips. Gauge lengths ≥25 mm are recommended in most cases. Contact Epsilon for additional Best Practices.
- Always on, always ready: Unlike DIC systems, software interactions are unnecessary when running repetitive tests.
- Always real-time: Post-processing is never required, even at the highest data rates.
- Faster throughput with Instant Reset: Auto-start repetitive tests without touching the extensometer or software.
- Reliable, automatic mark detection: Robust tracking of bright or dark marks beyond 1000% strain and speeds >1500 mm/second.
- Laser Assist Alignment System: Provides an instant visual spot-check for specimen alignment and optics positioning.
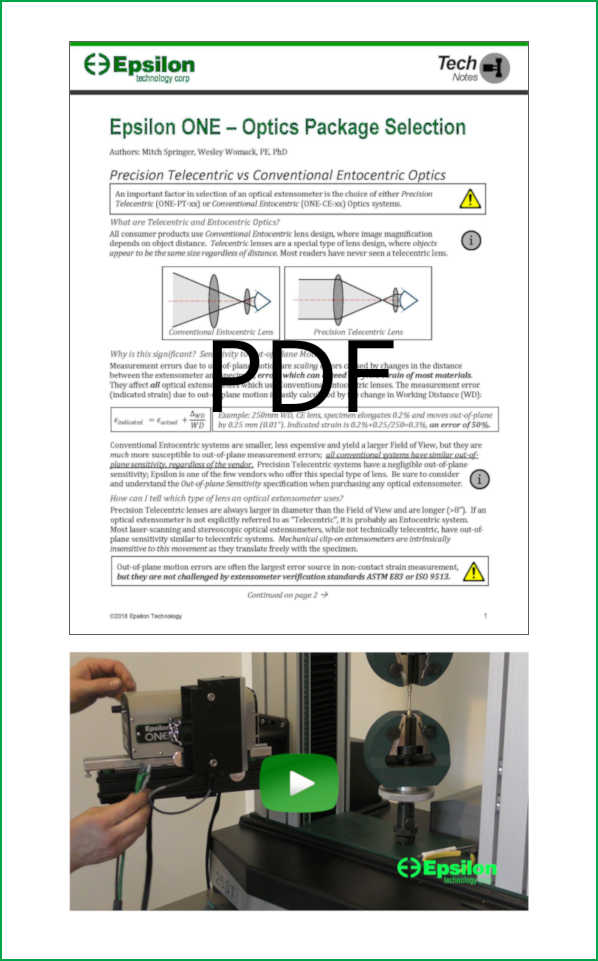
- Precision Telecentric Design: Epsilon ONE’s telecentric lenses prevent common sources of error – Read this Tech Note.
- Fully factory calibrated: Epsilon calibrates using the industry’s most comprehensive process to account for scaling, skew, lens distortion, and uneven lighting. A2LA accredited factory calibration, traceable to the SI; no grids or bars are required for calibration.
- Cleaner workspace: No need for an additional computer and monitor; the included User Interface software has very low resource requirements and can run on the test machine’s computer.
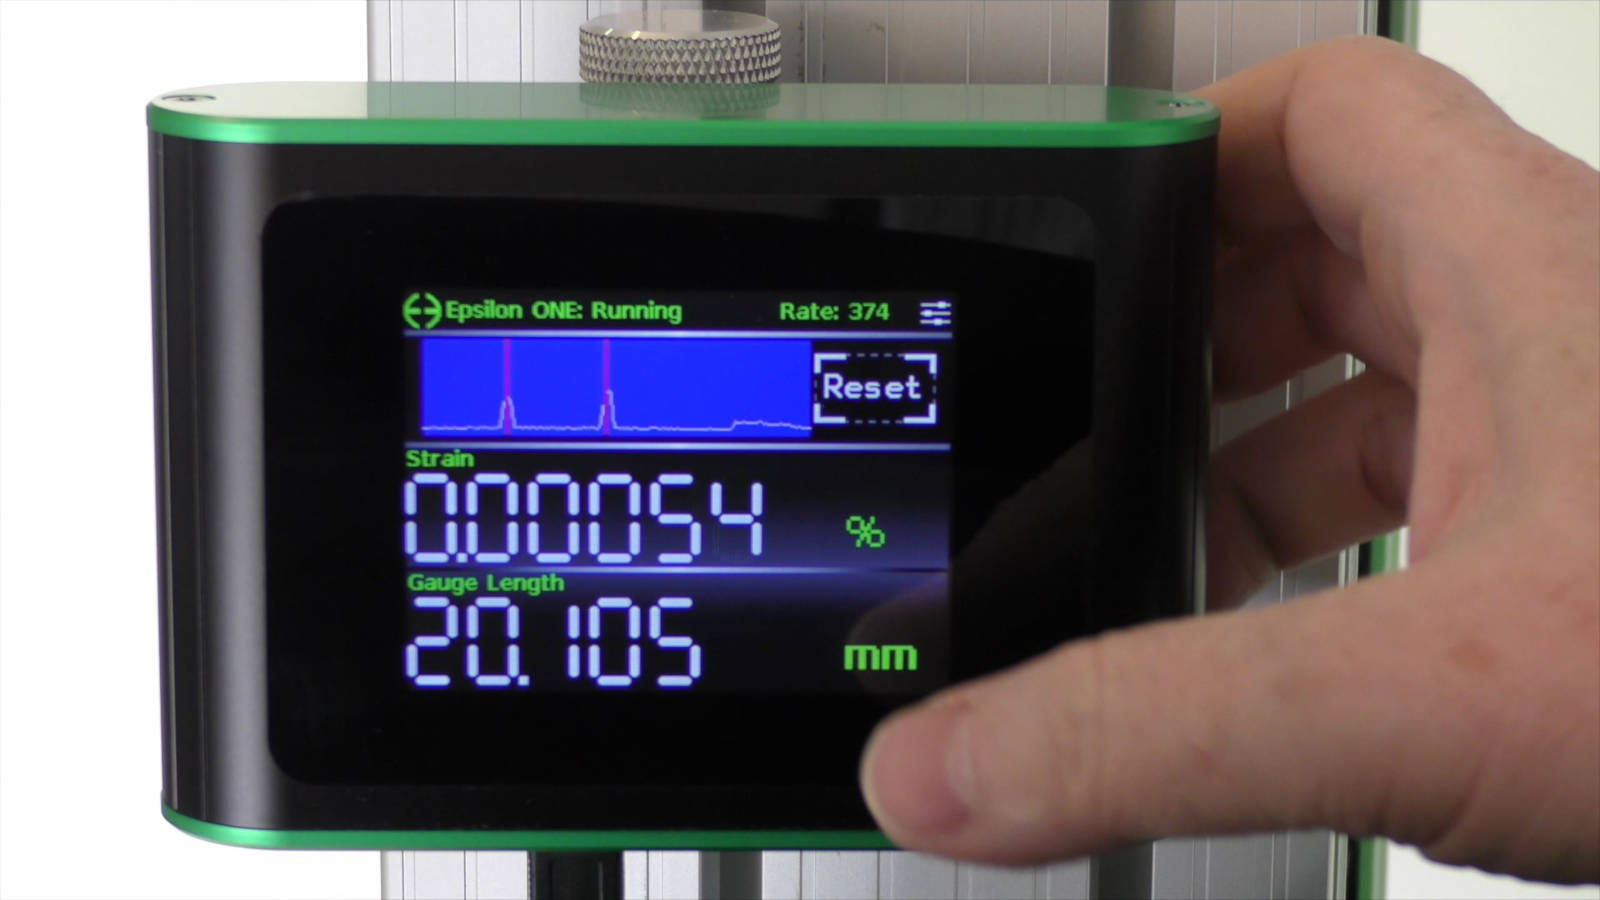
- Optional Touch Interface: Access and control the Epsilon ONE without a computer. (see a demo )
- Retractable high-stiffness mounting: Industry-leading ease-of-use while maintaining maximum dynamic range and vibration rejection.
- Selectable multi-line specimen marking: Automatically identify and report the region of highest strain concentration, in real time.
- Wide range of selectable filter and optical settings enable high performance with many different materials and specimens.
- Faster Testing: Save time with industry-leading 200+ Hz dynamic range and automatic gain compensation filters.
- Admin/User Modes: Define, save and reload settings for specific specimens and test methods, then lock them in User Mode.
- Real-time digital output: High-speed data stream including APIs for control and status, and examples for automation and integration.
- Better Strain Control: Built-in high speed 16-bit analog output; not susceptible to unpredictable cyclic bias errors typical of DIC systems.
- Versatile Output Modes: output ±10V as % Strain, Length (mm), or Elongation (mm).
- Strain Metrics: Report strain measures using five finite or small strain theories.
- Applicable for testing with many ISO and ASTM standards, including:
- ISO 6892-1, 527-2, 527-4, 527-5
- ASTM E8, E9, D3039, D638, A370, D3552, E646
- Turn-key: Each base package includes
- Optics Package with laser-assist alignment system
- ±10V calibrated strain output
- Lighting Module
- Sensor Controller
- Mounting Interface Subassembly
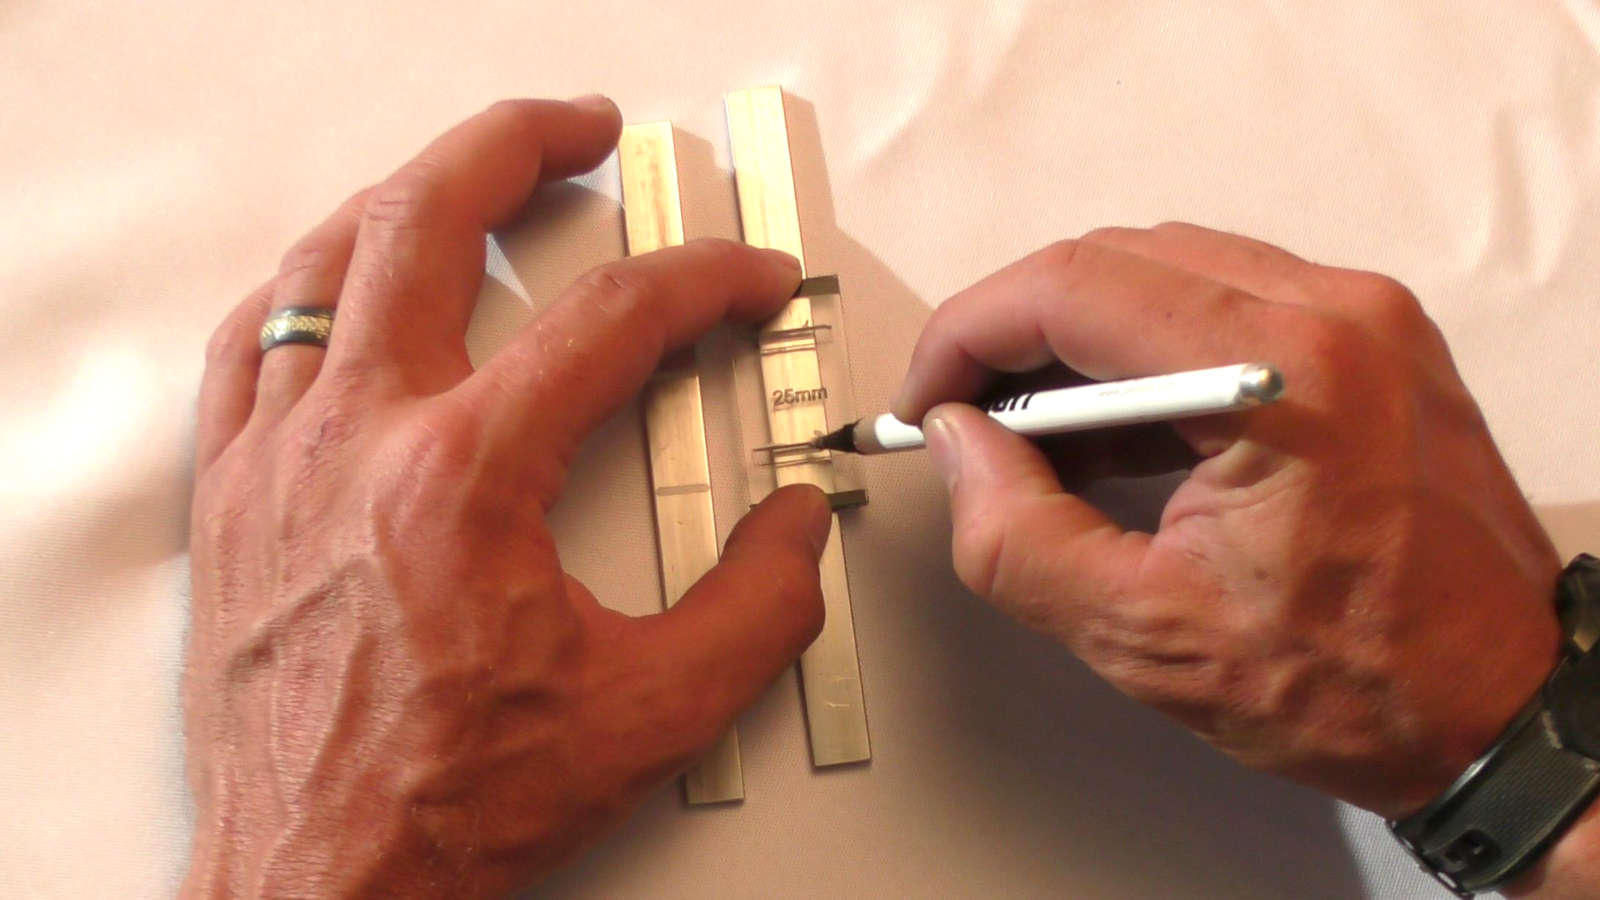
- Specimen Marking Kit (templates, paint pens and wire clips)
- Cables and software
- Includes high quality foam lined case.
- Patented.
Key Applications
- Testing of high-modulus materials – resolution and accuracy for very small strain measurements typical with these materials
- Automated testing – no software interaction is required between repetitive tests
- Fine / thin specimens – <Ø20 μm (0.001”) specimens
- Elastomers and high-elongation plastics – best-in-class performance; >1000% strain and >1.5 meters/second tracking speed
- High speed cyclic testing – test frequencies up to 100 Hz and real time data rate up to 3000 Hz
- Long-term creep testing – excellent thermal stability and automatic recovery in the event of a test interruption
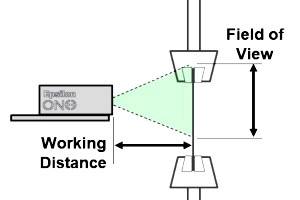
Field of View: 52-500 mm. See specific optics packages; contact Epsilon for other options.
Working Distance: 150-300 mm typical. See specific optics packages; contact Epsilon for other options.
Real-Time Data Rate: 300-3000 Hz, >2000 Hz typical. Includes image frame rate, analysis, analog output, and digital output
Analog Output: ±10VDC typical, short-protected. Selectable units & range. Includes 2.4 m (8 ft) shielded output cable with connector for test equipment.
Digital Output: 16-64 bit at >2000 Hz typical, over RS232. Includes 1.8 m (6 ft) shielded null modem cable.
Resolution: <0.5 µm quasistatic, <2.5 µm dynamic, <0.1 µm creep; Typical RMS resolution at typical settings. Resolution is a function of the optics and filter settings.
Extensometer Class: ISO 9513 Class 0,5 and ASTM E83 Class B-1 or better typical at ≥10 mm gauge length
Absolute Accuracy:
PT models: <±1 µm or 0.5% of value, not exceeding ±30 µm typical
CE models: <±1 µm or 0.5% of value
Thermal Drift: Room Temperature Stability <0.002%ε/°C (20 µε/°C )
Minimum Specimen Size: < Ø20 μm (0.001”)
Gauge Length: 2 mm minimum, ≥4x specimen width or diameter recommended. For gauge lengths <10 mm contact Epsilon.
Maximum Elongation: >1000%, limited by field of view and gauge length
Maximum Tracking Speed: >1500 mm/second (90,000 mm/minute)
Cyclic Testing: >100 Hz typical cyclic test frequency, waveform independent
Strain Control: Suitable for monotonic and cyclic strain control applications
Out-of-Plane Sensitivity*: Allowable out-of-plane motion for ISO 9513 Class 0,5 @15 mm gauge length and ASTM E83 Class B-1:
<1000 µm (0.040”) for ONE-PT-xx
<25 µm (0.001”) for ONE-CE-xx
*Understand this specification before you purchase any optical extensometer
Power Supply: 100-240 VAC, 50-60 Hz, 100W, IEC 320 C14 receptacle. Specify plug type when ordering
System Environment: 10-40°C (50-100°F), for use and storage; 20-80% relative humidity non-condensing environments
Host PC (optional): Requires Windows 7 or 10 PC, 900×550 minimum display, one serial or USB port
![]()
- Mounting Systems for testing machine base mount, T-slot column mount, or cylindrical column mount
- ONE-TI-1 Touch Interface (see a demo )
- ONE-BIS Barrier Interlock Systems for setups where Epsilon ONE is installed behind the test area (opposite the test machine operator)
- Customized specimen marking templates
- Connectors to interface to nearly any brand of test equipment
Product Videos
Ordering Information
Epsilon ONE® Optical Extensometer Systems
The Epsilon ONE system includes an Optics Package, lighting, Laser Assist Alignment System, Sensor Controller, cables, mounting interface, standard specimen marking kit (see a marking video ) and software. The included user interface software will run on your testing machine’s existing computer.
Select an Optics Package that meets your range of gauge length and elongation requirements. Start with the largest gauge length that you will need and determine which Optics Packages have enough elongation range for that gauge length. Repeat this process for the smaller gauge lengths in your range of applications. You can determine what Field of View you require by running an experiment (VIDEO ) or by calculating it (PDF).
Telecentric lenses are superior to conventional lenses, especially for applications involving strain measurements <~2%. Learn more about telecentric lenses here.
Epsilon ONE will work with any gauge length that is within the stated range for the Optics Package. Maximum strain values in the tables below are estimates for tensile specimens with a reduced cross-sectional area in the gauge section. When using straight-sided specimens, see ‘determine what Field of View you require’ above for recommended estimating methods.
Epsilon ONE models with >280 mm working distance are available – contact us.
Precision Telecentric Lens Systems i
Model Number: ONE-78PT-System
- Premium performance, precision telecentric lens (learn more about telecentric lenses)
- 78 mm field of view and 200 mm working distance
- Any gauge length between 10 mm and 65 mm
- See table for the estimated maximum tensile elongation for a specific gauge length
- Learn more about gauge length and measuring range
| Gauge Length | Maximum Strain | Maximum Elongation |
| 10 mm | 580% | 58 mm |
| 12 mm | 470% | 56 mm |
| 20 mm | 240% | 48 mm |
| 25 mm | 170% | 43 mm |
| 50 mm | 35% | 18 mm |
| 65 mm | 5% | 3 mm |
Precision Telecentric Lens Systems i
Model Number: ONE-52PT-System
- Precision telecentric lens (learn more about telecentric lenses)
- 52 mm field of view and 150 mm working distance
- Any gauge length between 10 mm and 40 mm
- See table for the estimated maximum tensile elongation for a specific gauge length
- Learn more about gauge length and measuring range
Advantages of Telecentric Lenses
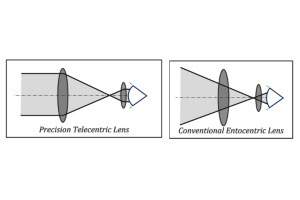
Telecentric Lens: the image of the test specimen seen by the camera’s sensor is the same size even if the specimen moves closer to the Optics Package or further away. Full strain measurement accuracy is maintained even if the specimen is bent and straightens out under tensile load, if the testing system has flexible grip mountings that straighten out, or if the specimen thins out due to Poisson’s ratio. Telecentric lenses are more accurate and less subject to optical measurement errors than entocentric lenses.
Models ONE-78PT-System and ONE-52PT-System have telecentric lenses.
| Gauge Length | Maximum Strain | Maximum Elongation |
| 10 mm | 320% | 32 mm |
| 12 mm | 250% | 30 mm |
| 20 mm | 110% | 22 mm |
| 25 mm | 68% | 17 mm |
| 40 mm | 5% | 2 mm |
Conventional Entocentric Lens Systems i
Model Number: ONE-200CE-System
- Conventional entocentric lens – recommended for high elongation applications and for measuring strain values of ~2% or greater
- Suitable for smaller strains in some applications – learn more about lenses
- 200 mm field of view and 220 mm working distance
- Any gauge length between 10 mm and 180 mm
- See table for the estimated maximum tensile elongation for a specific gauge length
- Learn more about gauge length and measuring range
Telecentric Lenses Compared to Entocentric Lenses
Entocentric Lens: the image of the test specimen seen by the camera’s sensor will appear larger if the specimen moves closer to the Optics Package or smaller if it moves further away. Consequently, strain measurement errors occur if the specimen straightens out under tensile load and moves “out of plane”, if the testing system has flexible grip mounting that straightens out, or if the specimen thins out significantly due to Poisson’s ratio. These errors are often significant when making strain measurements <2% strain, and consequently entocentric lenses are best suited when strain values being measured are 2% or greater.
Model ONE-200CE-System has an entocentric lens.
Epsilon recommends telecentric lenses when strain measurements are <2%.
| Gauge Length | Maximum Strain | Maximum Elongation |
| 10 mm | >1000% | 180 mm |
| 25 mm | 660% | 165 mm |
| 50 mm | 280% | 140 mm |
| 75 mm | 150% | 115 mm |
| 100 mm | 90% | 90 mm |
| 150 mm | 25% | 40 mm |
| 180 mm | 5% | 10 mm |
Conventional Entocentric Lens Systems i
Model Number: ONE-250CE-System
- Typical applications:
- High-elongation materials that require a larger field of view than ONE-200CE
- Testing with a large environmental chamber that requires a greater working distance than ONE-78PT or ONE-200CE
- Conventional entocentric lens – recommended for high elongation applications and for measuring strain values of ~2% or greater
- Suitable for smaller strains in some applications – learn more about lenses
- 250 mm field of view and 280 mm working distance
- Any gauge length between 10 mm and 200 mm
- See table for the estimated maximum tensile elongation for a specific gauge length
- Learn more about gauge length and measuring range
Telecentric Lenses Compared to Entocentric Lenses
Entocentric Lens: the image of the test specimen seen by the camera’s sensor will appear larger if the specimen moves closer to the Optics Package or smaller if it moves further away. Consequently, strain measurement errors occur if the specimen straightens out under tensile load and moves “out of plane”, if the testing system has flexible grip mounting that straightens out, or if the specimen thins out significantly due to Poisson’s ratio. These errors are often significant when making strain measurements <2% strain, and consequently entocentric lenses are best suited when strain values being measured are 2% or greater.
Model ONE-250CE-System has an entocentric lens.
Epsilon recommends telecentric lenses when strain measurements are <2%.
| Gauge Length | Maximum Strain | Maximum Elongation |
| 10 mm | >1000% | 230 mm |
| 25 mm | 860% | 215 mm |
| 50 mm | 380% | 190 mm |
| 75 mm | 220% | 165 mm |
| 100 mm | 140% | 140 mm |
| 150 mm | 60% | 90 mm |
| 200 mm | 20% | 40 mm |
Conventional Entocentric Lens Systems i
Model Number: ONE-500CE-System
- Typical applications:
- High-elongation materials – elastomers, rubber, unreinforced / flexible plastics
- Specimens with long gauge lengths – rebar, metals, tubing
- Conventional entocentric lens – recommended for high elongation applications and for measuring strain values of ~2% or greater
- Suitable for smaller strains in some applications – learn more about lenses
- 500 mm field of view and 270 mm working distance
- Any gauge length between 10 mm and 400 mm
- See table for the estimated maximum tensile elongation for a specific gauge length
- Learn more about gauge length and measuring range
- ONE-500CE may require filter setting adjustments to achieve the desired resolution; see the Selection Guide for details
Telecentric Lenses Compared to Entocentric Lenses
Entocentric Lens: the image of the test specimen seen by the camera’s sensor will appear larger if the specimen moves closer to the Optics Package or smaller if it moves further away. Consequently, strain measurement errors occur if the specimen straightens out under tensile load and moves “out of plane”, if the testing system has flexible grip mounting that straightens out, or if the specimen thins out significantly due to Poisson’s ratio. These errors are often significant when making strain measurements <2% strain, and consequently entocentric lenses are best suited when strain values being measured are 2% or greater.
Model ONE-500CE-System has an entocentric lens.
Epsilon recommends telecentric lenses when strain measurements are <2%.
| Gauge Length | Maximum Strain | Maximum Elongation |
| 10 mm | >1000% | 480 mm |
| 25 mm | >1000% | 465 mm |
| 50 mm | 880% | 440 mm |
| 100 mm | 390% | 390 mm |
| 200 mm | 145% | 290 mm |
| 300 mm | 63% | 190 mm |
| 400 mm | 23% | 90 mm |
Touch Interface (Optional)
Model Number: ONE-TI-1
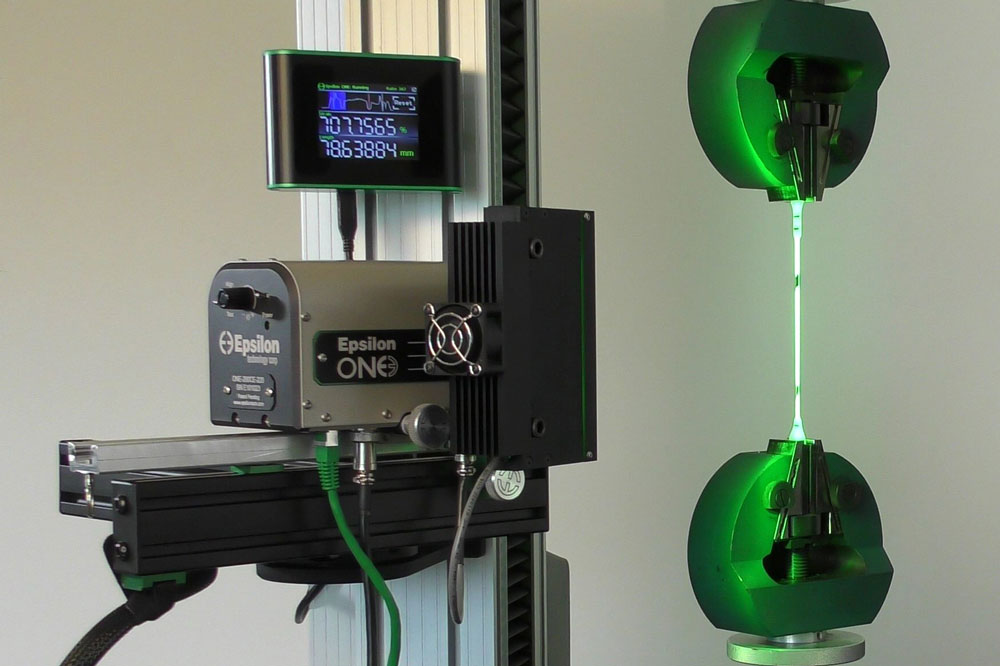
The optional full-color Touch Interface provides all functions necessary to set up and use an Epsilon ONE system. May be mounted on the column of the testing machine near the Epsilon ONE.
- Continuous display of two digital measurements and the live image
- One-touch instant reset
- System status indication
- Setup functions, filter and sensor settings, analog and digital output settings
- Digital readouts are configurable to show strain, length, and more in a variety of engineering units
- Configurable, continuous data trend chart
- Mounting for any ONE-MS-xx mounting system or test frame T-slot
High-Stiffness Mounting Systems
Epsilon ONE® is a high-precision optical extensometer and requires rigid load frame mounting. The mounting systems below provide a rigid, easily aligned mounting platform that is fastened directly to the load frame. The systems include retraction and swing-away features for convenient access to the grips.
Other configurations than the ones shown below are available – contact Epsilon.
Further details are in the Epsilon ONE Mounting System Selection Guide.
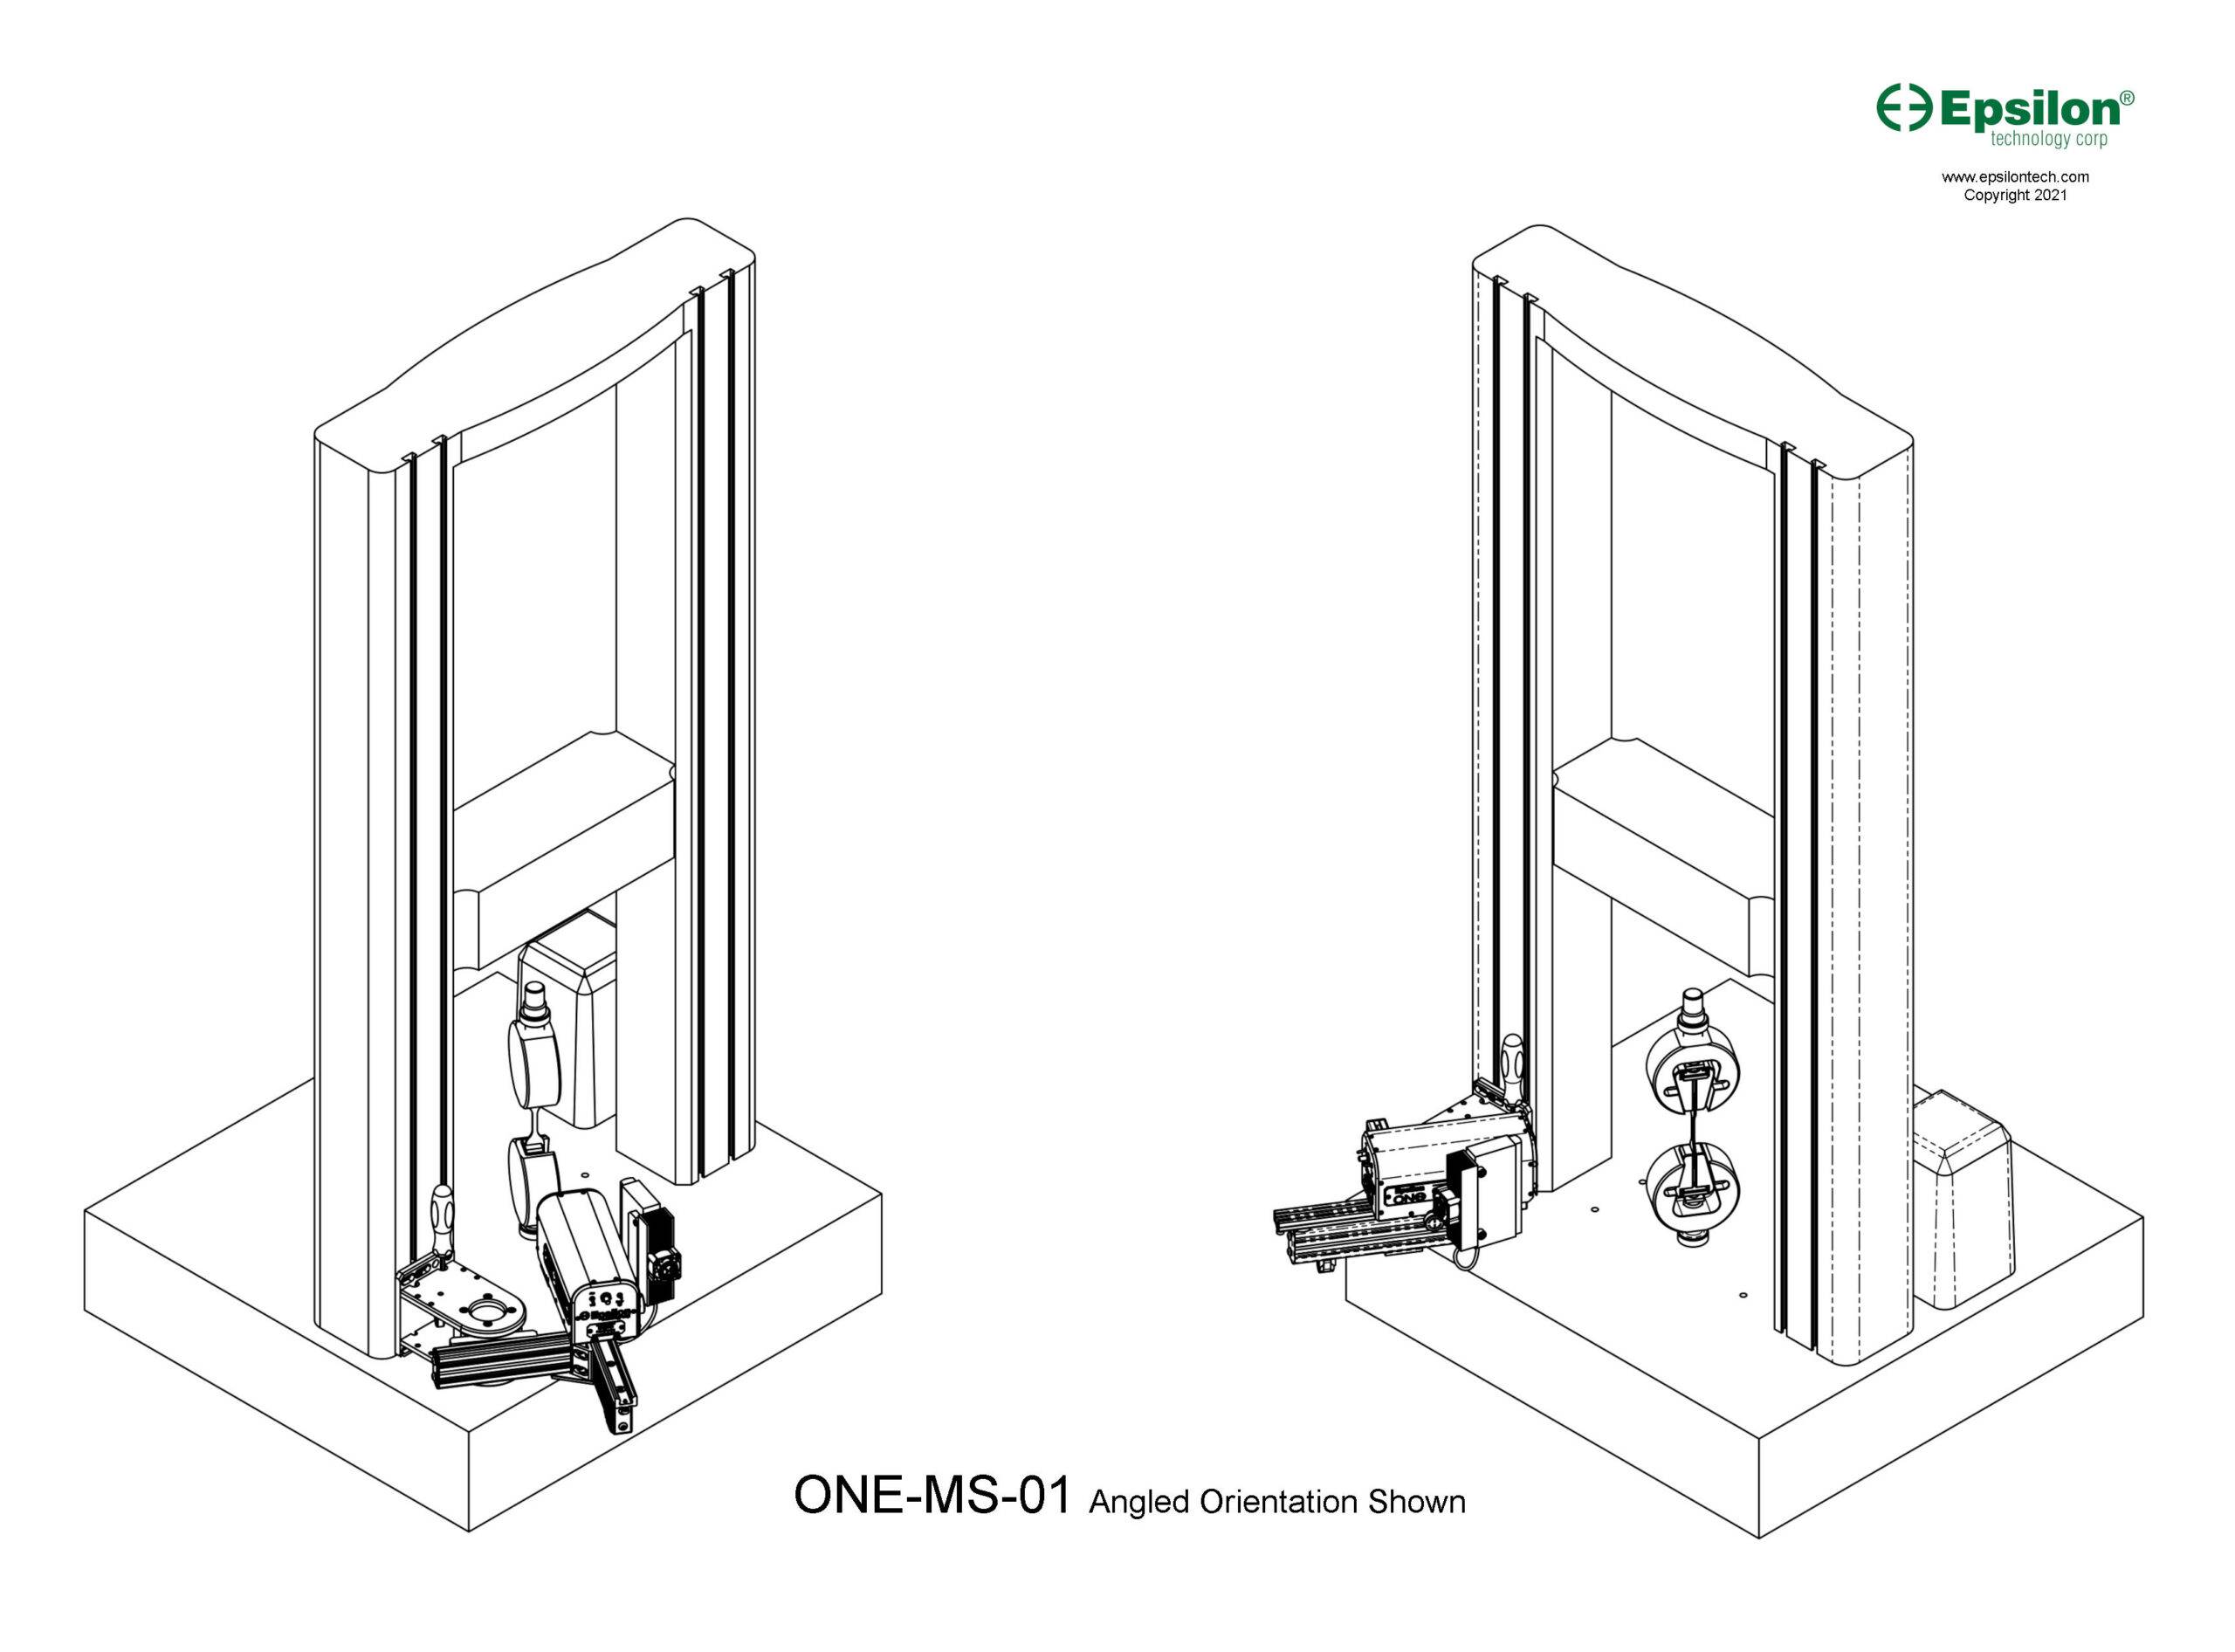
Model Number: ONE-MS-01
For testing machines with integral T-slots on the column
- Mounts to the vertical T-slots of the testing machine
- Provides rigid mounting for any Epsilon ONE Optics Package
- Swing-away and retraction features make it easy to move the Epsilon ONE out of the way when not in use or between tests
- Repeatable placement provided by reference stops
- See Epsilon ONE Mounting System Selection Guide for additional information
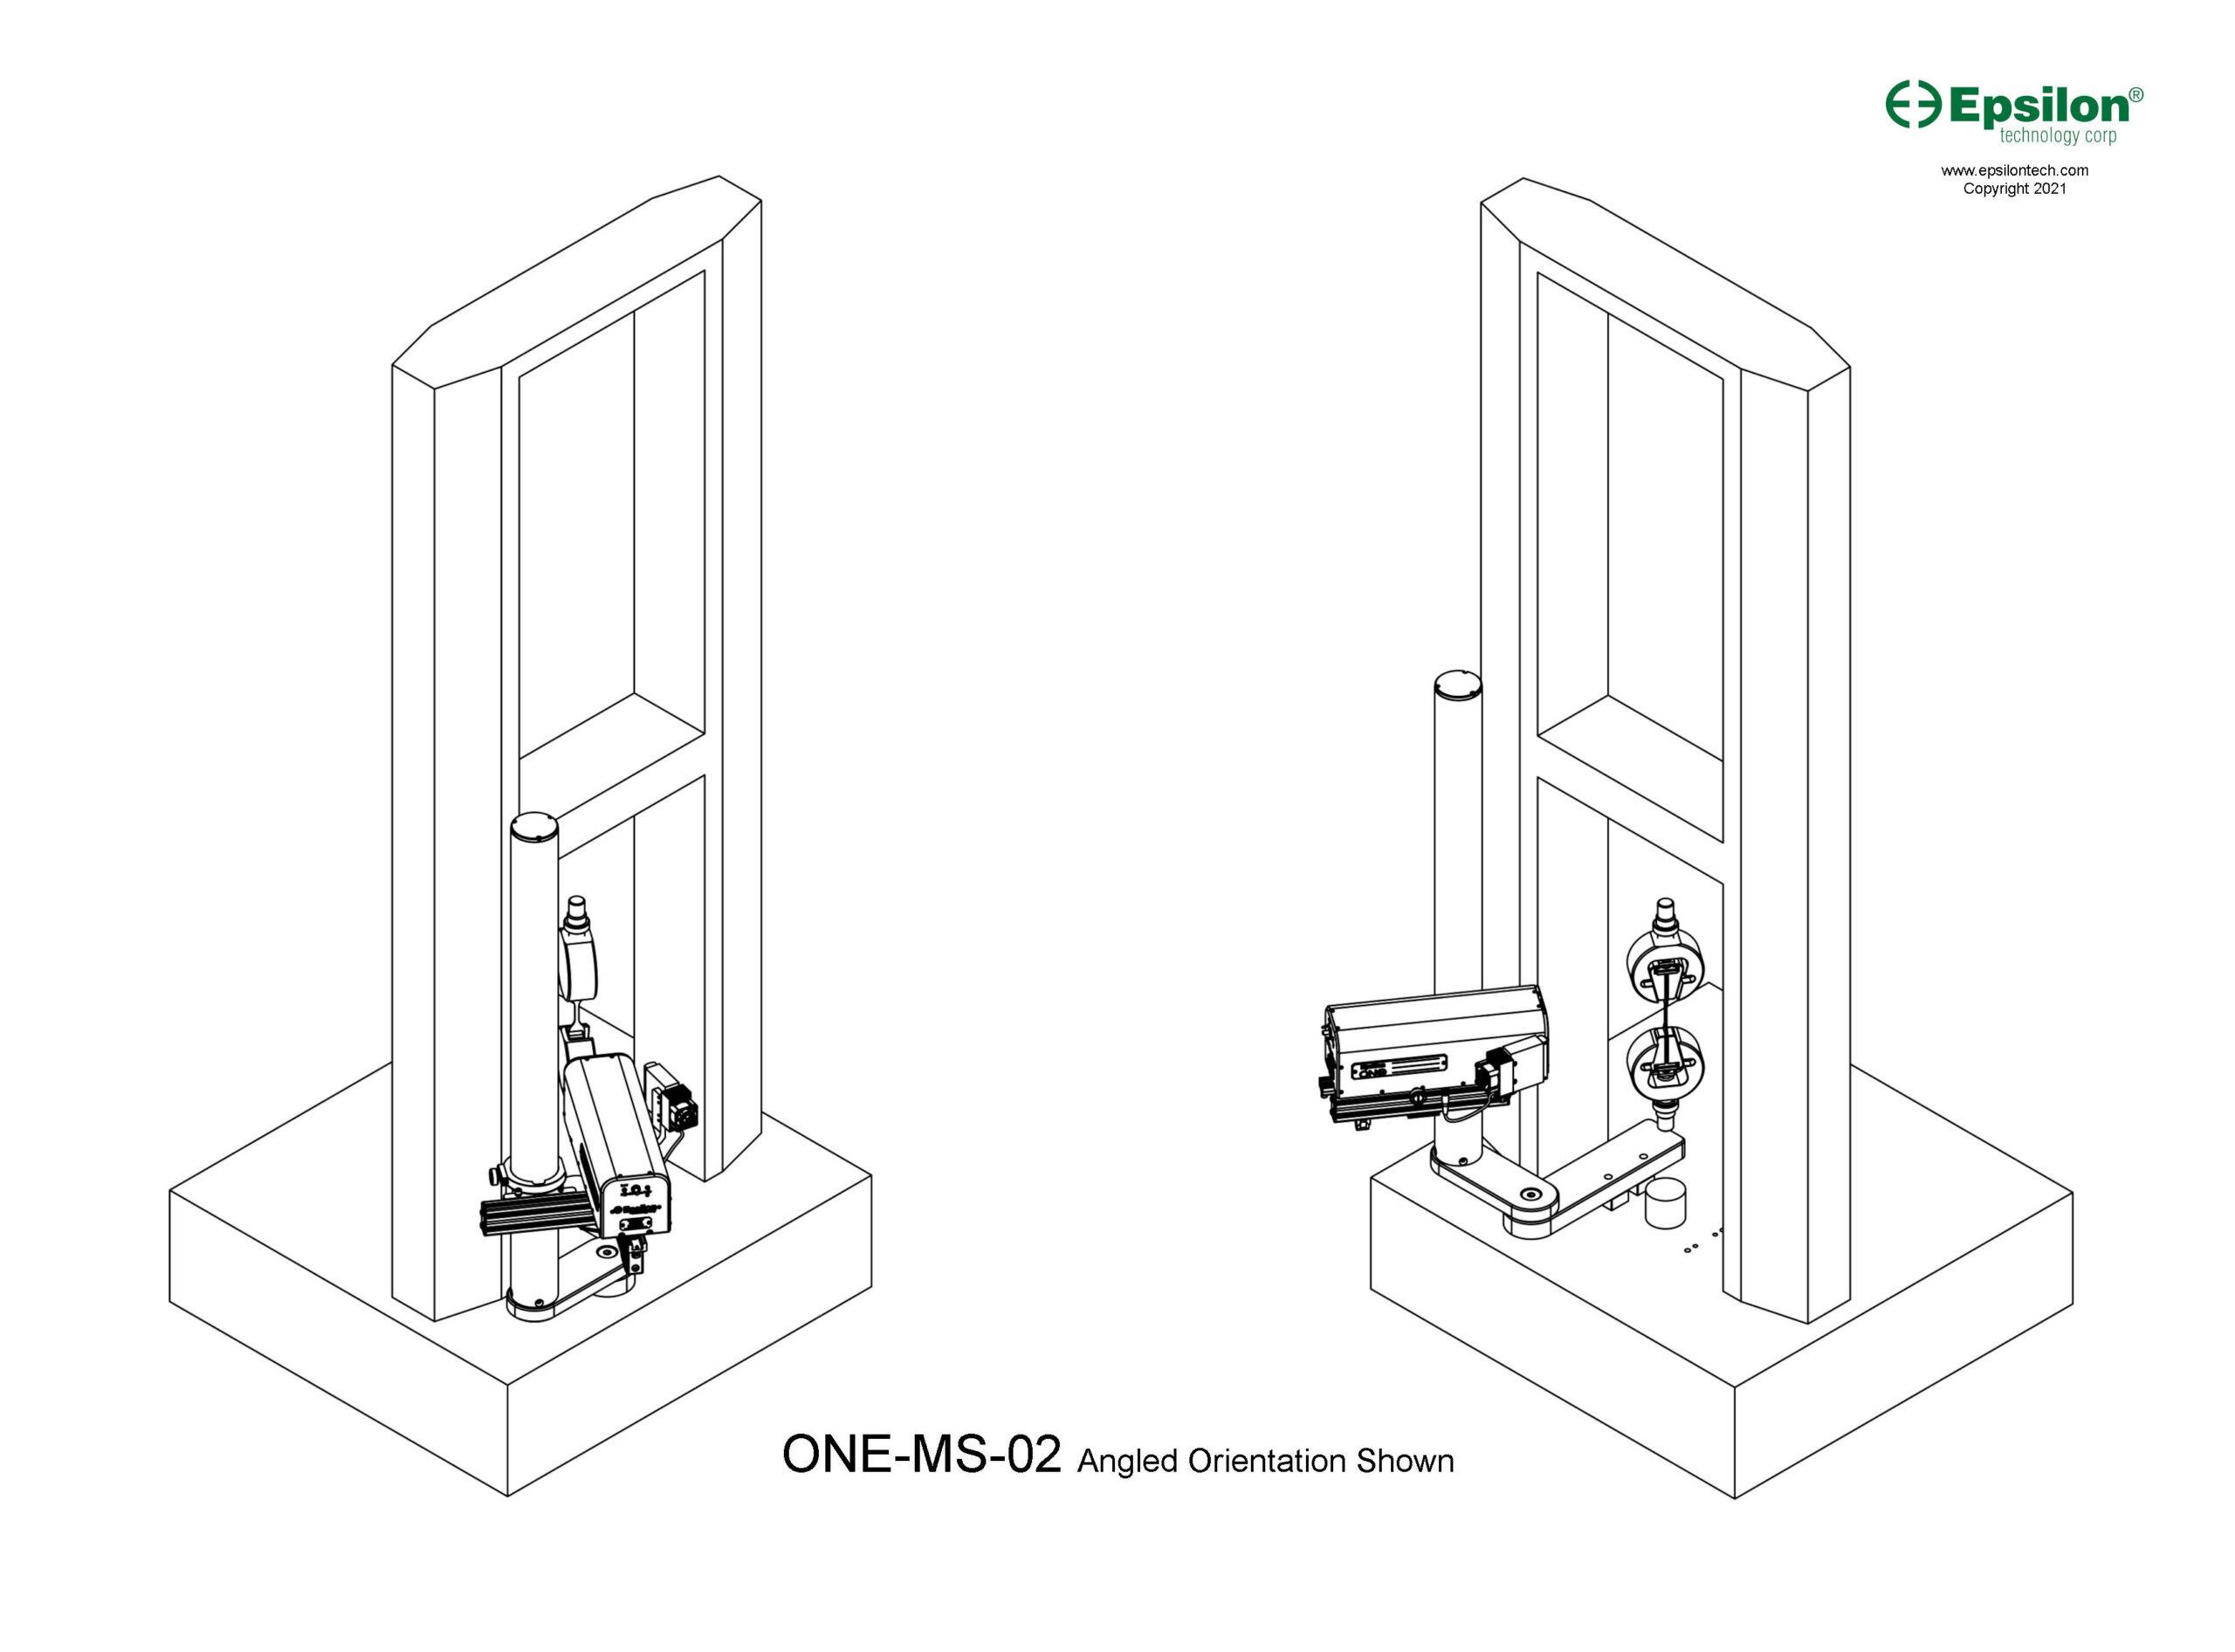
Model Number: ONE-MS-02
Universal base mounting for all testing machines
- Mounts to the horizontal surface of the stationary baseplate / lower crosshead on most any testing machine
- Provides rigid mounting for any Epsilon ONE Optics Package
- Swing-away and retraction features make it easy to move the Epsilon ONE out of the way when not in use or between tests
- Repeatable placement provided by reference stops
- Includes design by an Epsilon engineer to ensure that ONE-MS-02 fits your specific testing machine
- See Epsilon ONE Mounting System Selection Guide for additional information
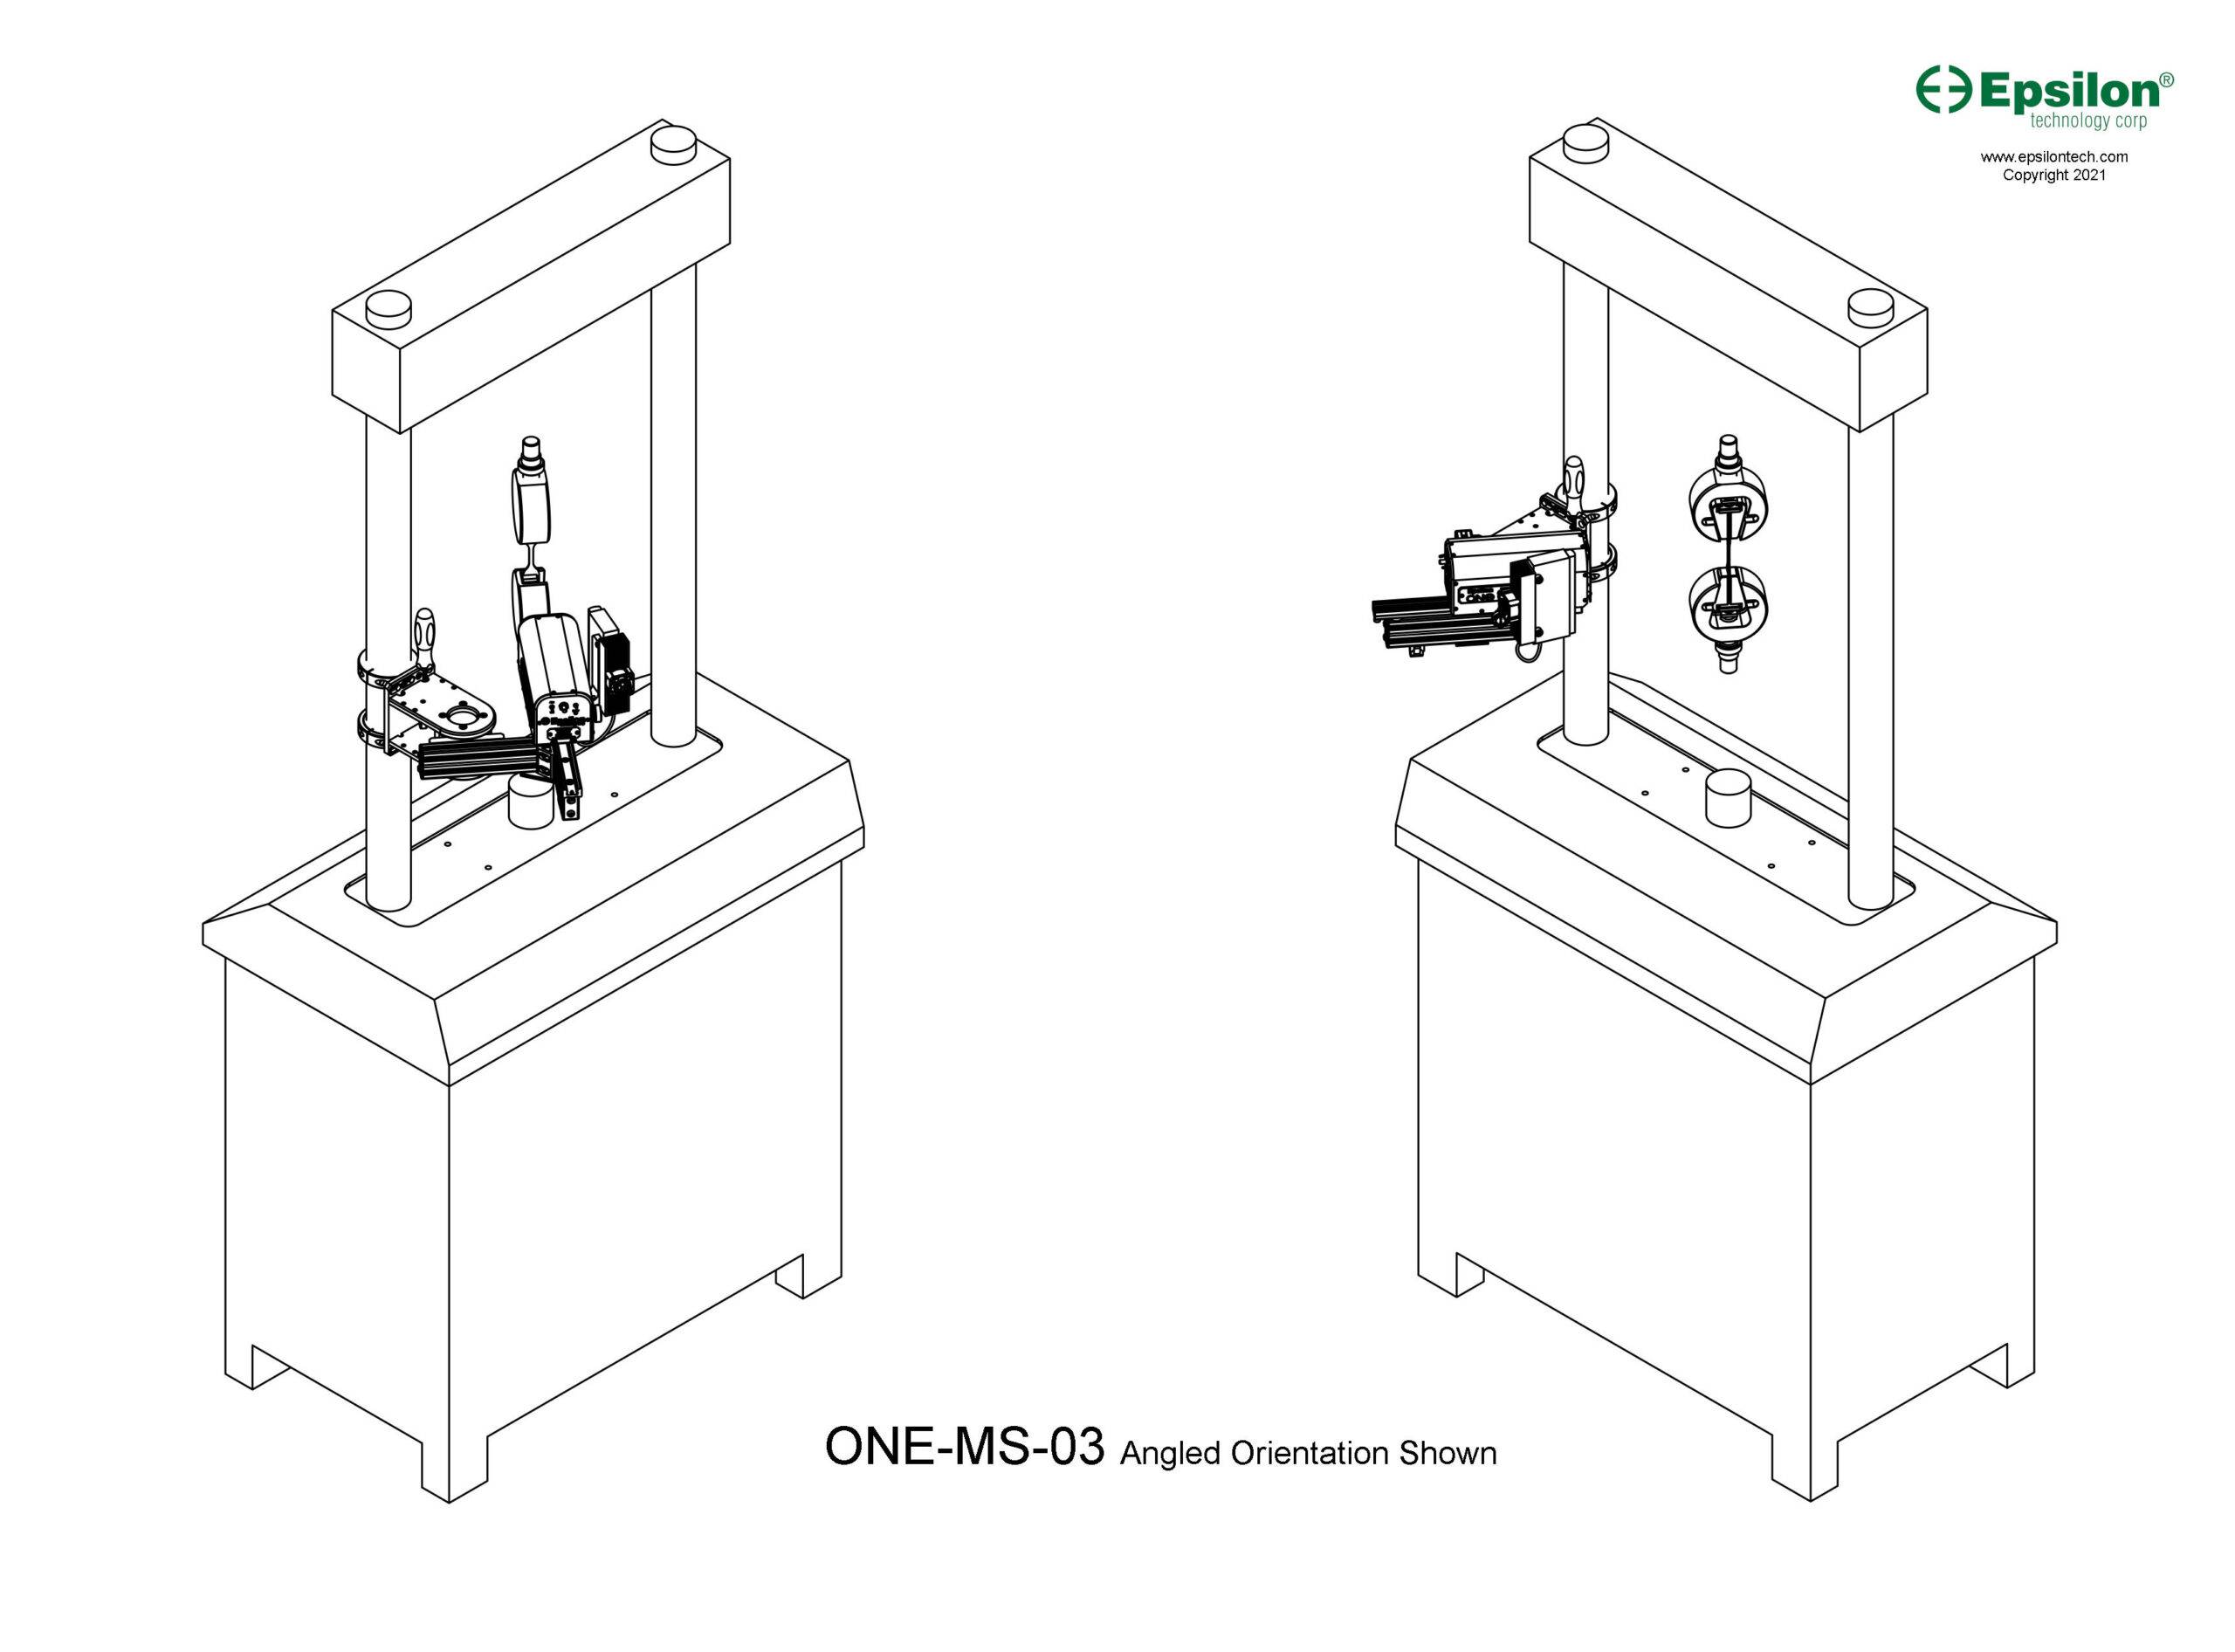
Model Number: ONE-MS-03
For servohydraulic, electrodynamic and static hydraulic testing machines with cylindrical columns
- Mounts to a cylindrical column on a servohydraulic, electrodynamic or static hydraulic testing machine
- Provides very rigid mounting for any Epsilon ONE Optics Package
- Swing-away and retraction features make it easy to move the Epsilon ONE out of the way when not in use or between tests
- Repeatable placement provided by reference stops
- See Epsilon ONE Mounting System Selection Guide for additional information
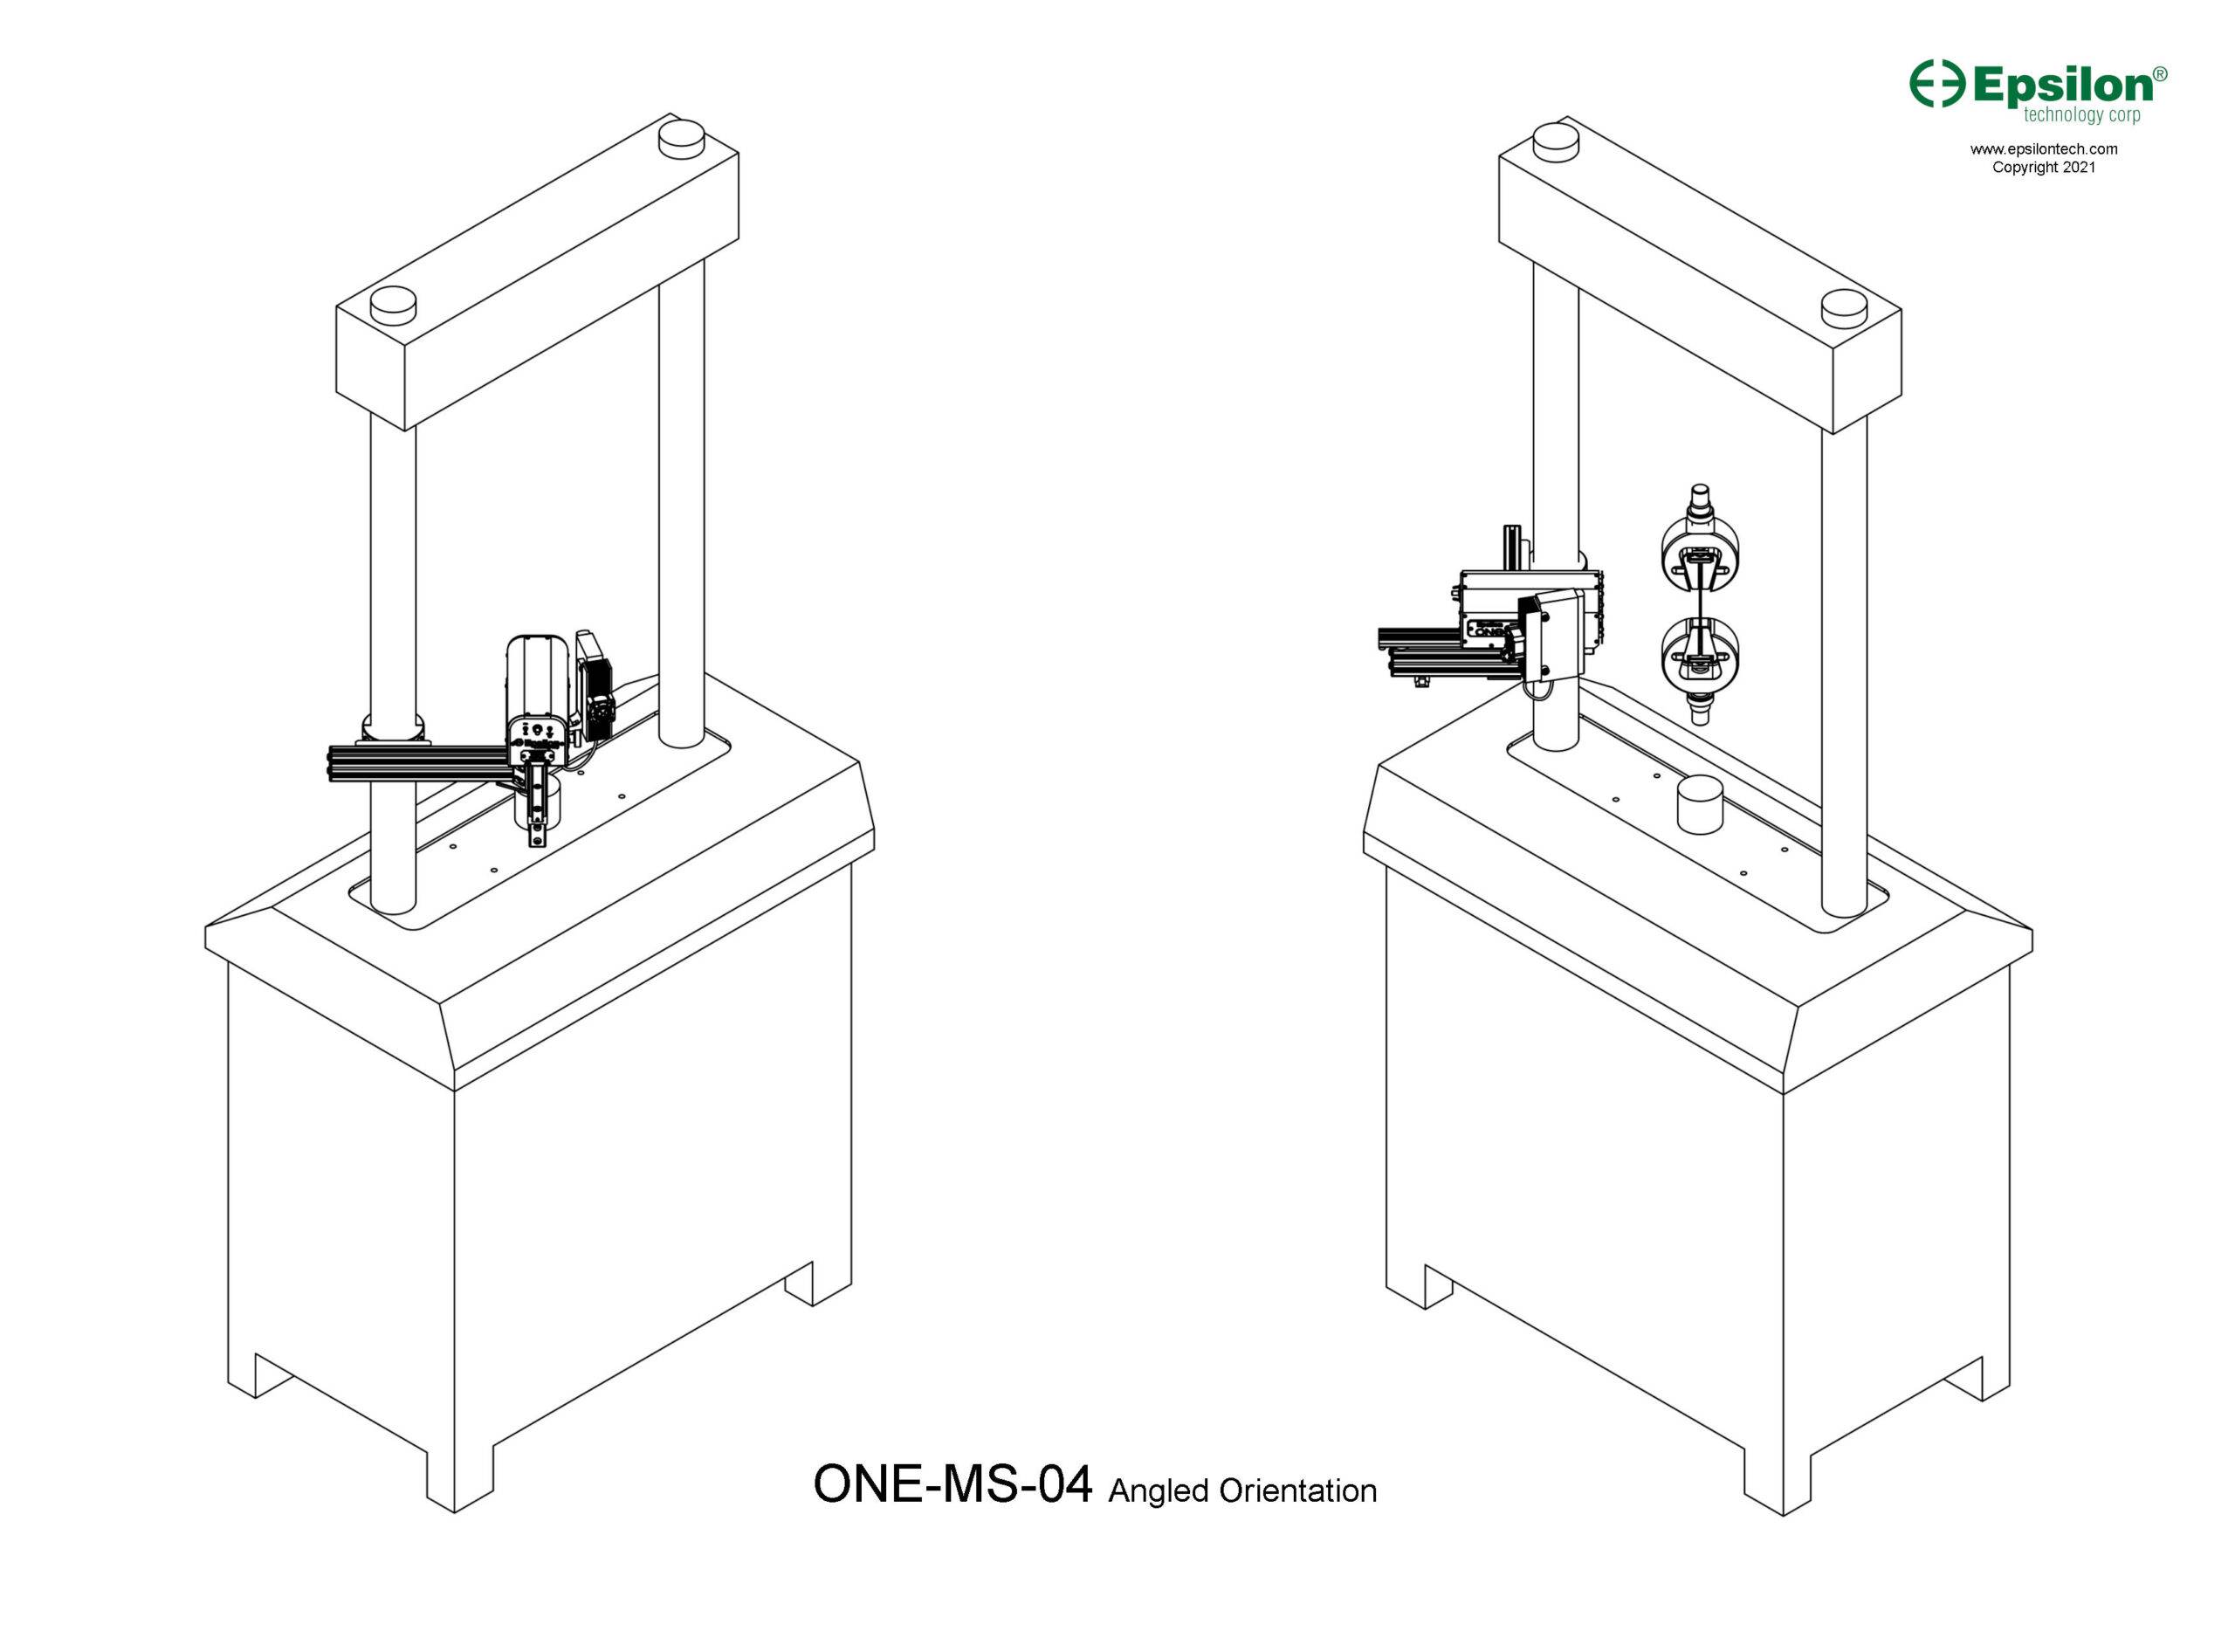
Model Number: ONE-MS-04
For servohydraulic, electrodynamic or static hydraulic testing machines with cylindrical columns.
- Mounts to a cylindrical column on a servohydraulic, electrodynamic or static hydraulic testing machine
- Provides rigid mounting for any Epsilon ONE Optics Package
- Retraction feature makes it easy to move the Epsilon ONE out of the way when not in use or between tests
- Designed to put the Epsilon ONE in a fixed position; this model does not have the swing-away feature and only mounts Epsilon ONE in an angled orientation
- See Epsilon ONE Mounting System Selection Guide for additional information
Example: ONE-78PT-System, ONE-MS-01, and ONE-TI-1: Precision Telecentric Lens, 78 mm Field of View, mounting for vertical T-slots on column of the testing machine, and the Touch Interface.
Resources
Demonstrations
Overview
Faster Testing
Demonstration
Specs and Information About How It Works
Determine What Field of View You Require – Experimental Method
Determine What Field of View You Require – Calculation Method
Learn About Telecentric Lenses
Mounting System Selection Guide
Specimen Marking Demonstration
See the Effect of Out-of-Plane Motion
Using Epsilon ONE with an Environmental Chamber
Touch Interface Demonstration
“How To” Videos About Setting Up and Using
Current Epsilon ONE customers can contact us for access to these “How To” videos.
- Mounting Installation
- Aligning the Light
- Setting Up the Analog Output
- Specimen Marking – Detailed Instructions
- Getting Good Contrast
- Working With Shiny Specimens
