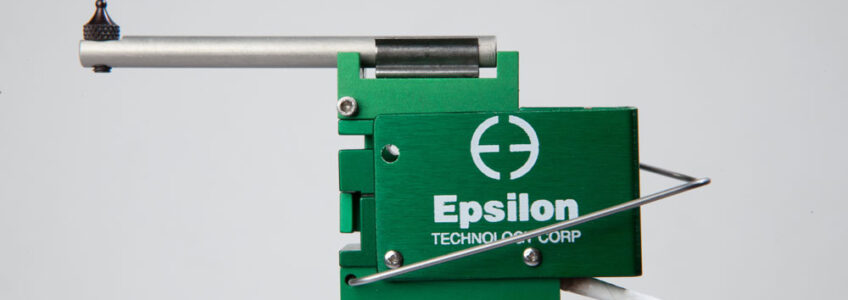
Knife Edges for Epsilon Extensometers
Knife Edges for Epsilon Extensometers
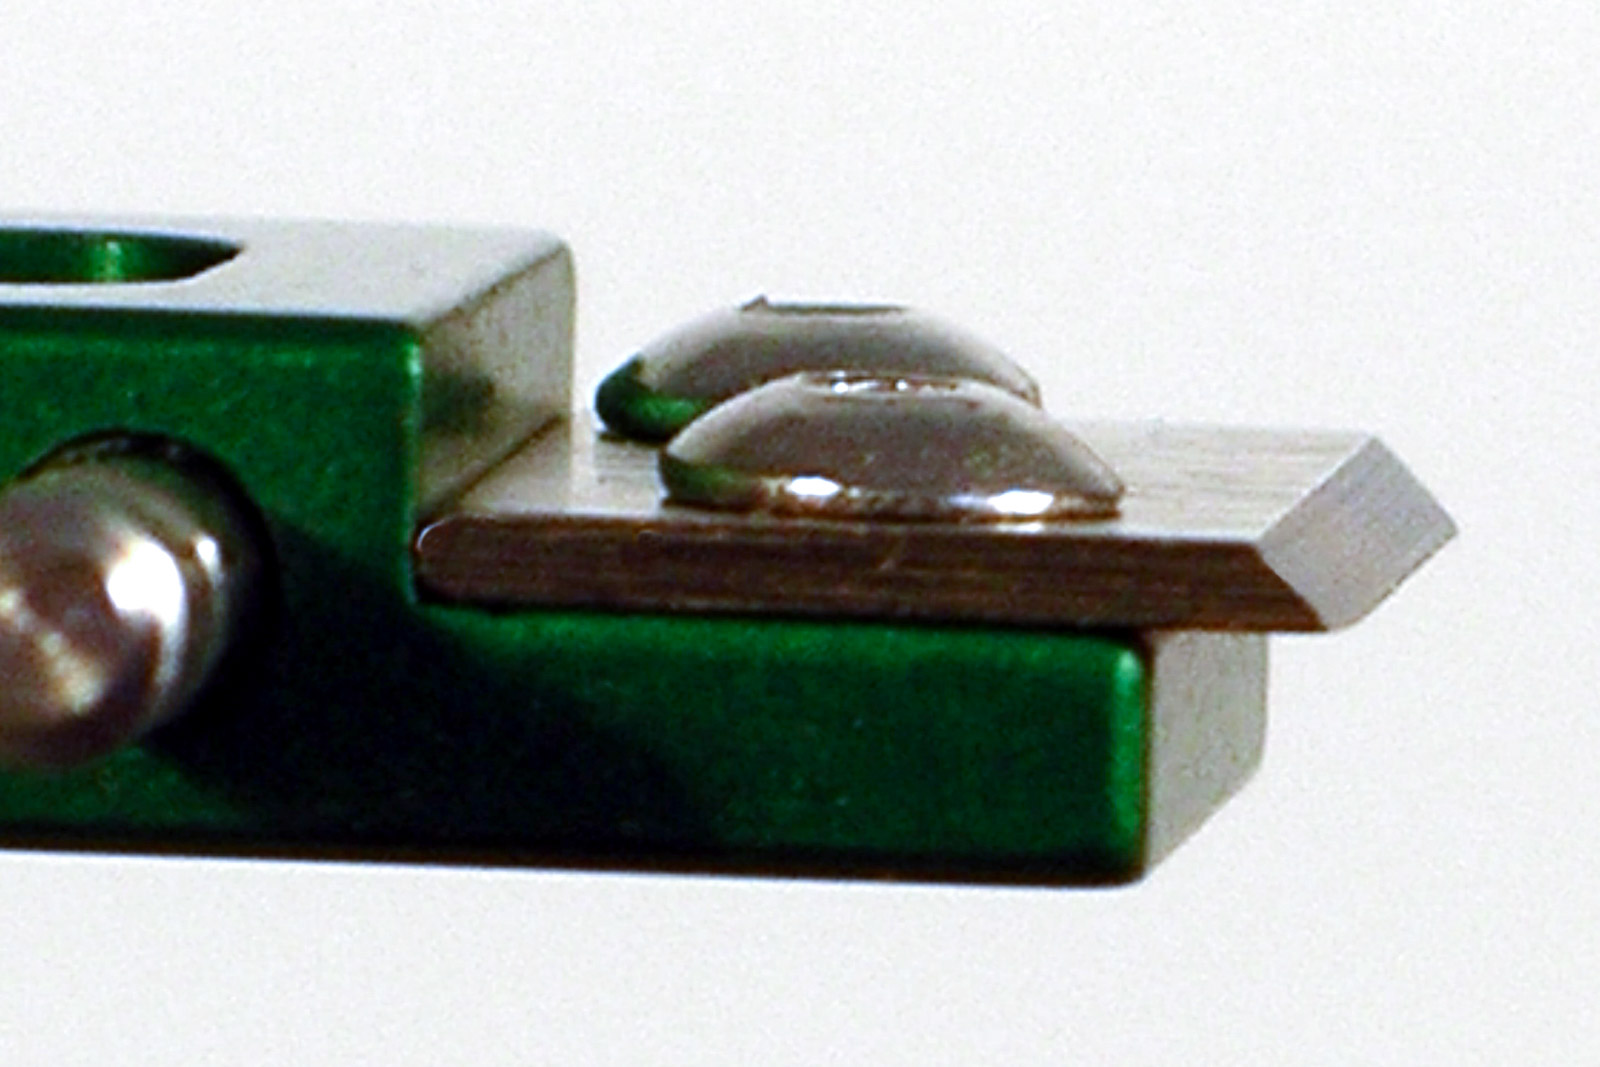
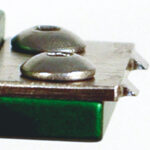
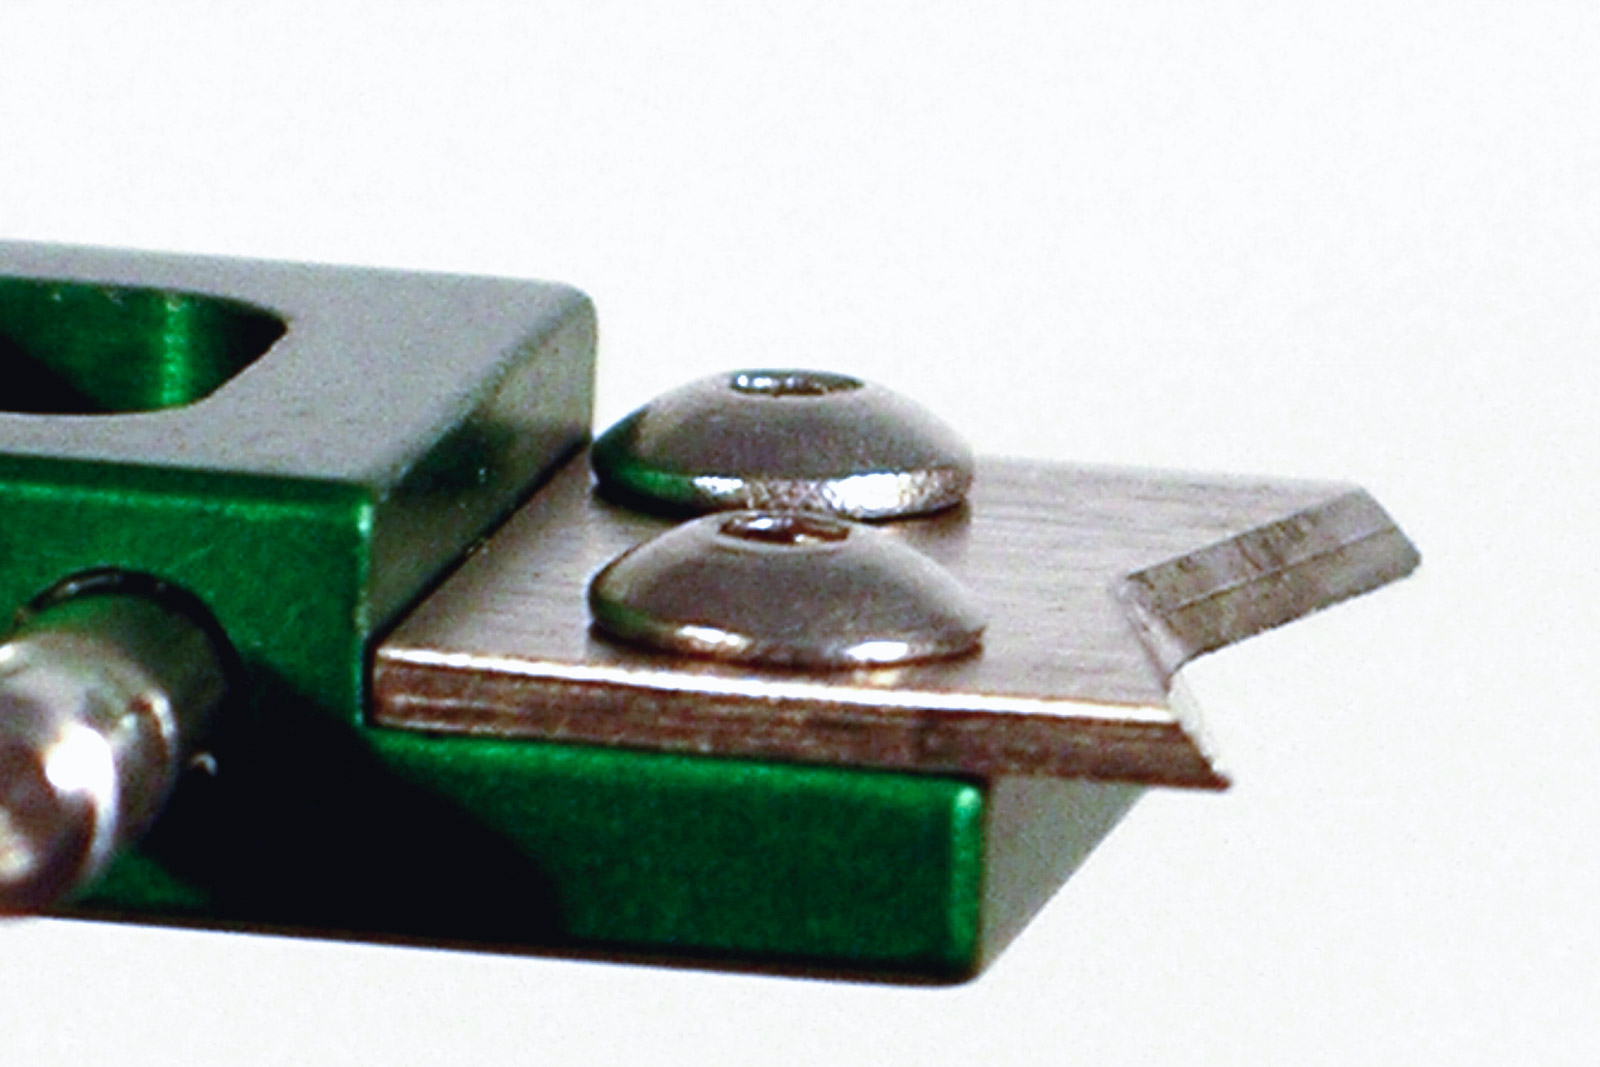
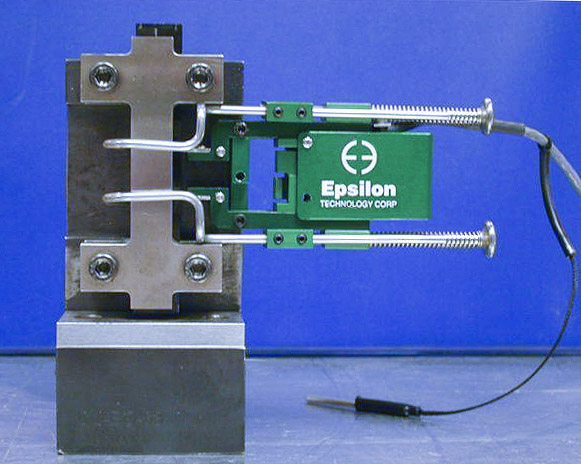
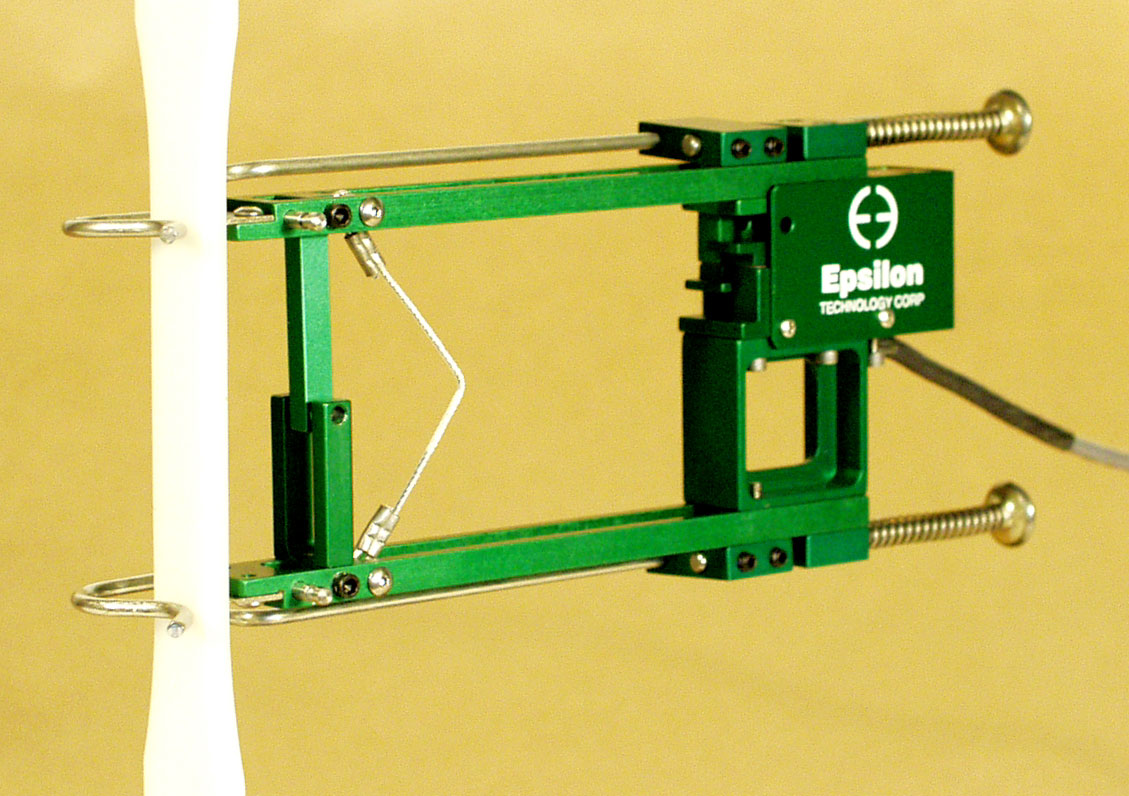
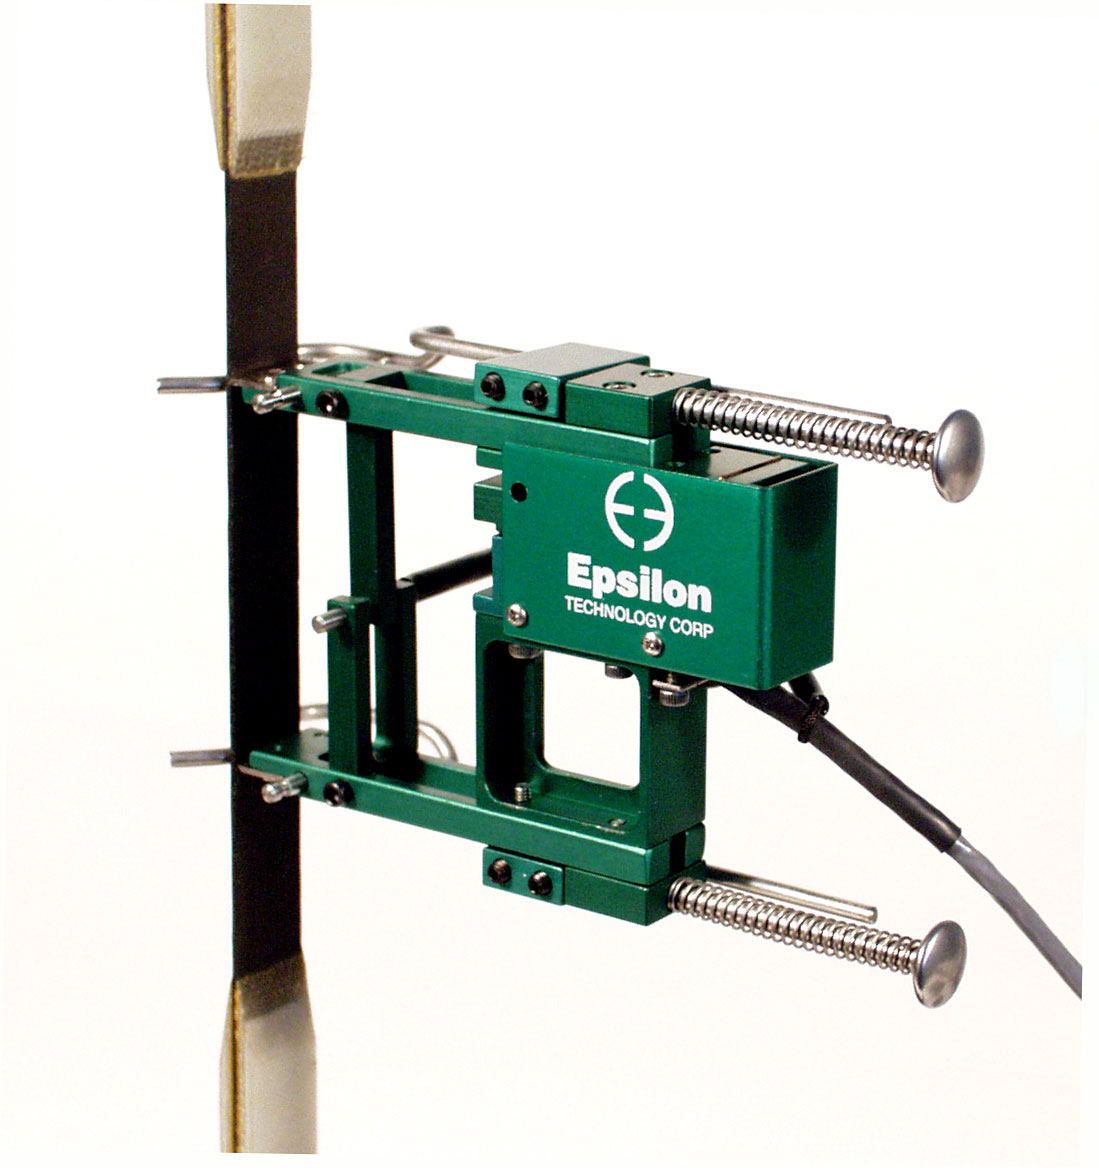
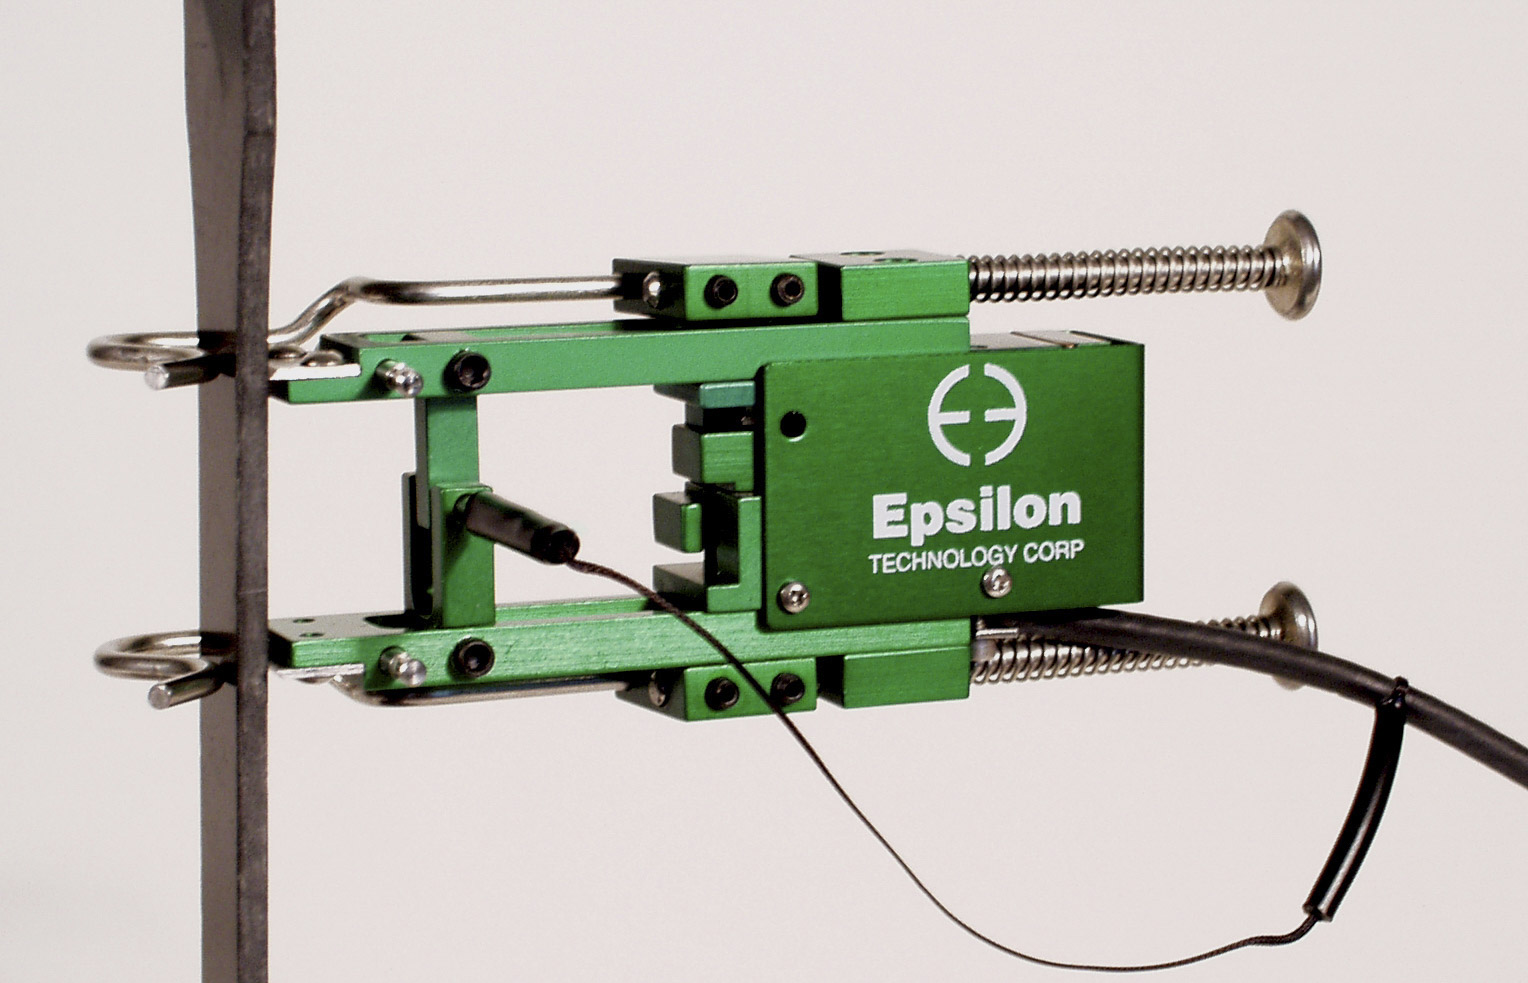
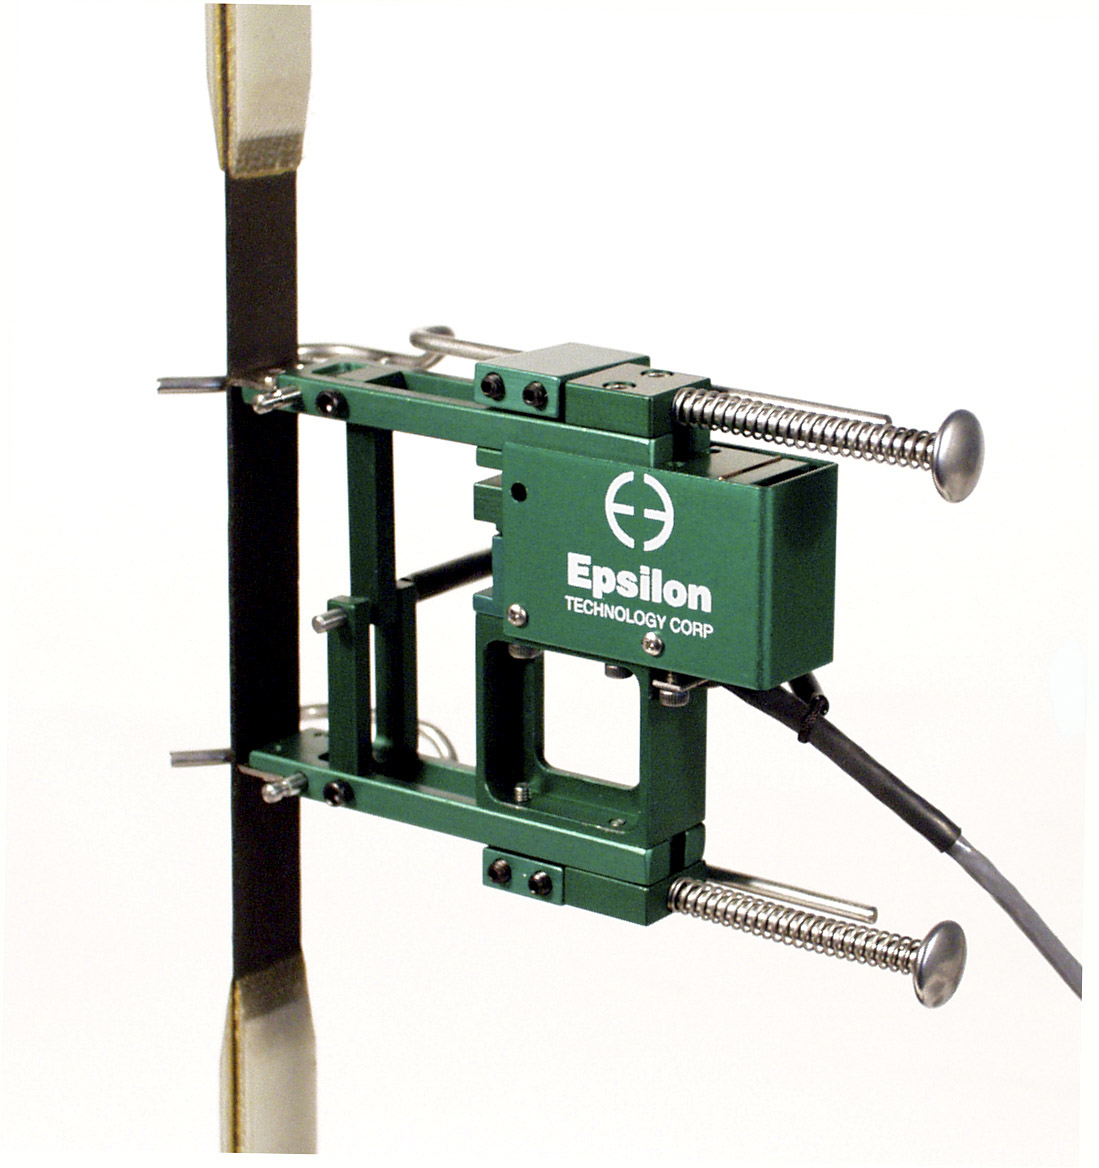
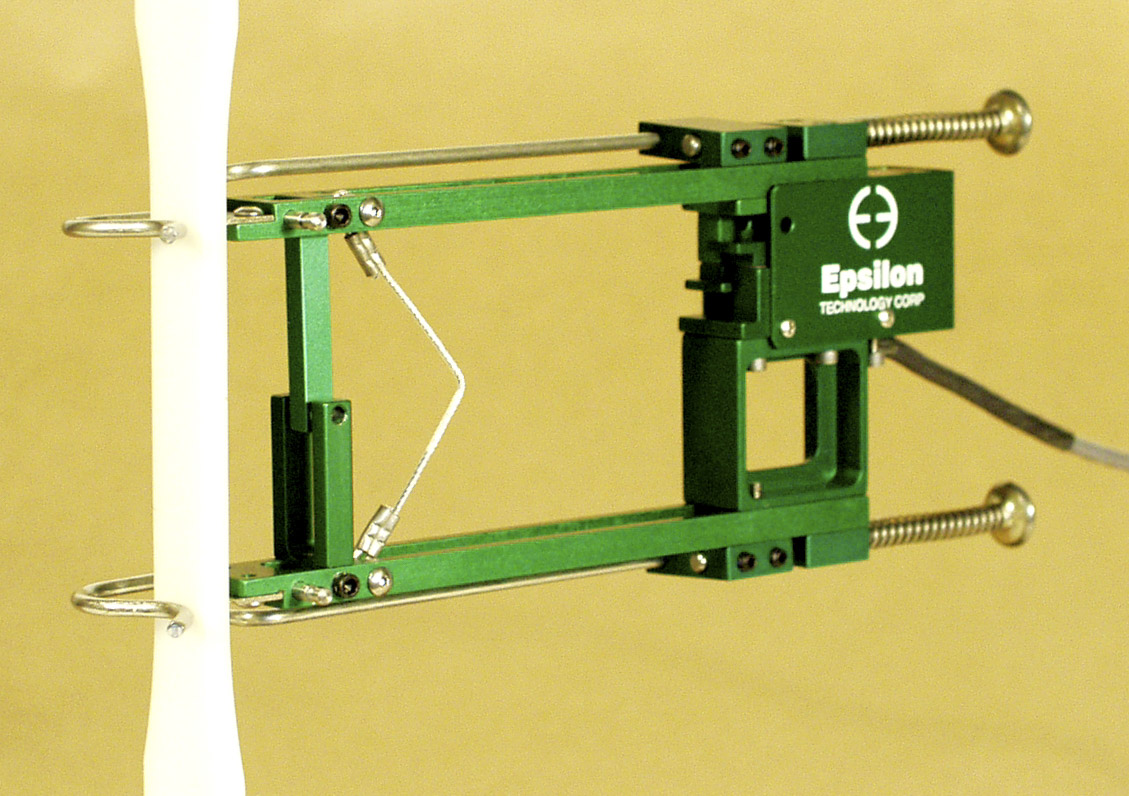
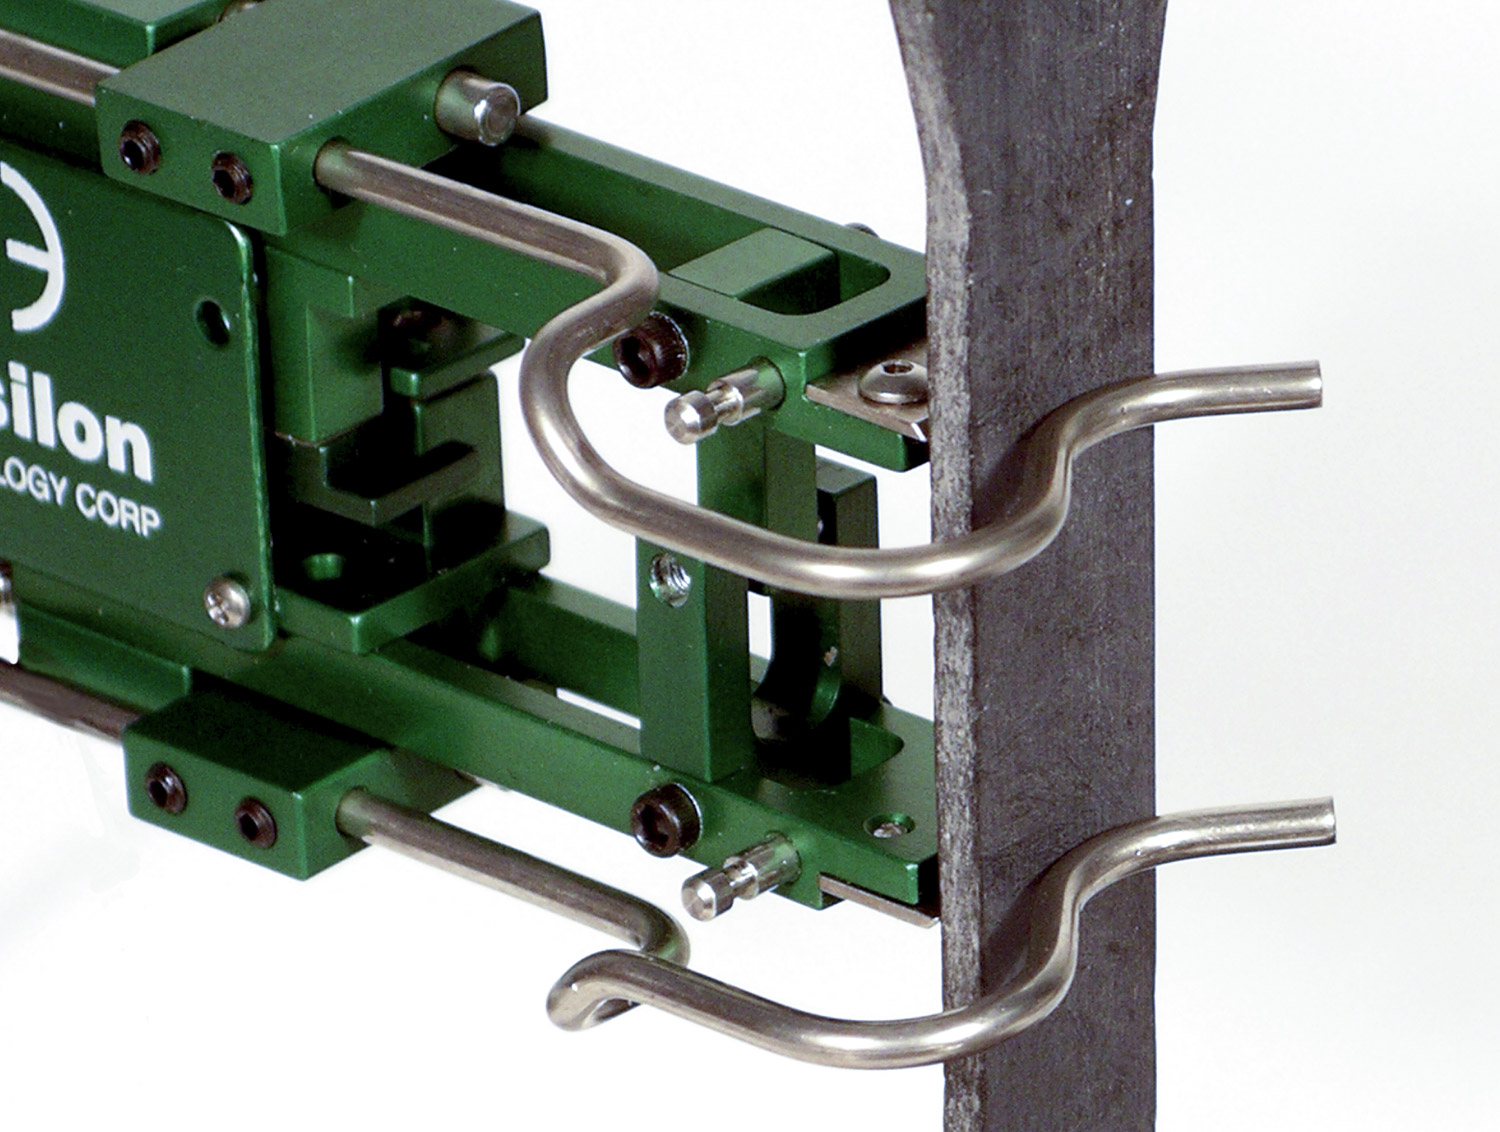
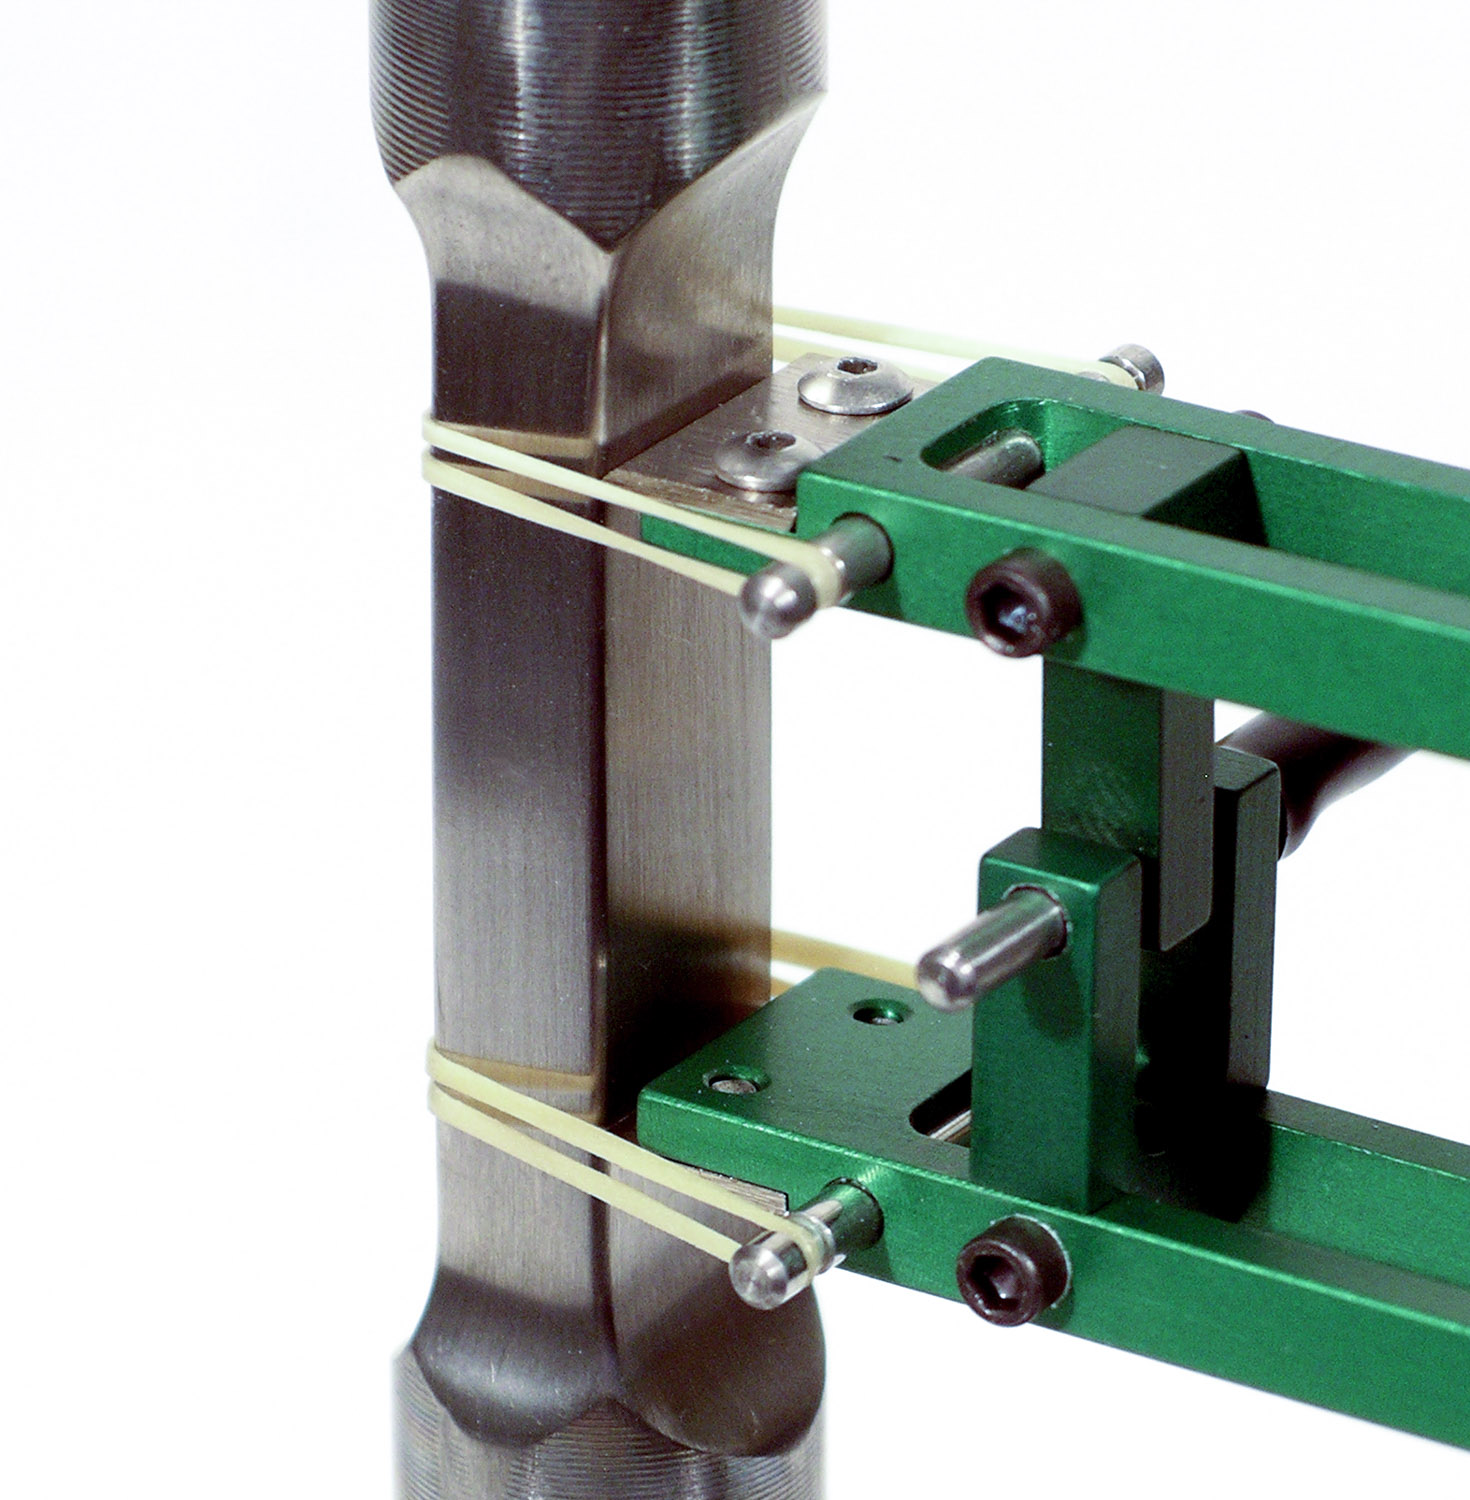
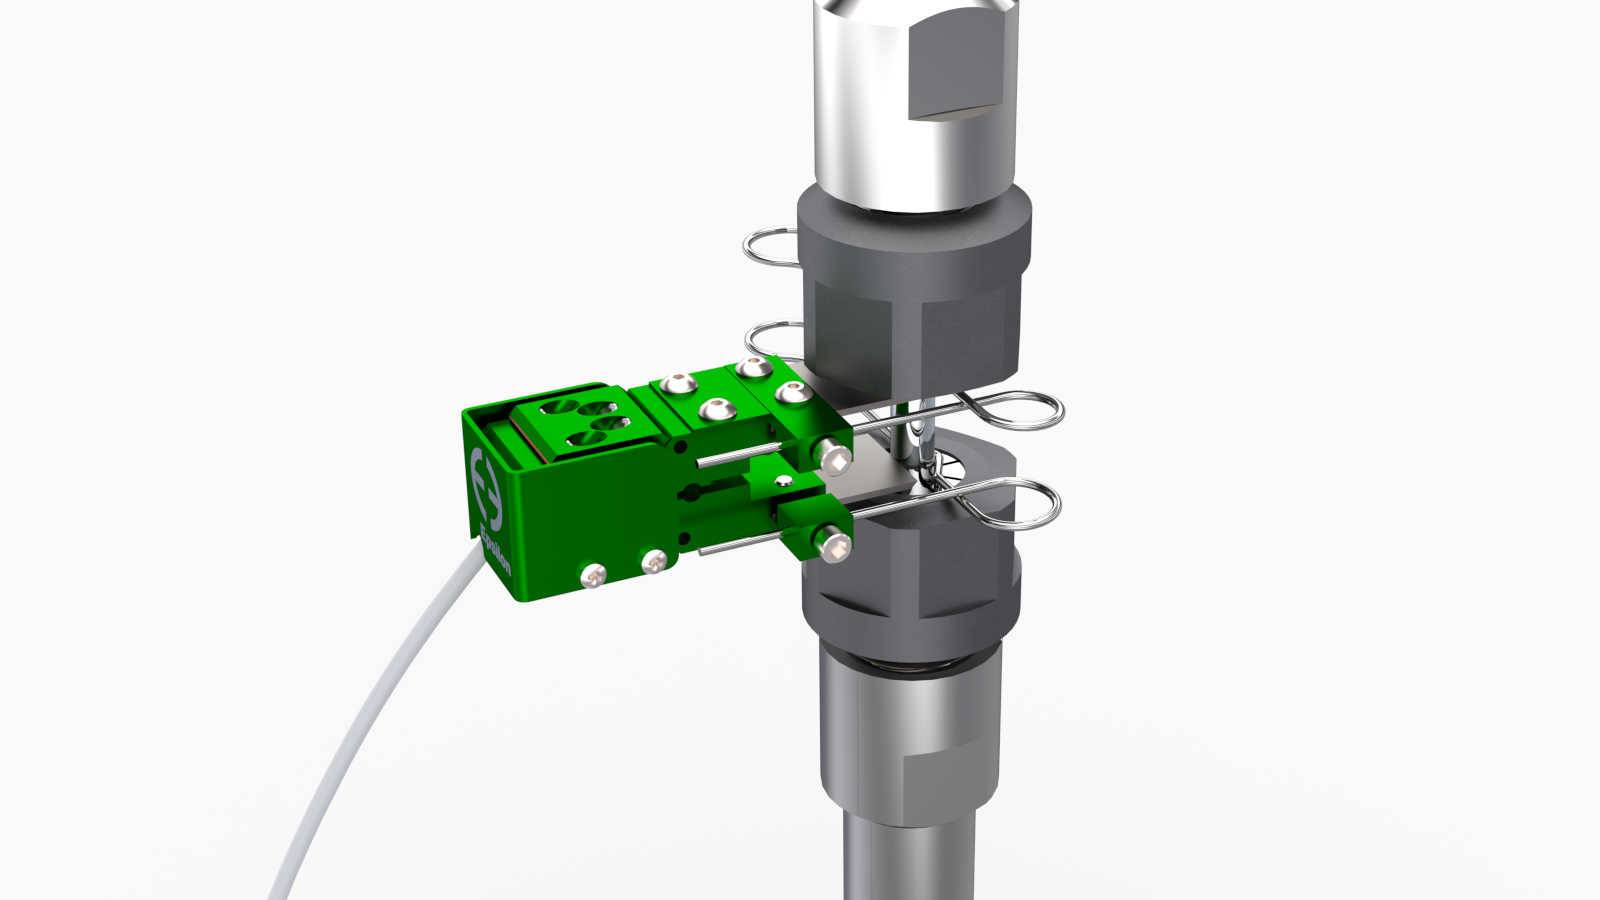
Three-Point Contact Knife Edges
(Part No. 354299)
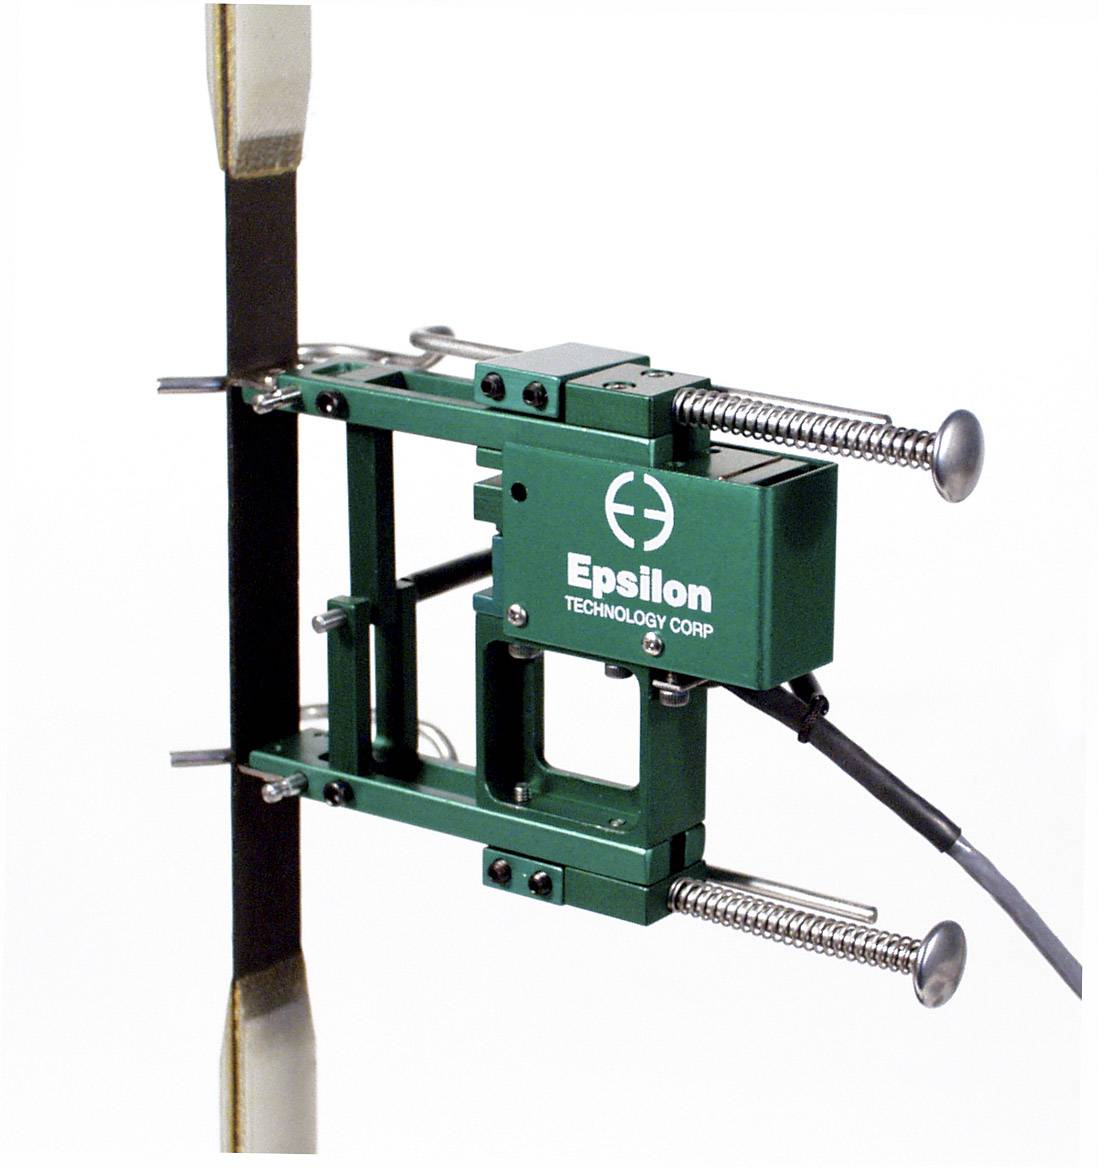
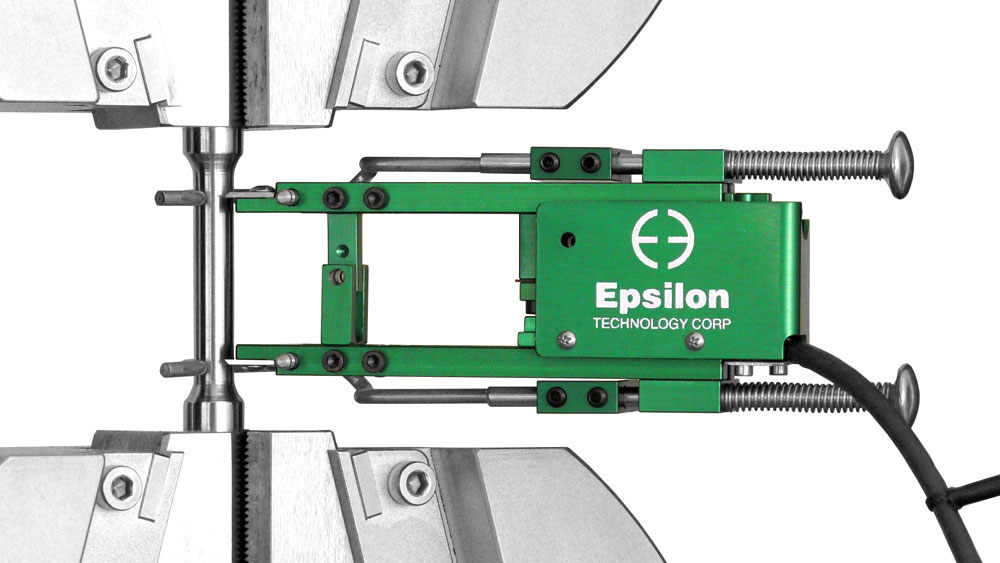
These knife edges are recommended for flat specimens. They ensure stable contact on flat test samples due to 3-point contact. For flat specimens <10 mm wide, one standard and one single-point knife edge may be used.
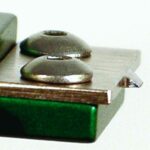
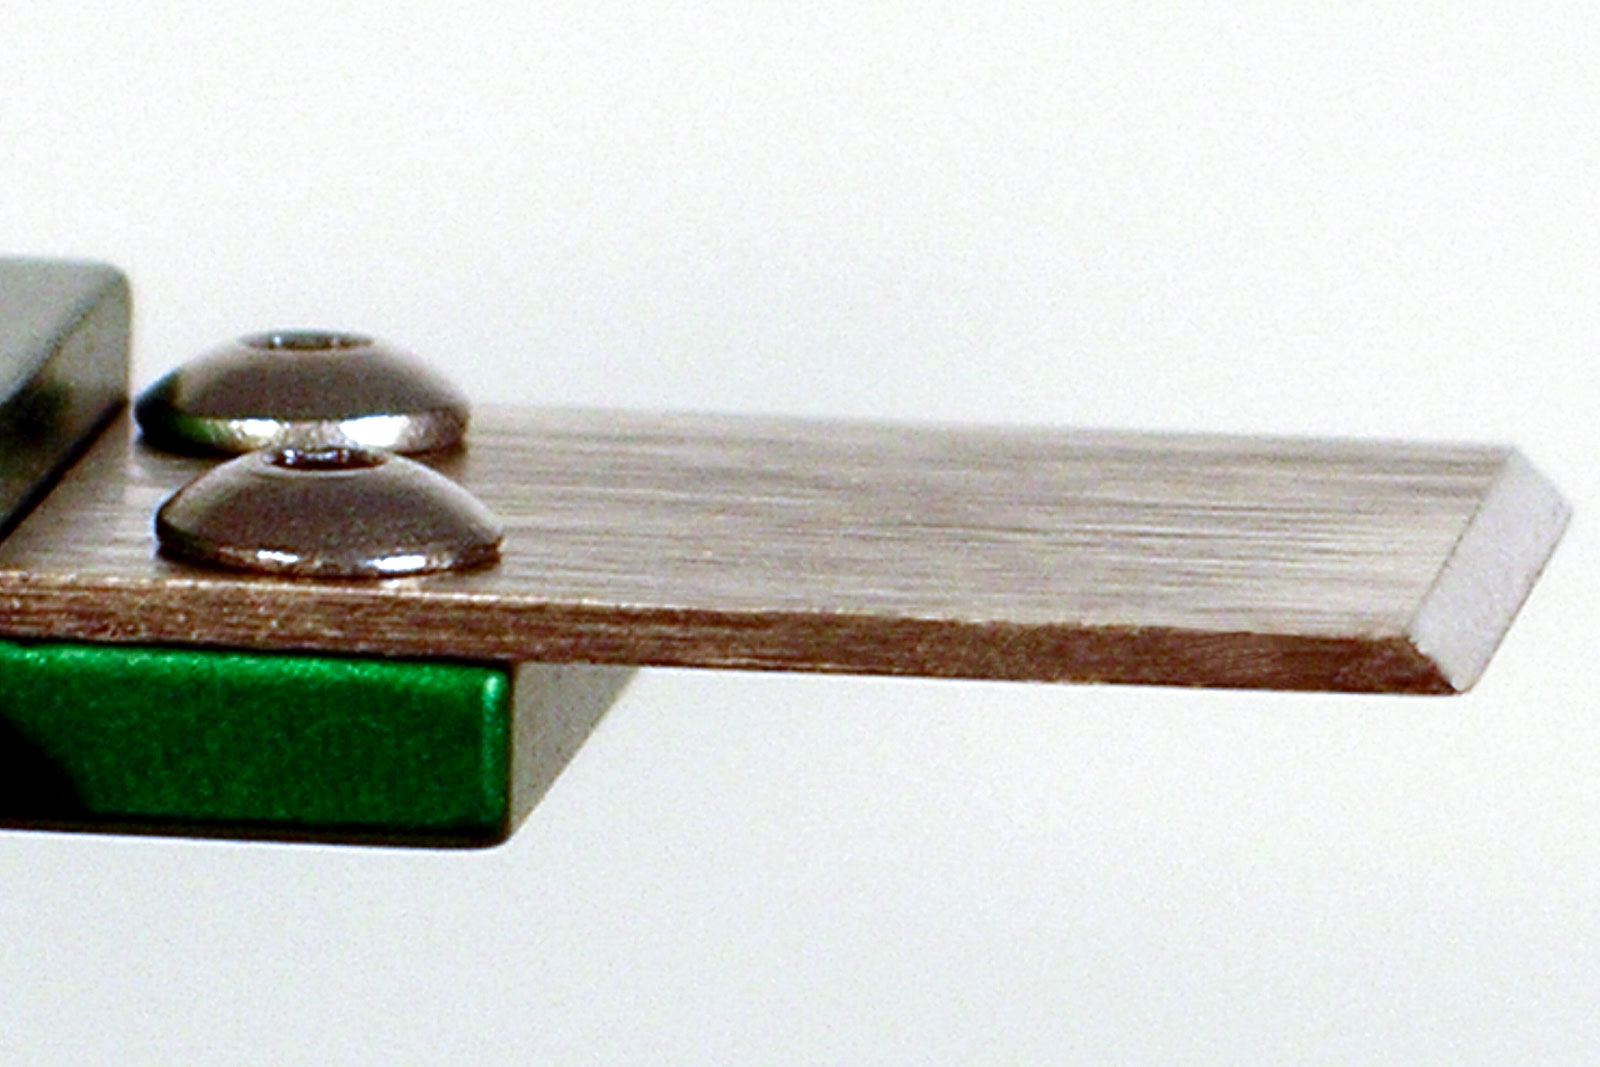
Wear-Resistant Carbide Knife Edges
(Part No. 9903-05-02)
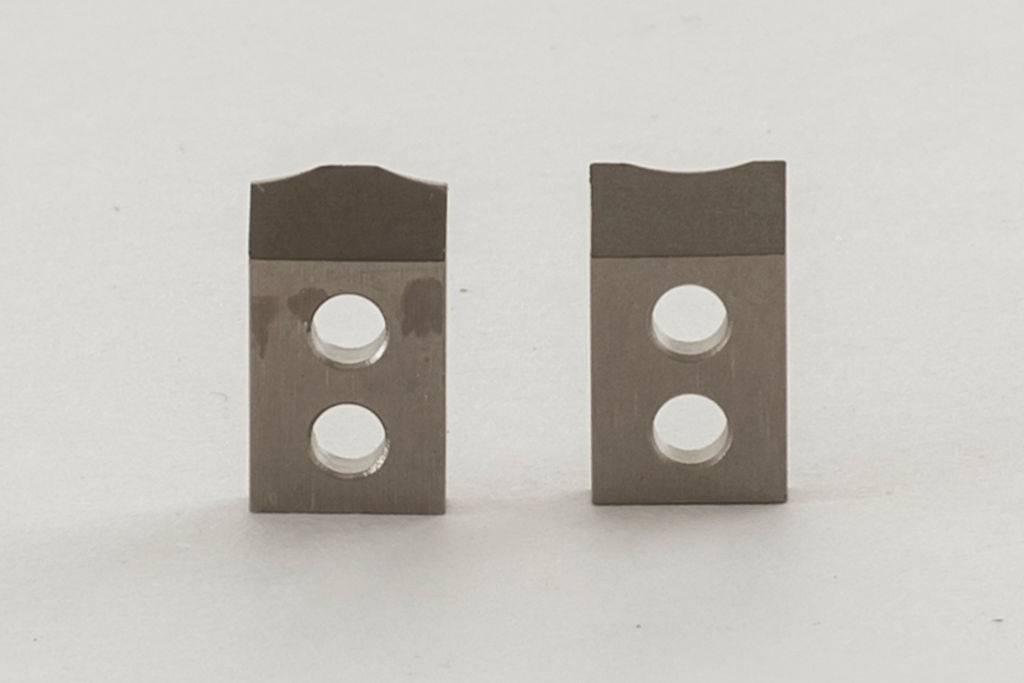
Designed as an alternative for customers who experience slipping or accelerated wear of the standard knife edges when testing hard materials, these ultra-hard, dual-bevel knife edges will retain a sharp edge and last much longer. They are not for use with rebar. They are also extremely sharp and not suitable for applications that are sensitive to stress concentrations. Rated to 540 °C.
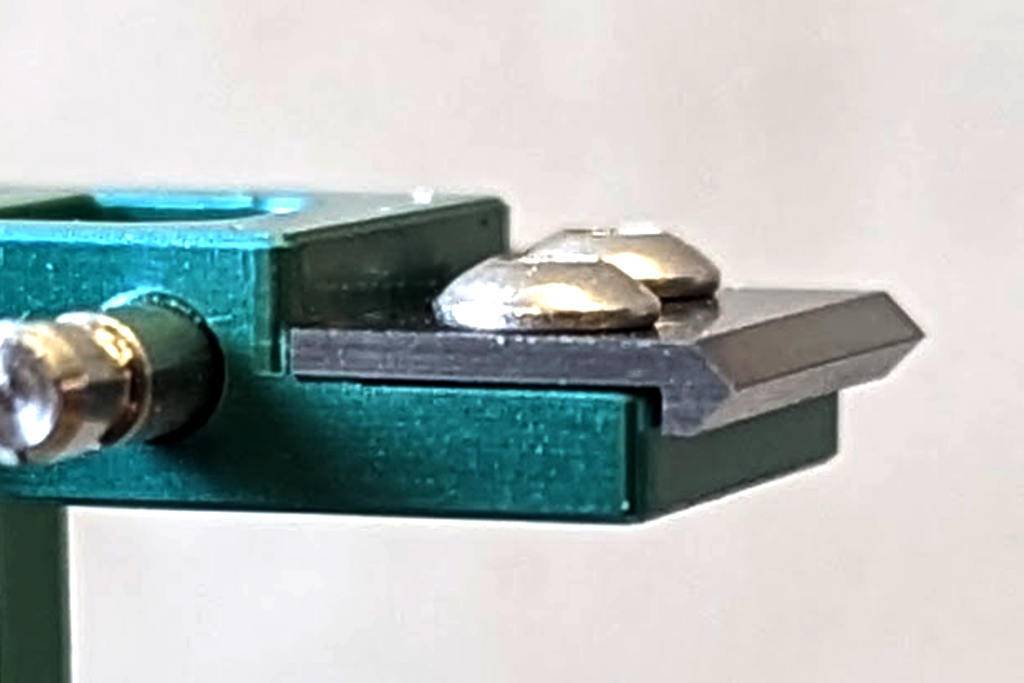
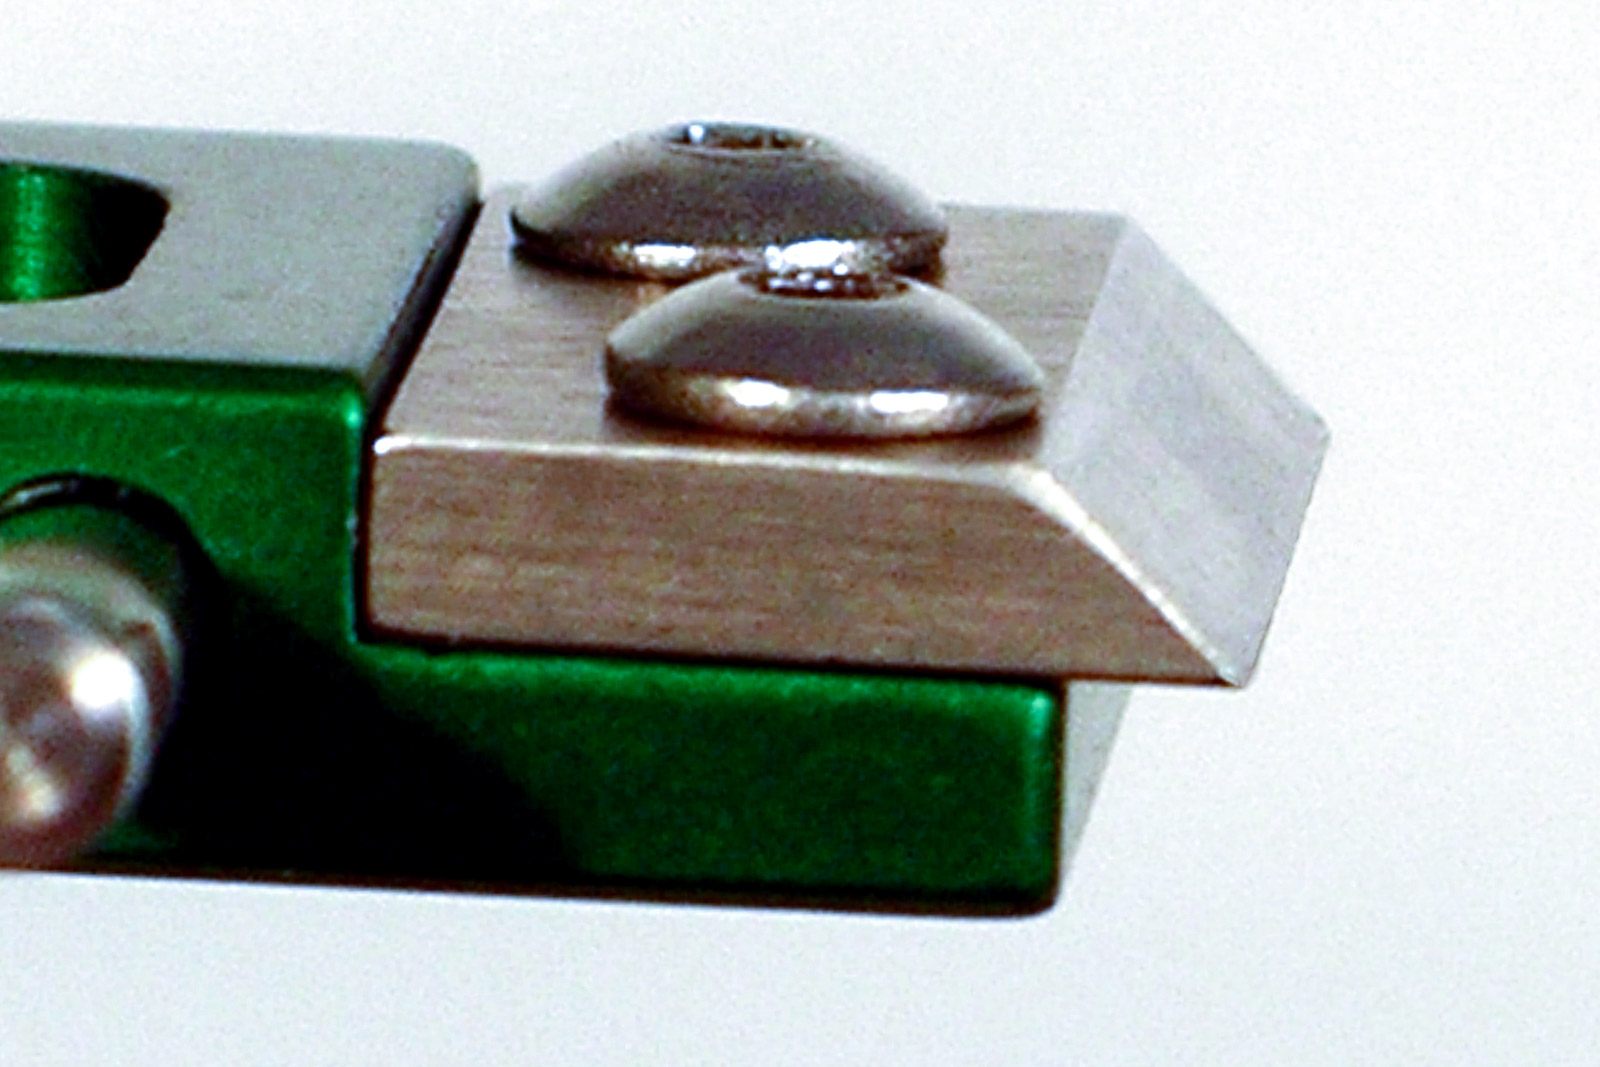
Knife Edges for Notch-Sensitive Materials
(Part No. 350210V2-01)
The dual-bevel design and robust tool steel construction of these knife edges make them an ideal choice for applications that tend to cause chipping damage to standard or wear-resistant knife edges at failure. As they are not as sharp as their counterparts, these knife edges are also well-suited for working with notch-sensitive applications.
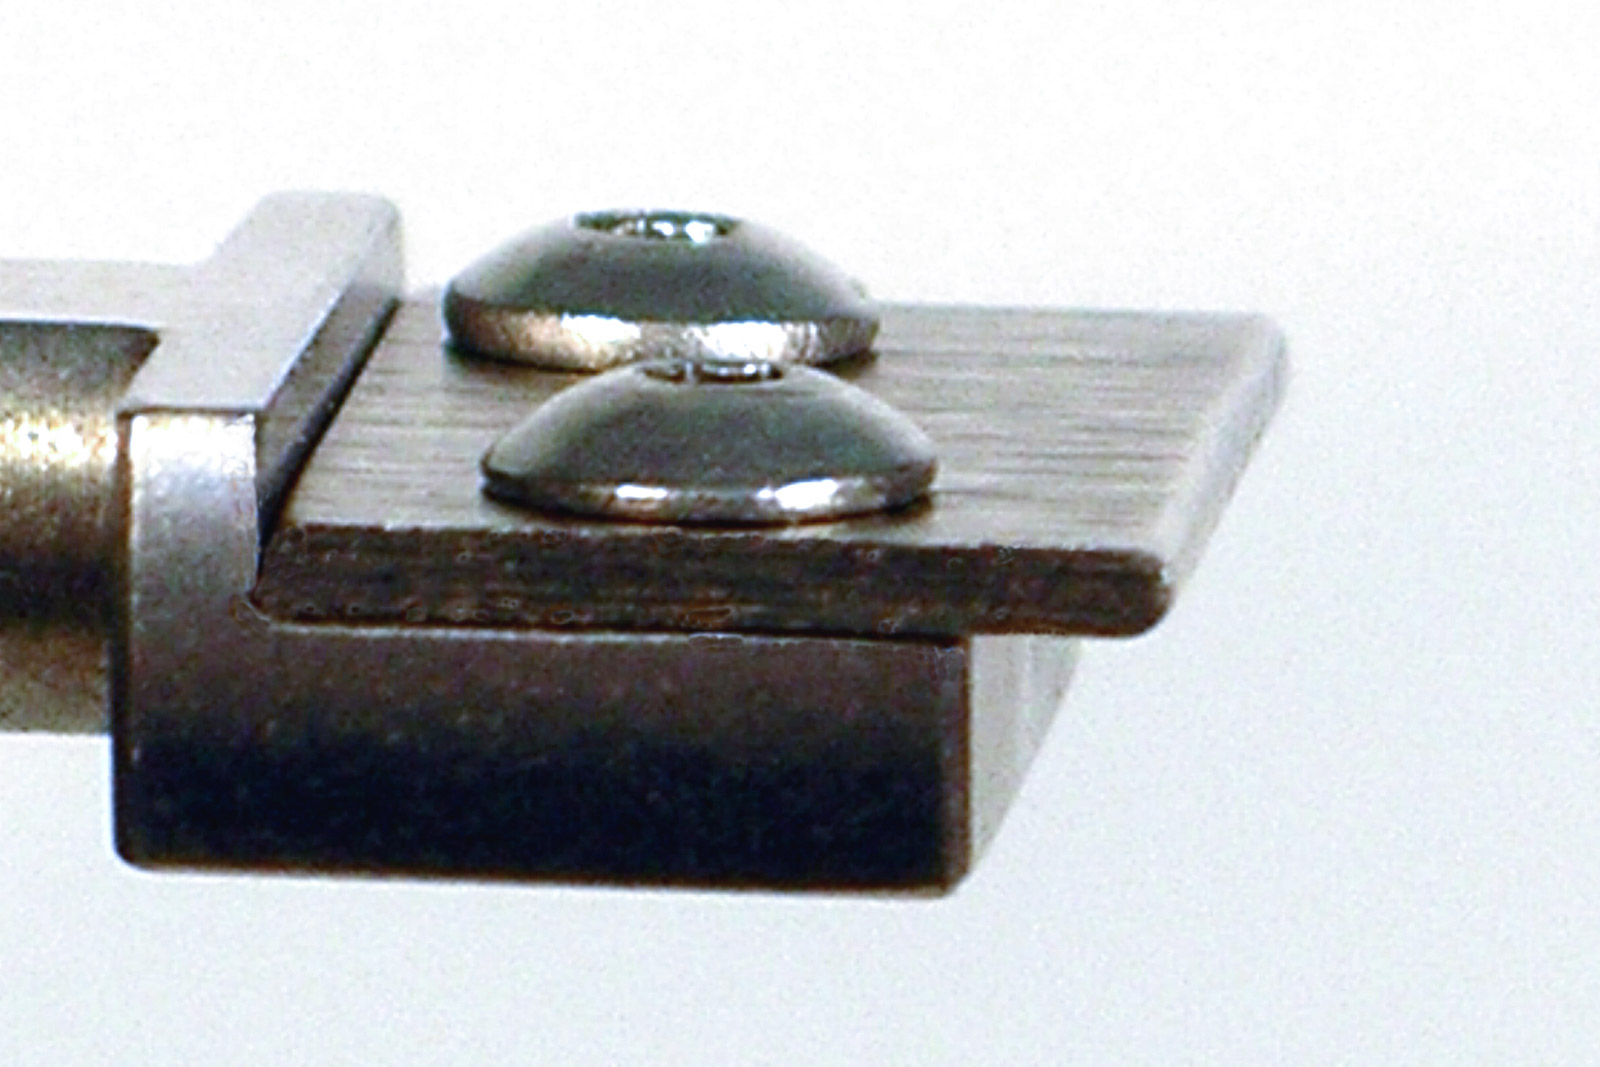
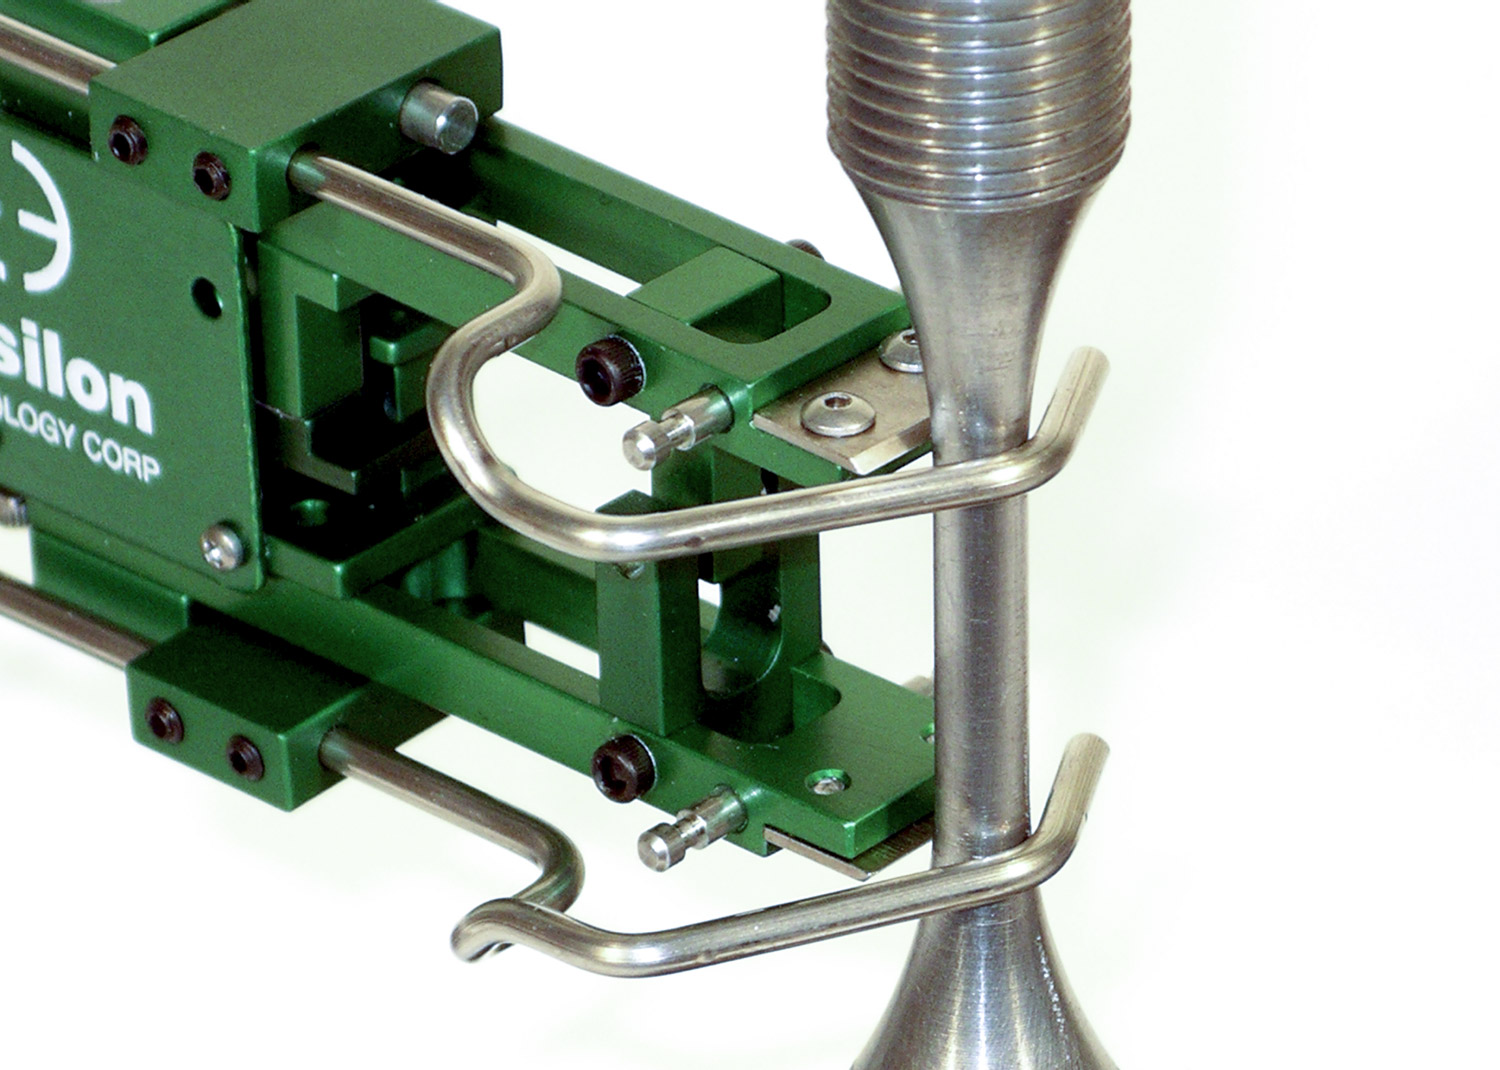
Vee Knife Edges
(PART NO.9903-01-01)
Designed for use on round specimens, these knife edges will self-center the extensometer on the specimen.
Read More…
Ceramic Knife Edges
(Part No. 350210C2-01)
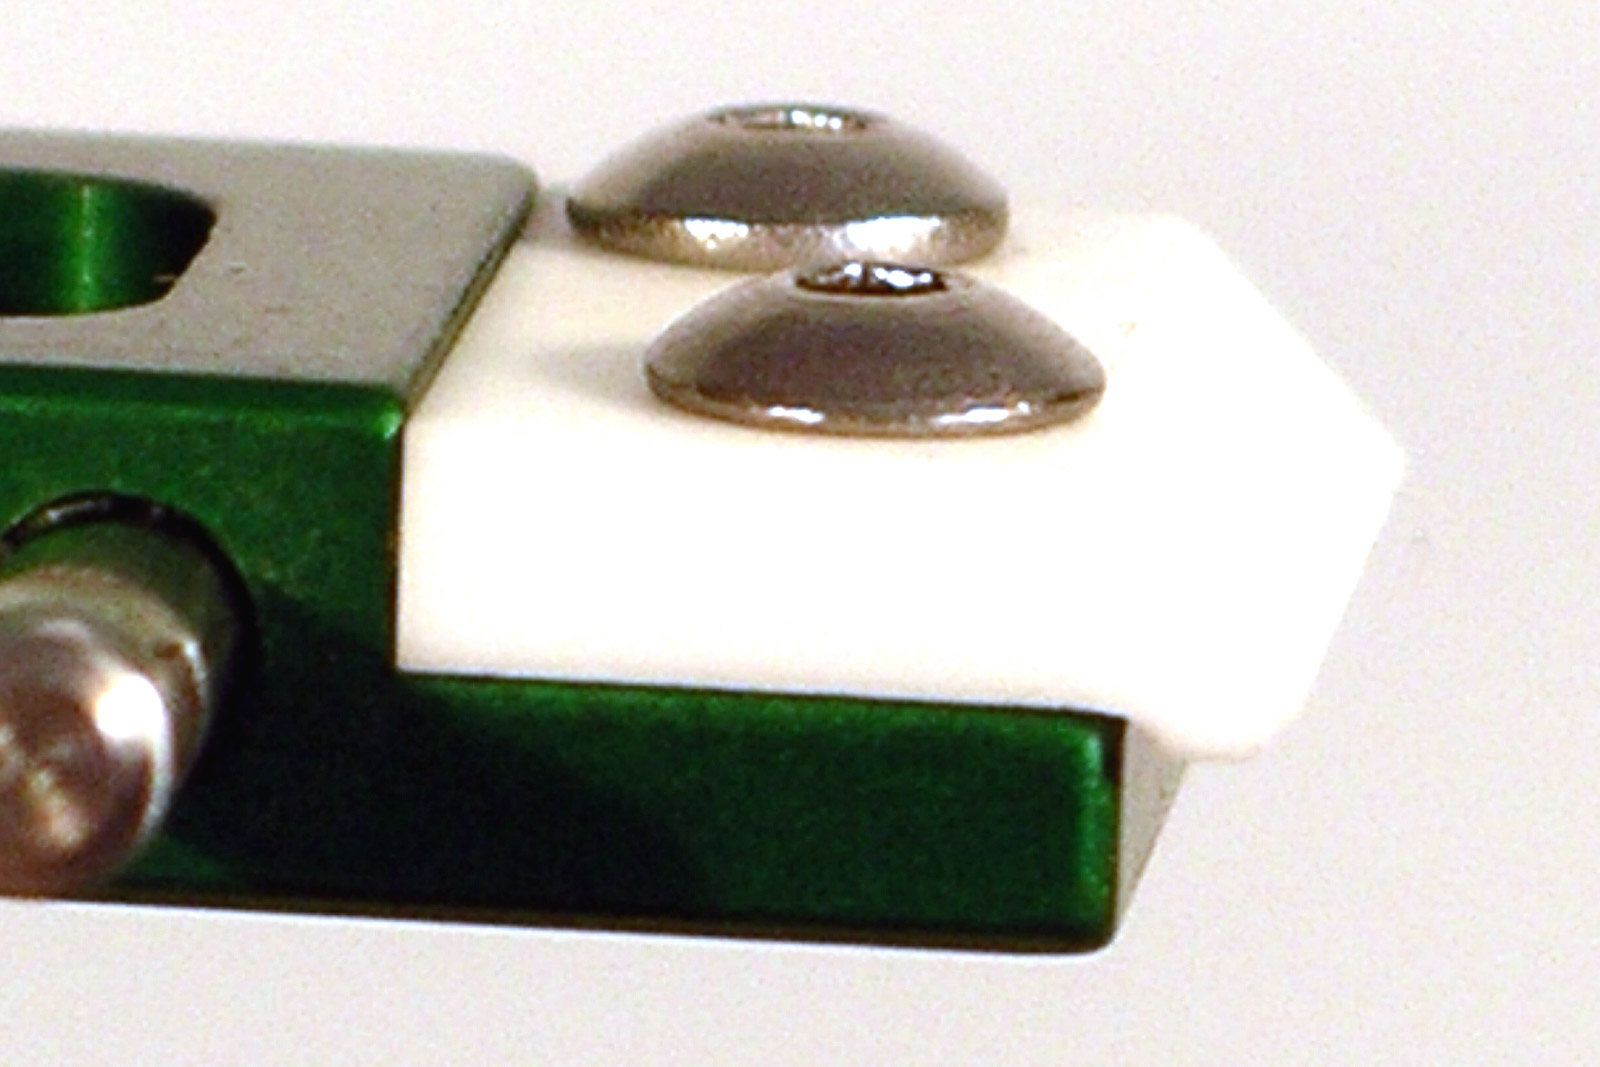
These knife edges are typically used in low cycle fatigue applications on hard metals where metallic knife edges would likely experience undue wear. They are also used on the submersible Model 4030 extensometer to prevent galvanic corrosion between the extensometer and the test specimen.
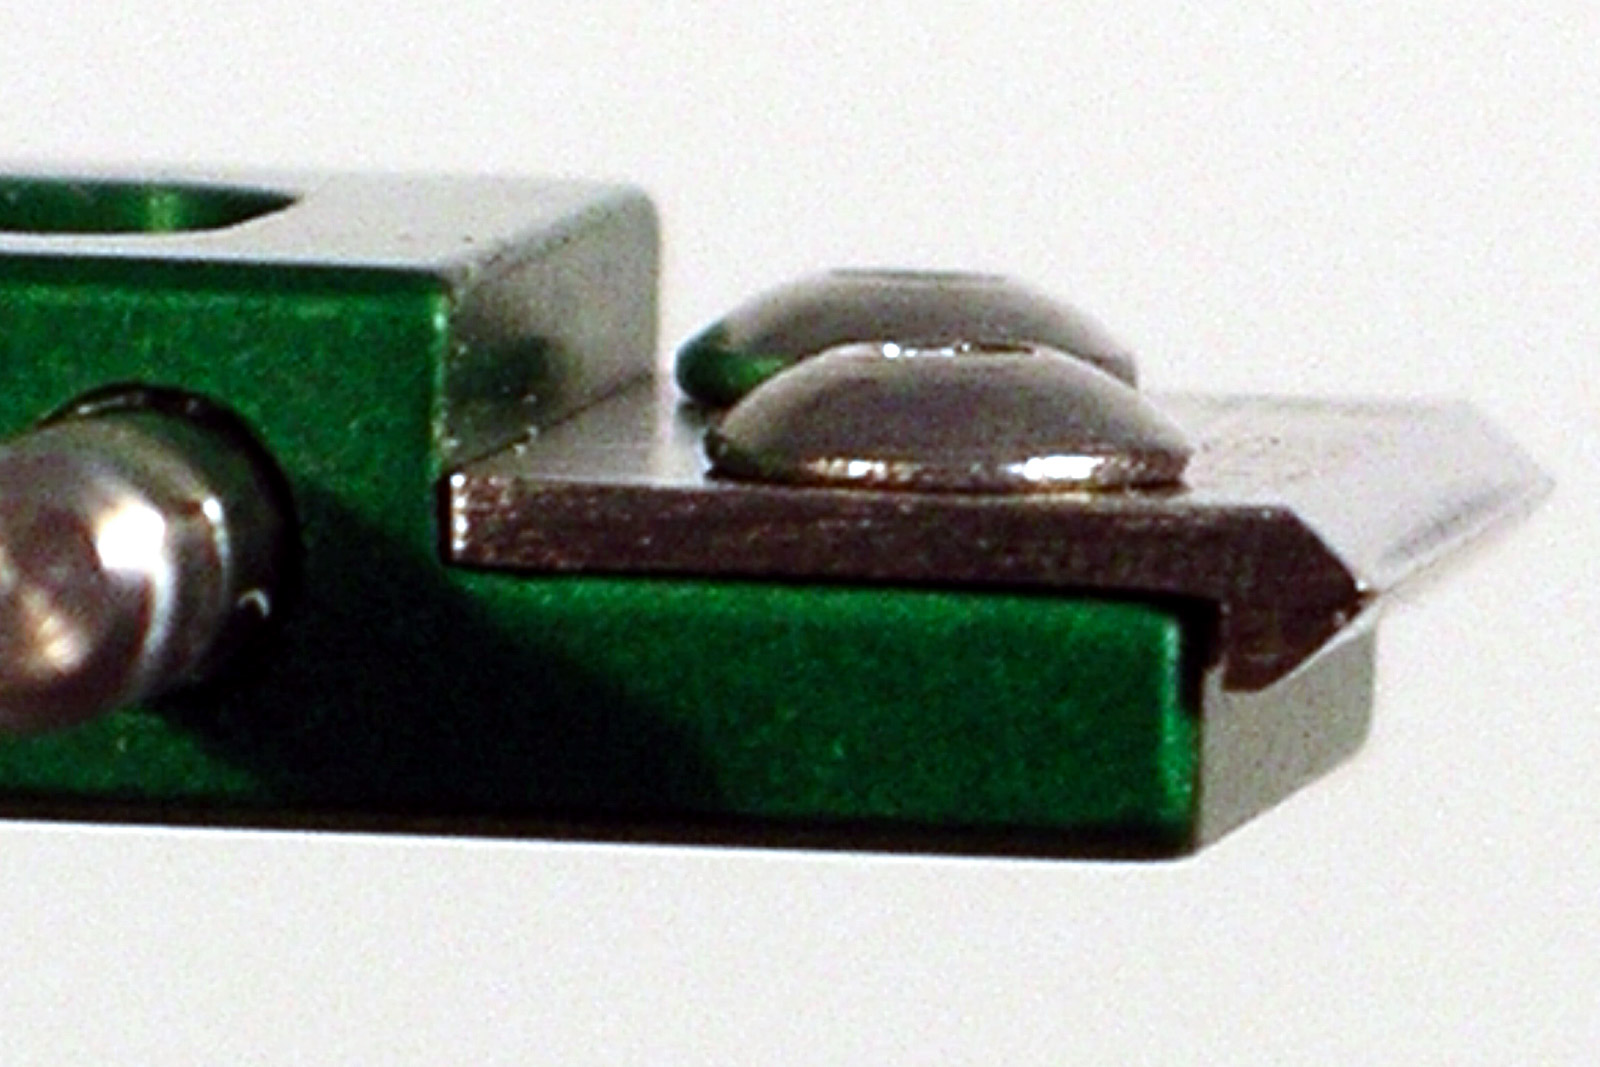
Bolt-On Knife Edges for Fracture Mechanics
(Part No. Bolt-On Knife Edges)
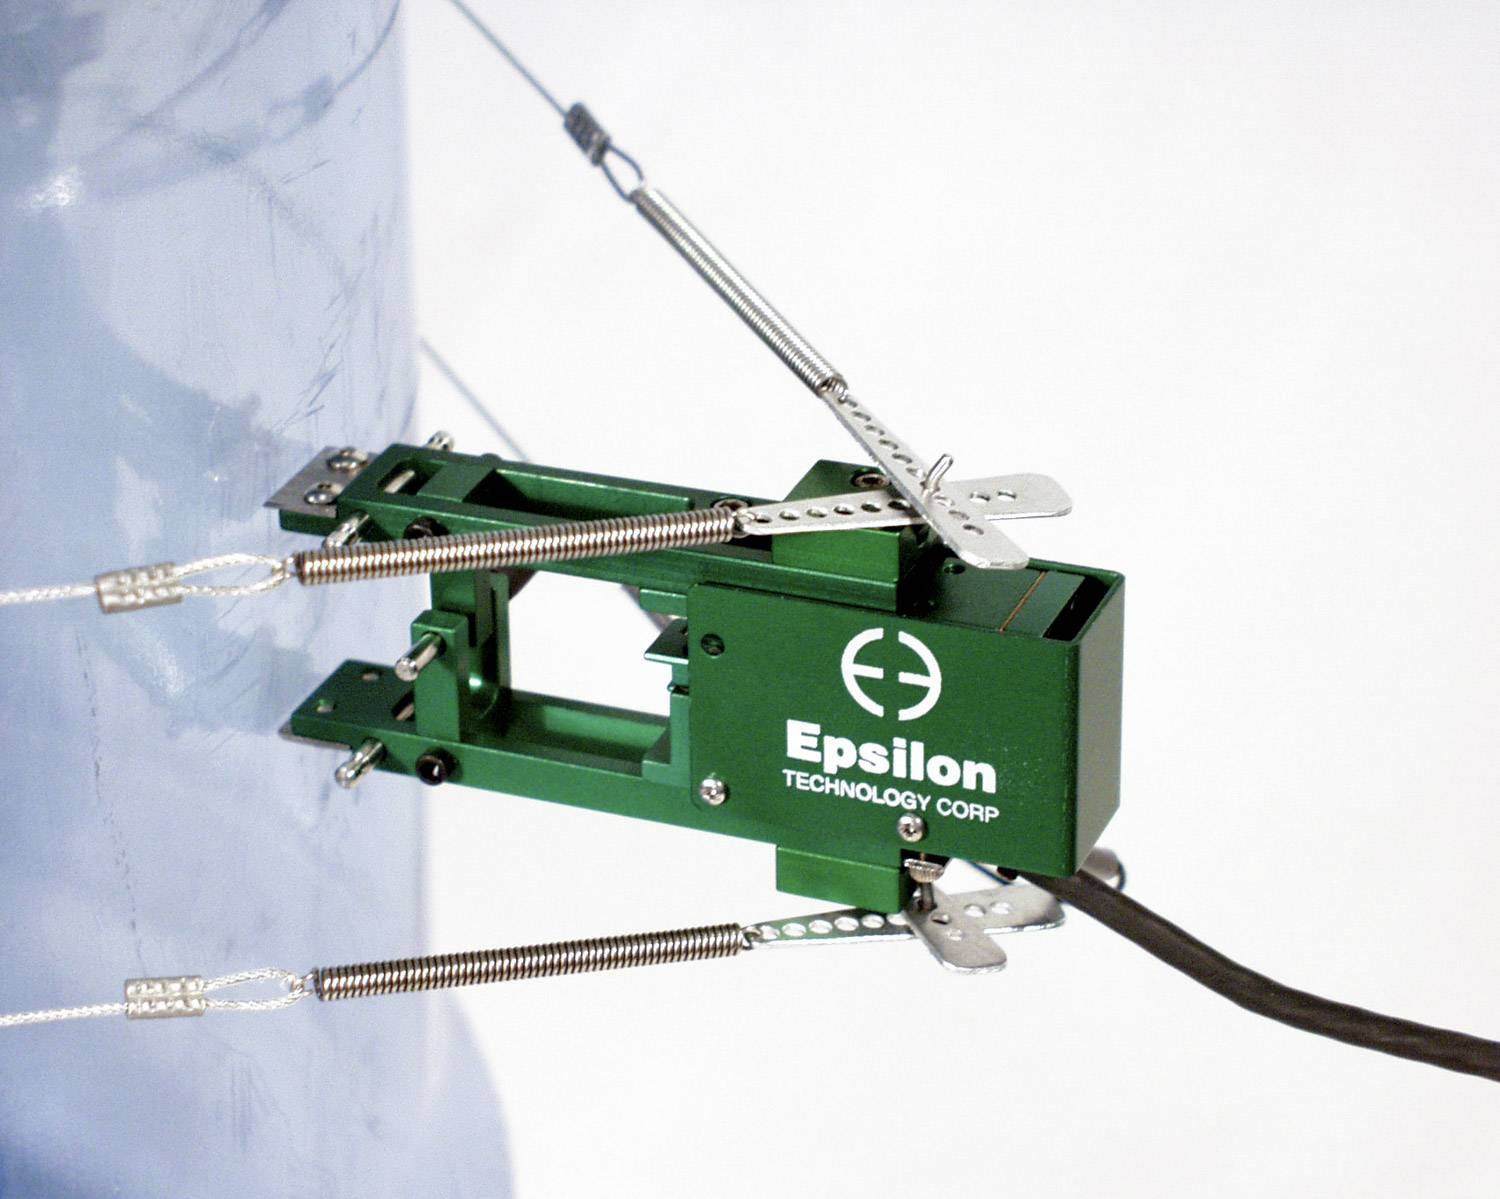
Reusable bolt-on knife edges for attaching COD gages to fracture mechanics and fatigue crack growth specimens. Sold in sets of two. 30° knife edge angle. Made of nickel-plated tool steel. Includes 4x 1/4″ 2-56 screws and hex wrench. Hole size also fits M2 screws. Rated to 500 °C (932 °F).
Axial Extensometer – Model 3542
Axial Extensometer – Model 3542
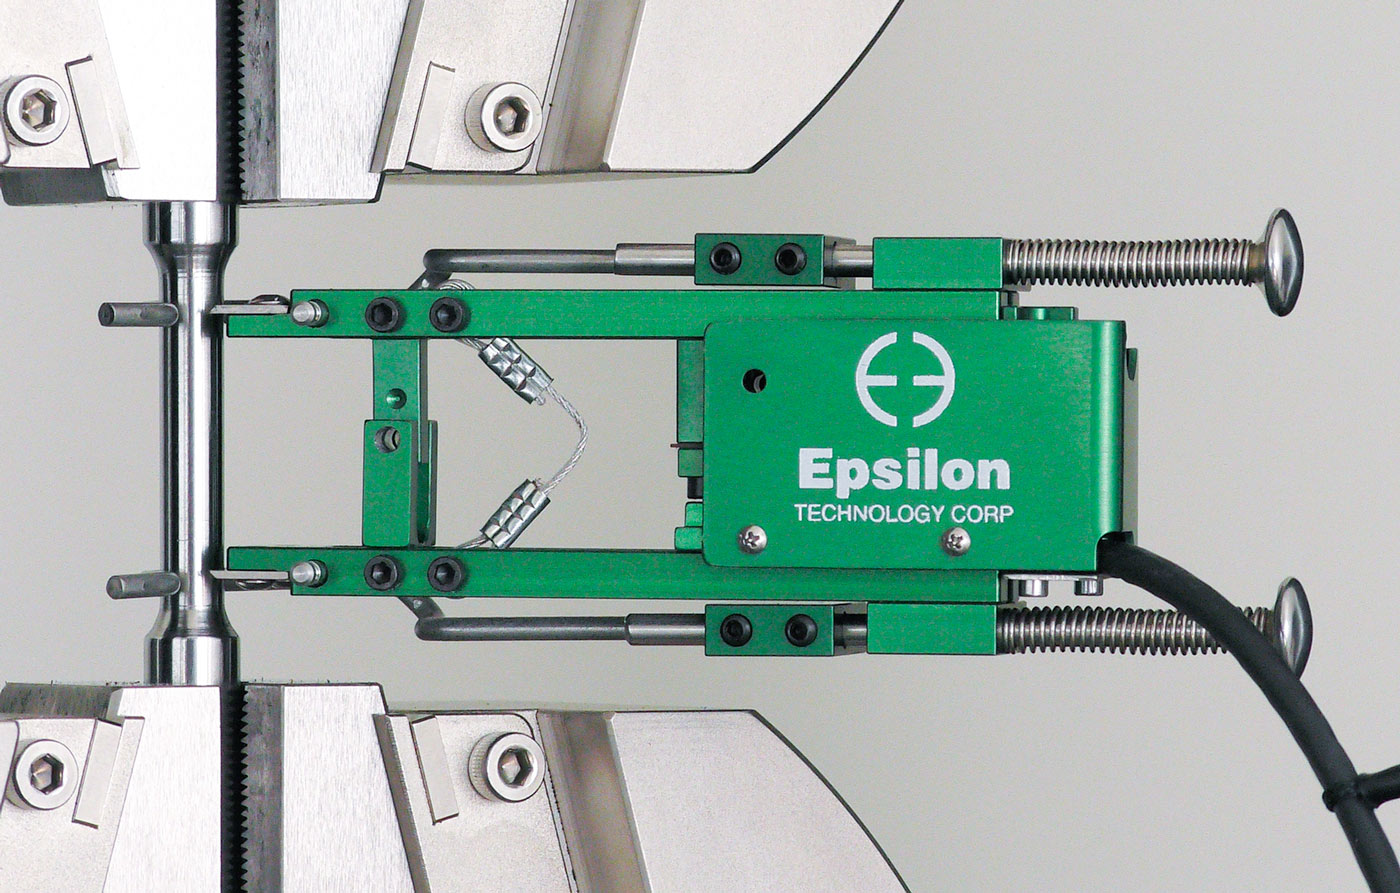
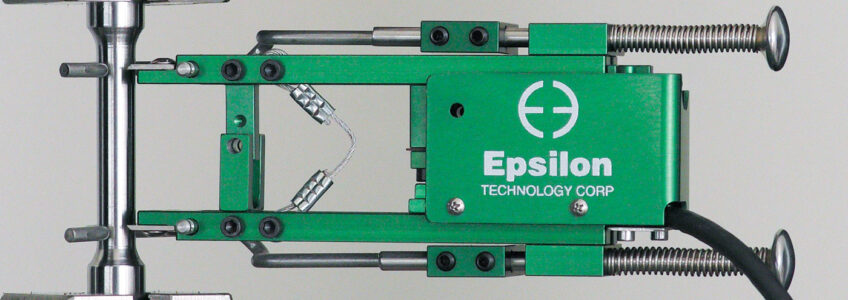
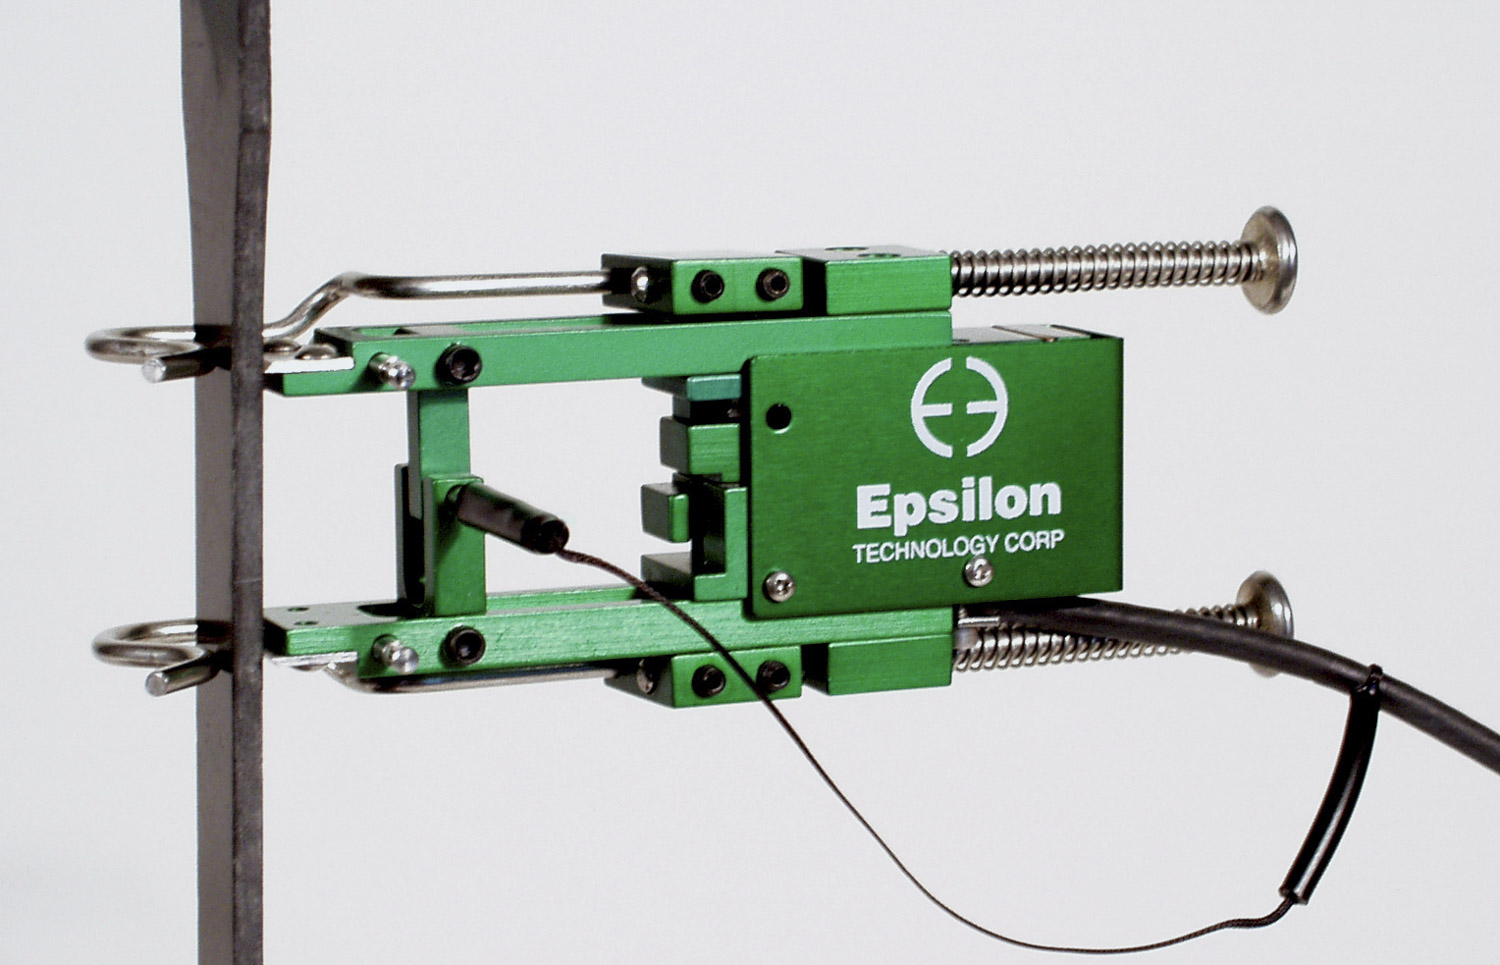
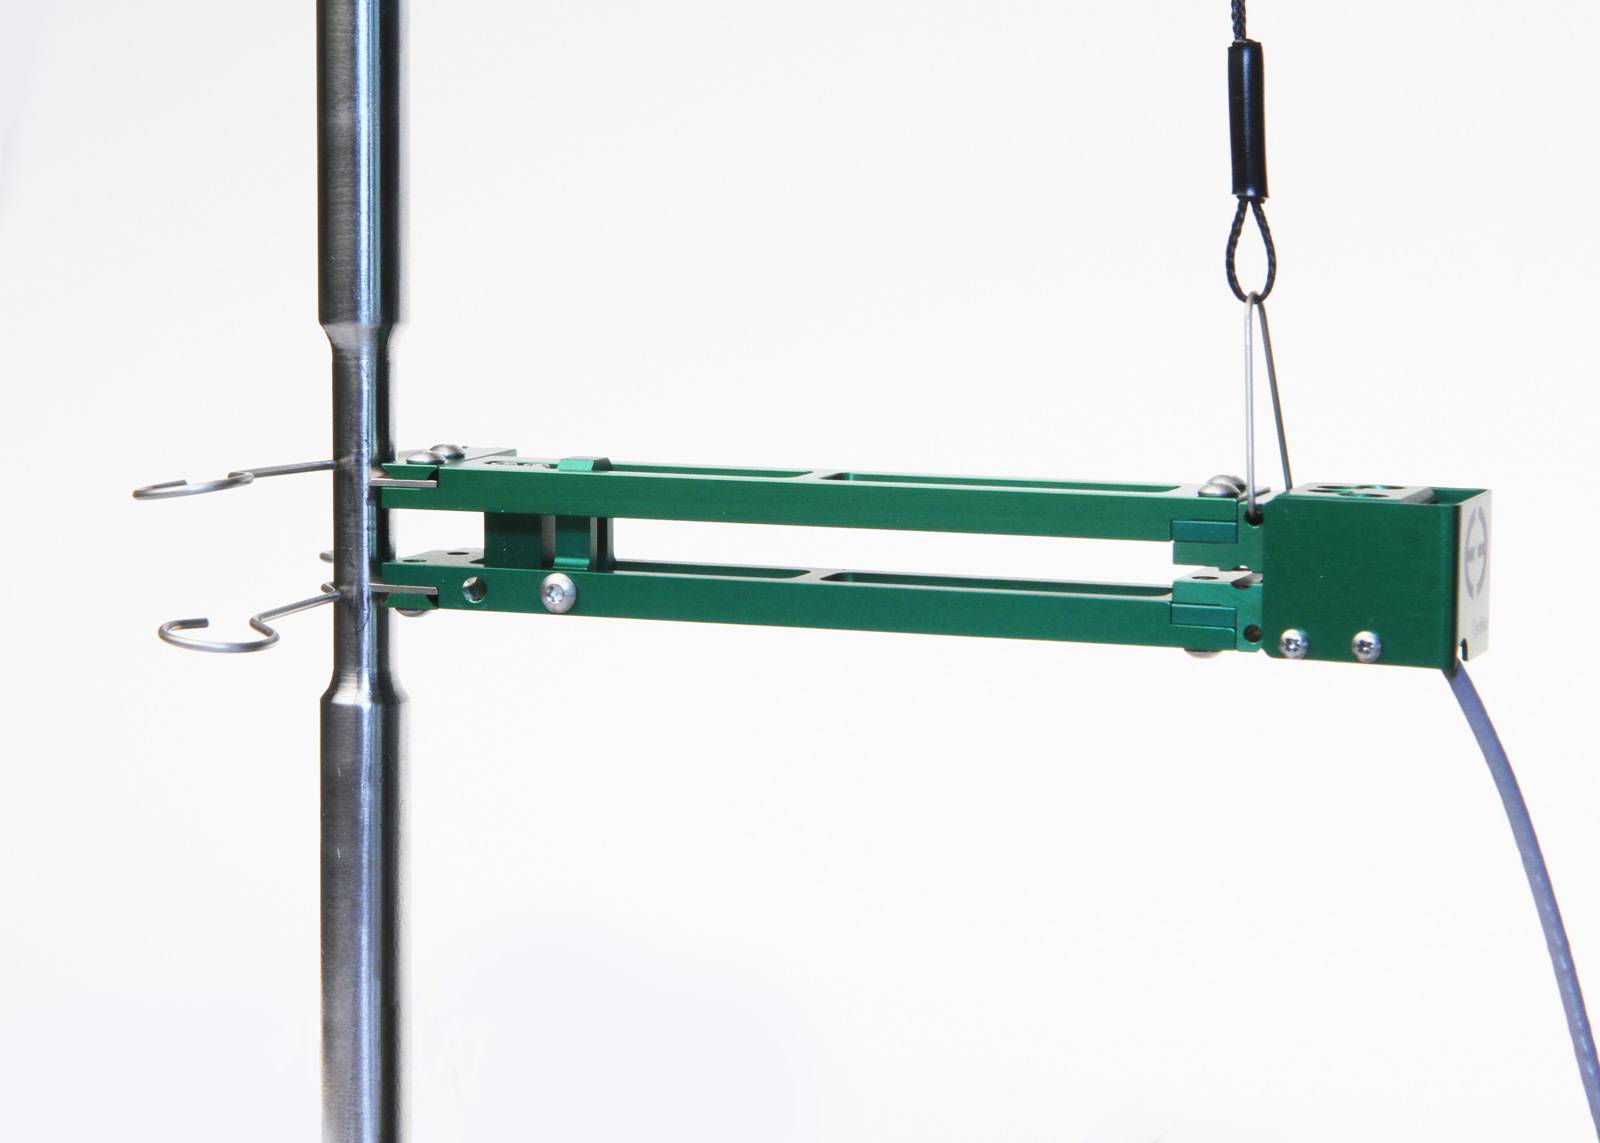
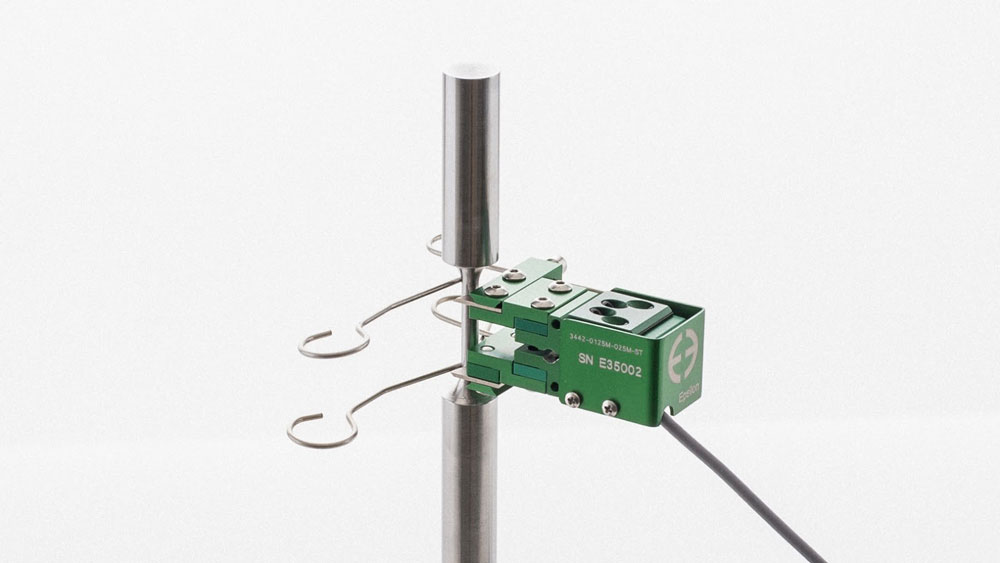
These extensometers are designed for testing a wide range of materials, including metals, plastics, composites and ceramics. All will perform both tension and compression strain measurement. The dual flexure design makes them very rugged and insensitive to vibrations, which permits higher frequency operation.
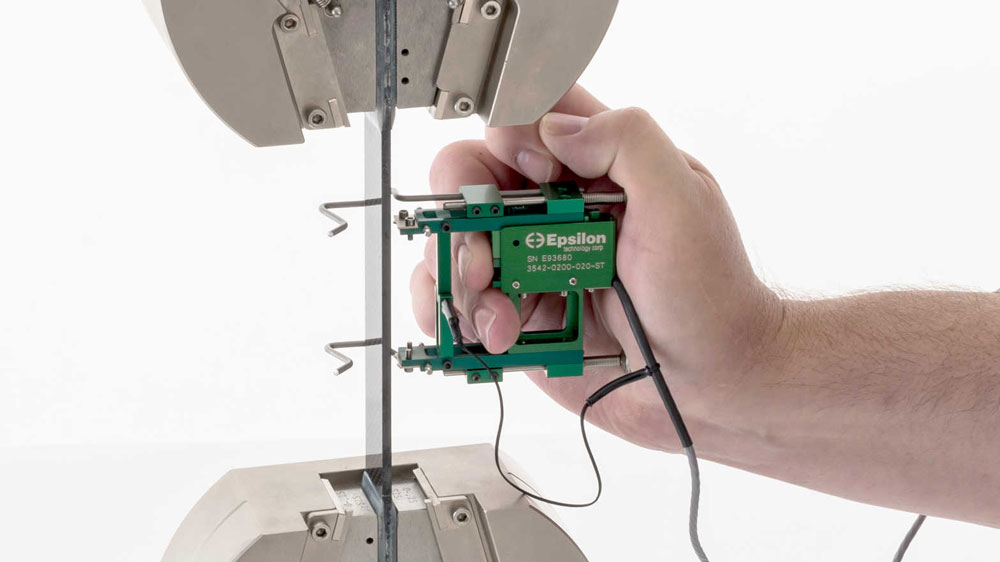
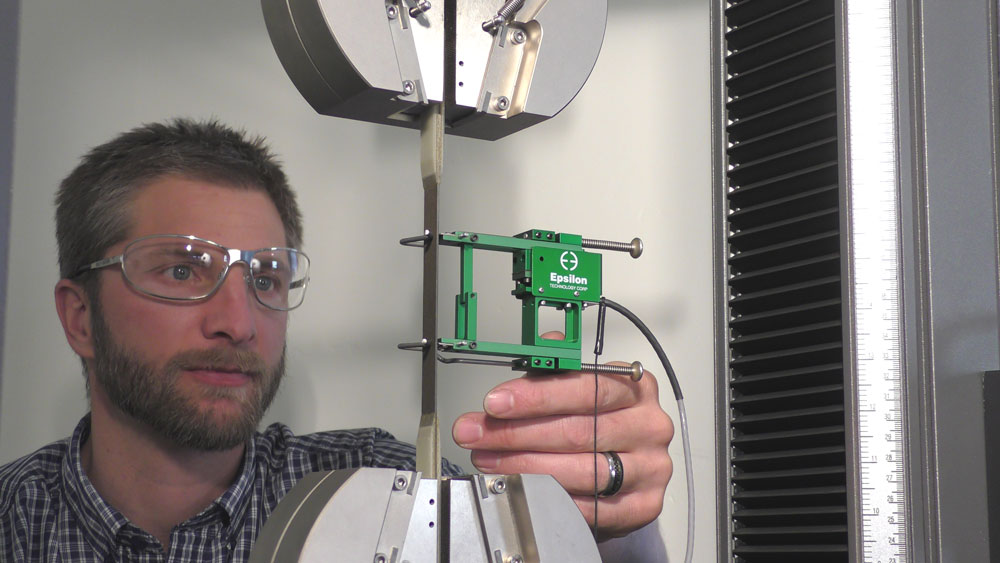
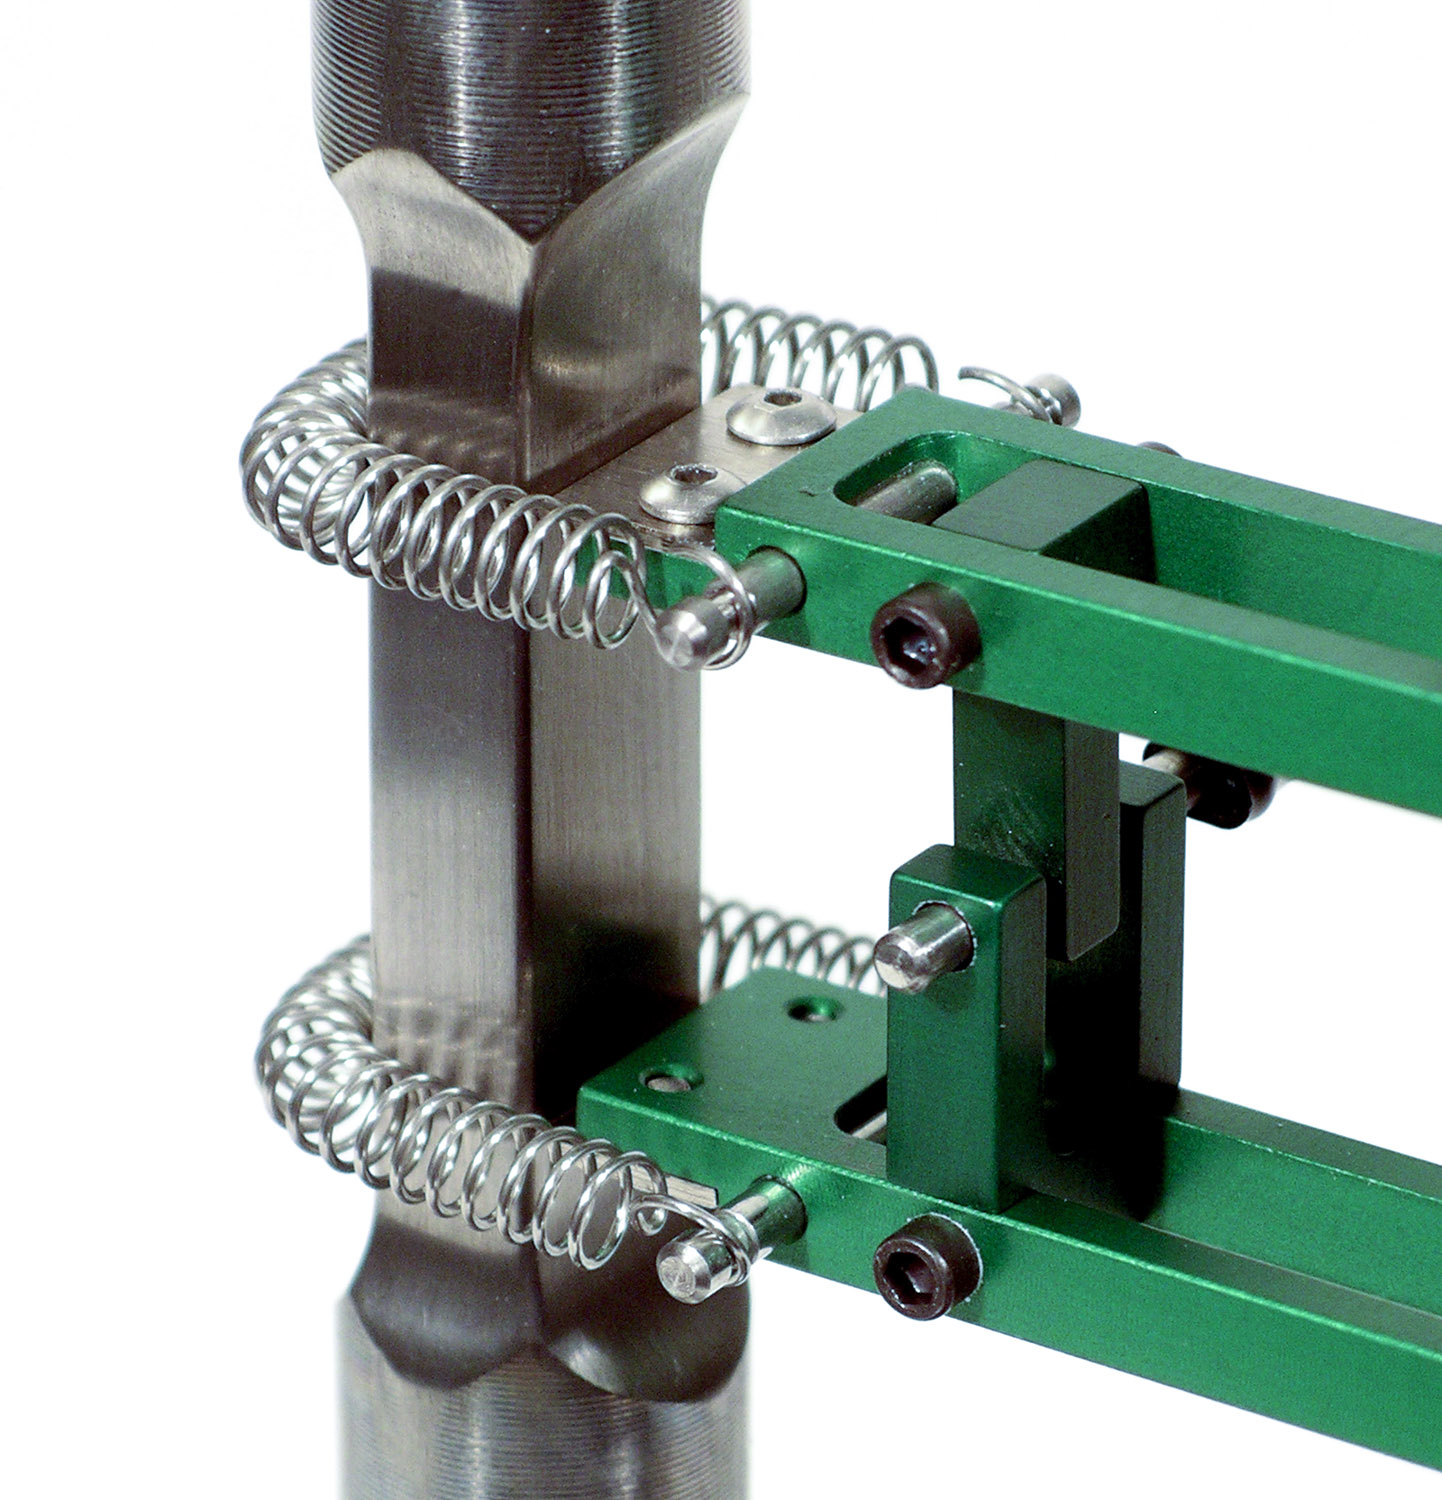
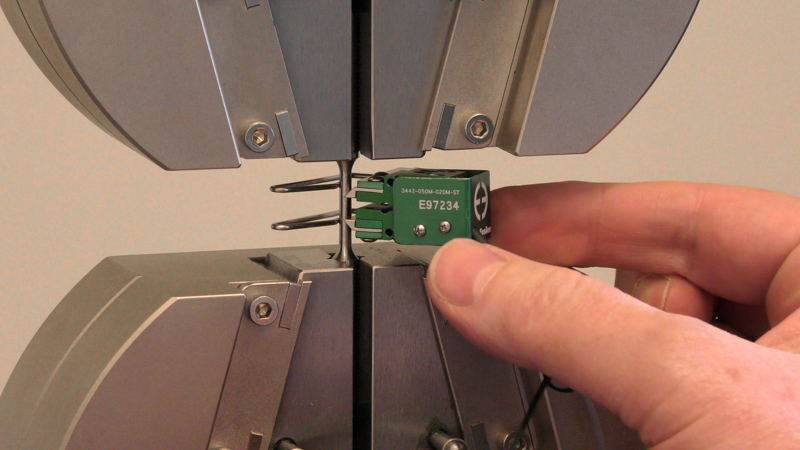
They come standard with Epsilon’s quick attach kit, making it possible to mount the extensometer on the test specimen quickly and easily with one hand. The quick attach kit can be removed, allowing mounting of the extensometer with springs or rubber bands.
Model 3542 extensometers are applicable for testing with the following standards:
• ISO 6892-1, 527-2, 527-4, 527-5, 10113
• ASTM E8, E9, D3039, D638, A370, D3552, E517, E646
Model 3542 extensometers are strain-gaged devices, making them compatible with any electronics designed for strain-gaged transducers. They are often connected to a test machine controller with electronics for a strained channel, and Epsilon will equip the extensometer with a compatible connector wired to plug directly into the controller. For systems lacking the required electronics, Epsilon can provide various solutions for signal conditioning and connection to data acquisition systems or other equipment.
For gauge lengths less than 20 mm (0.8 inches), Epsilon recommends the more compact Model 3442. For gauge lengths 100 mm (4 inches) or greater see Model 3542L.
- May be left on through specimen failure in most applications. i
- Full bridge, 350 ohm strain gaged design for compatibility with nearly any test system.
- All models can measure in both tension and compression and can be used for cyclic testing.
- Standard quick attach kit allows one hand mounting to specimens.
- Rugged, dual flexure design for strength and improved performance. Much stronger than single flexure designs, this also allows cyclic testing at higher frequencies.
- All models have mechanical overtravel stops in both directions. Cable stops are used for overtravel protection where required. Epsilon’s cable stops are fully contained between the arms of the extensometer and do not hang below where they can interfere with fixturing–especially during compression testing.
- Hardened tool steel knife edges are easily replaced. A spare set comes with every extensometer.
- Gauge length adapter kits enable configuration of multiple gauge lengths with one extensometer.
- Replaceable arms and spacers for ease of repair.
- High and low temperature options extend operation from as low as -270 °C to +200 °C (-454 °F to +400 °F).
- Includes the Epsilon Shunt Calibration System for on-site electrical calibration.
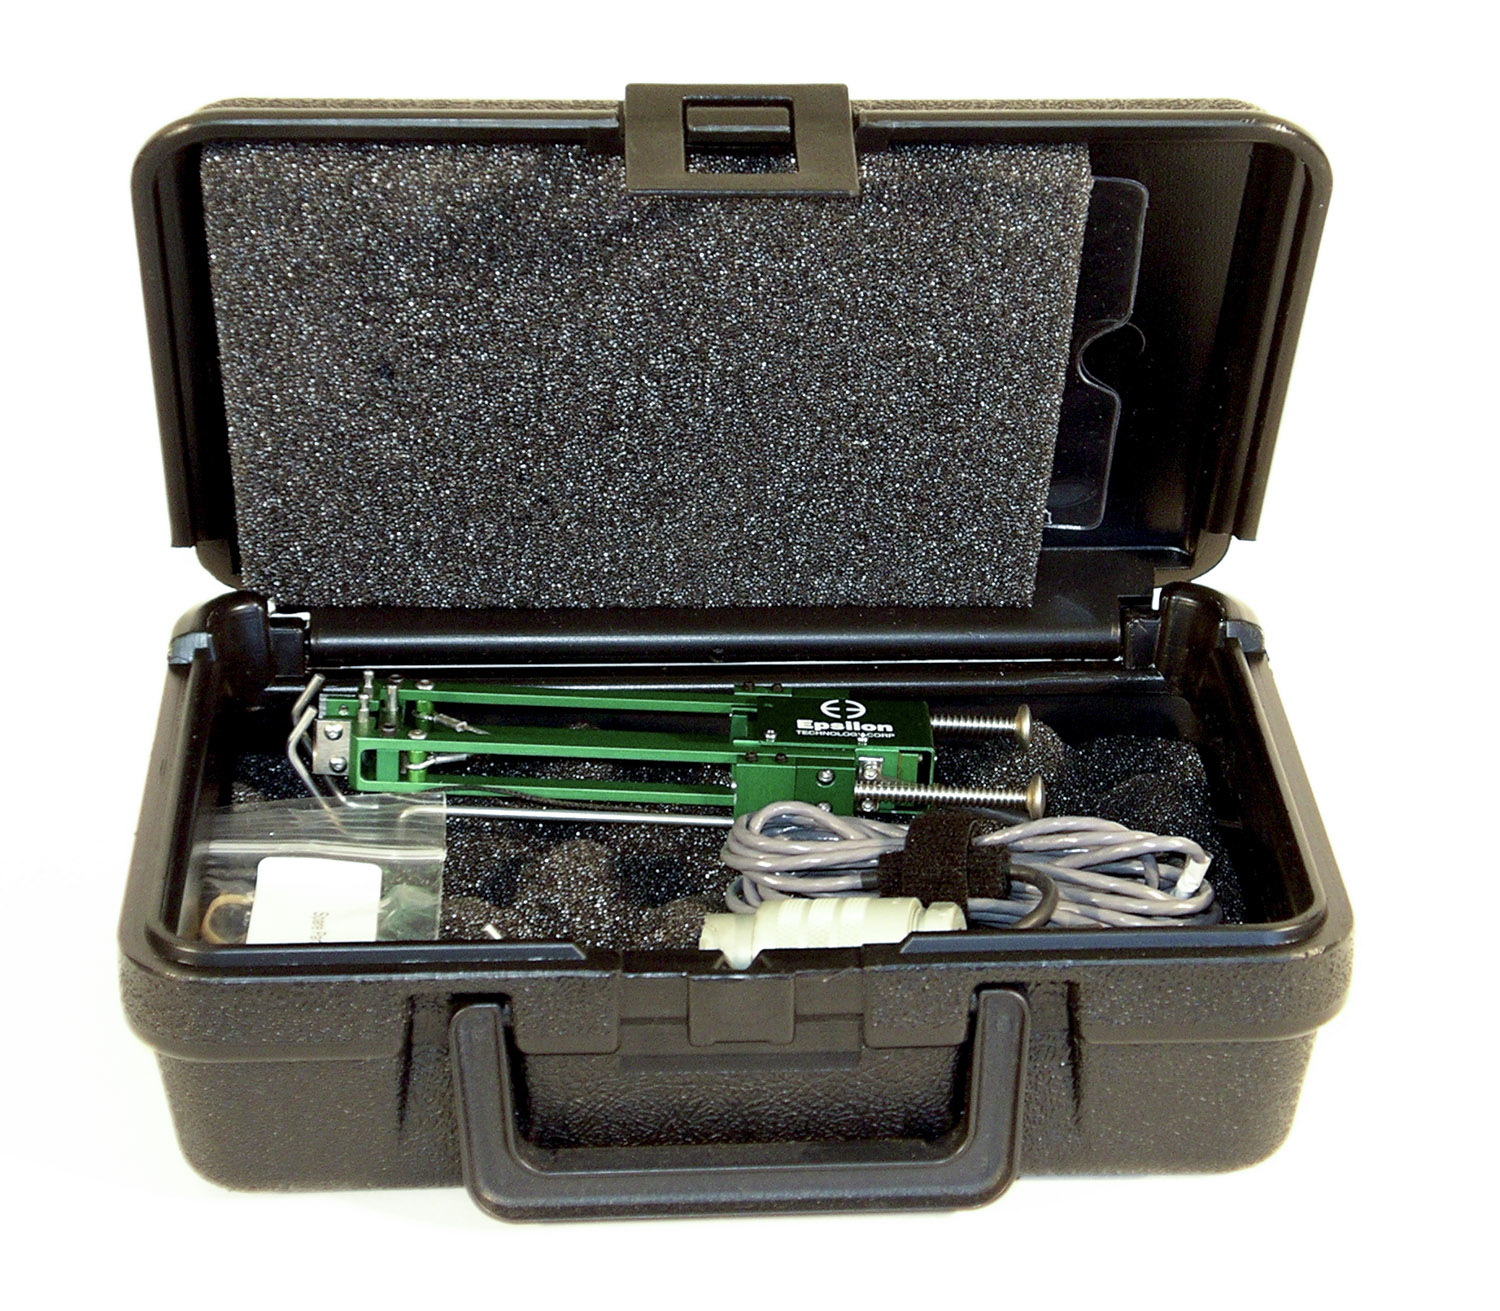
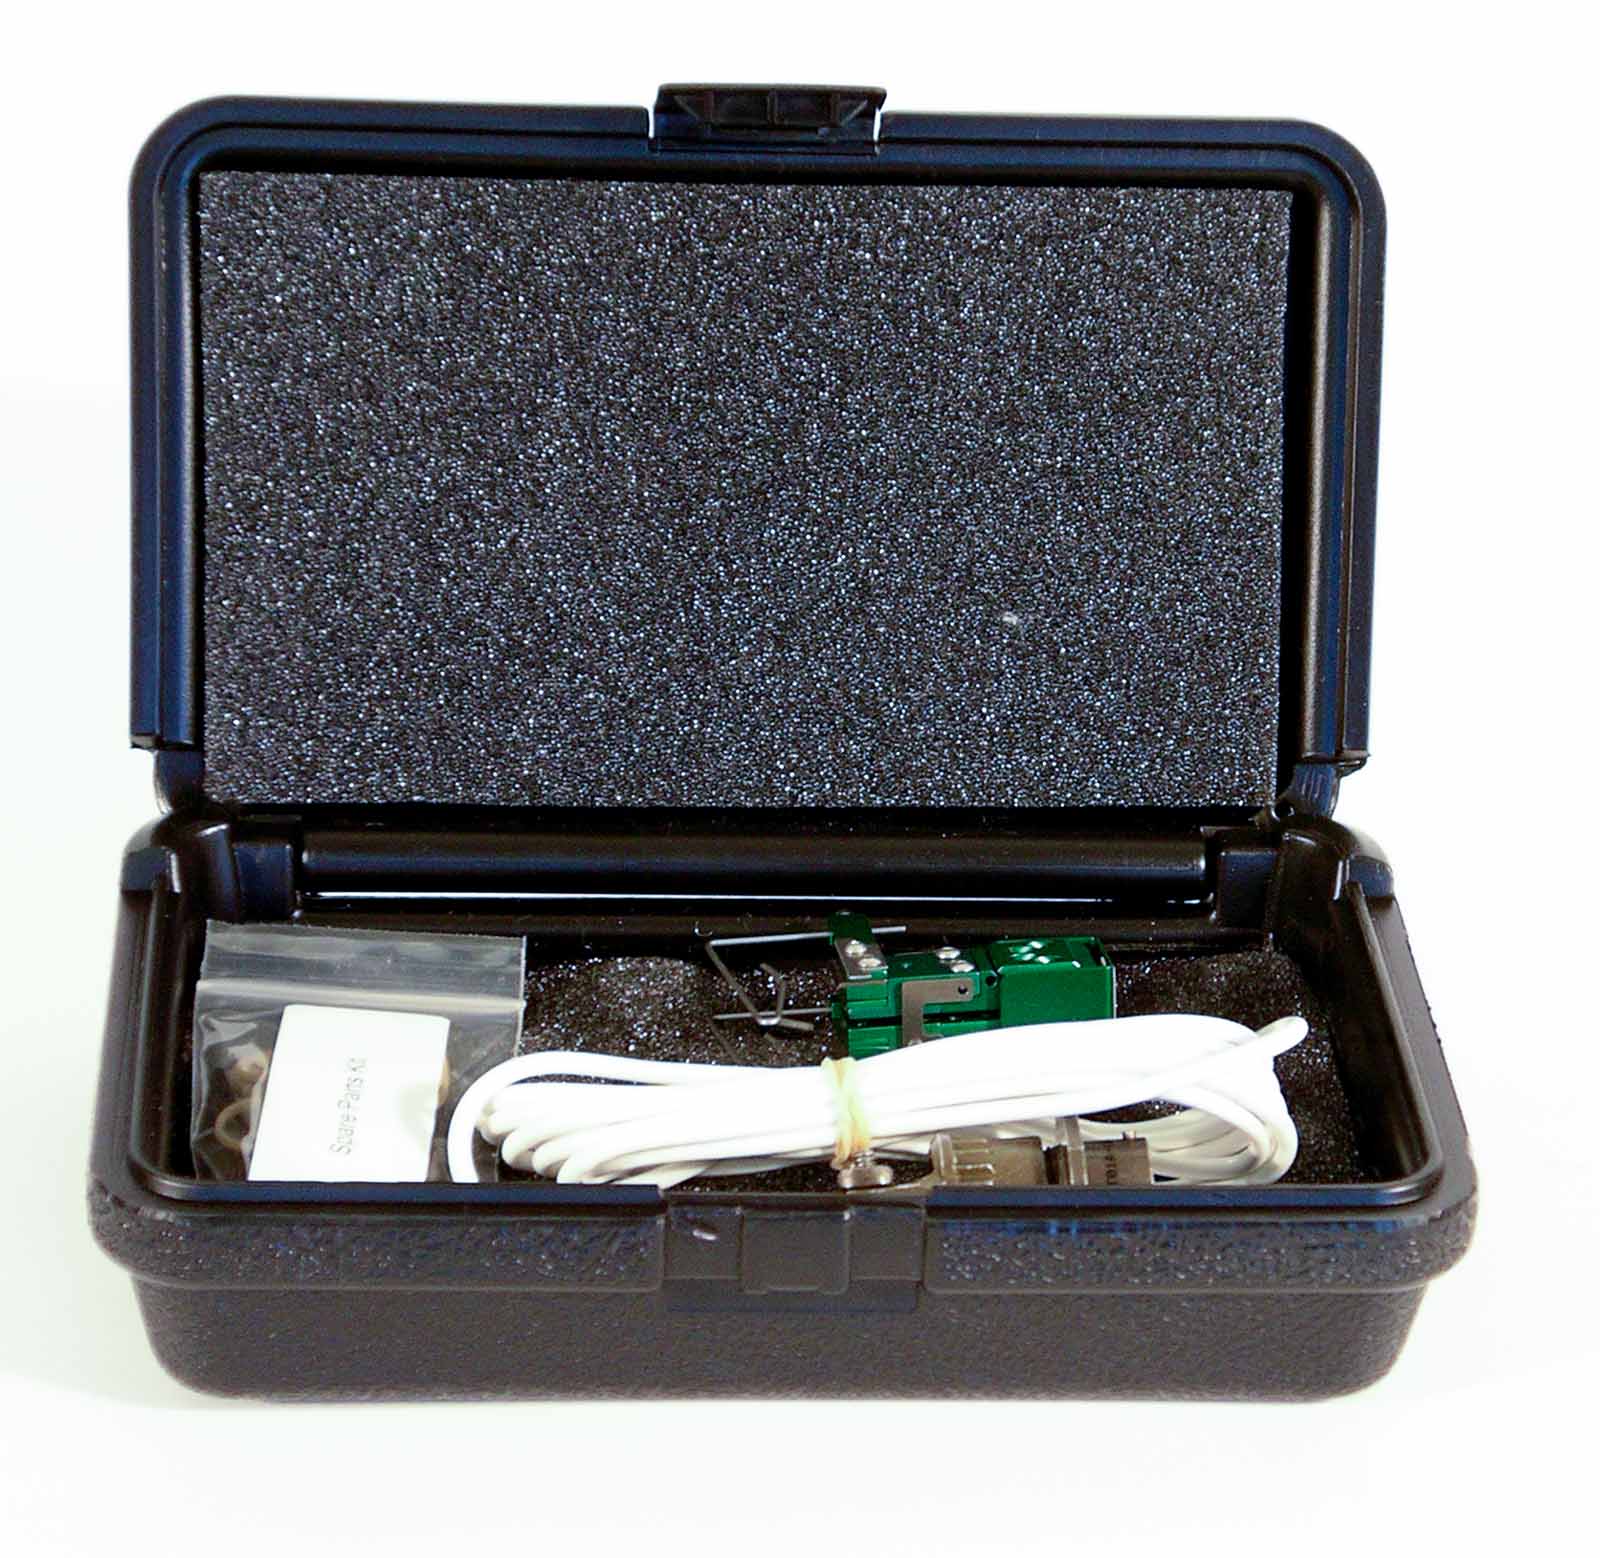
- Includes high quality foam lined case.
When does an extensometer have to be removed before specimen failure?
Remove model 3542 and 3442 extensometers before specimen failure, or use an Epsilon ONE® non-contacting extensometer, in the following applications:
- Rebar and other materials with textured or rough surface finishes (note: use model 3543 or Epsilon ONE to test rebar through failure)
- Wire cable
- Unidirectional composites and similar materials that explode / disintegrate at failure
- Non-rigid griping systems such as “lever action” wedge grips with moveable grip faces or grips with spherical seats
- Long samples of elastic material
- When the expected elongation of the material exceeds the extensometer’s measuring range (for example, using a 10% extensometer with a metal specimen that fails at 20% elongation)
- Rupture of internally pressurized specimens
Excitation: 5 to 10 VDC recommended, 12 VDC or VAC max.
Output: 2 to 4 mV/V, nominal, depending on model
Accuracy: Standard configurations meet ASTM E83 class B-1 accuracy requirements for gauge lengths ≥20 mm and class B-2 for <20 mm. All standard configurations meet ISO 9513 class 0,5. A test certificate is included.
Linearity: ≤0.15% of full scale measuring range
Temperature Range: Standard (-ST) is -40 °C to +100 °C (-40 °F to 210 °F)
Cable: Integral, ultra-flexible cable, 2.5 m (8 ft) standard
Standard Quick Attach Kit:
– Wireforms are included for round samples 2-25 mm (0.08-1.0 inch) diameter and flats up to 12 mm thick by 31 mm wide (0.5 inch by 1.25 inch); wireforms are available for many other specimen sizes – contact Epsilon
– Rubber bands and springs for attachment are also included
– Model 3442 is recommended for specimen diameters <2 mm
Operating Force: Depends on model configuration; 10 to 100 g typical
![]()
- Quick attach kit wireforms or cable attachment for large specimens
- Adapter kits to change gauge lengths
- Connectors to interface to nearly any brand of test equipment
- Special coatings and stainless steel knife edges available for biomedical tests
- Specialty Knife Edges
Extensometers for composites compression testing. Models 3542 and 3442 extensometers can be furnished to clip directly onto composites compression fixtures, such as for ASTM D695. These use specially made Quick Attach Kit arms for the customer’s fixture. Consult the factory for specifics. See also the Model 3442 Miniature Extensometer.
Product Videos
Ordering Information
Click table options to configure
Gauge Length i
| mm or inches | # |
|---|---|
| 10.0 mm | -010M¹ |
| 12.0 mm | -012M¹ |
| 12.5 mm | -0125M¹ |
| 20.0 mm | -020M |
| 25.0 mm | -025M |
| 30.0 mm | -030M |
| 35.0 mm | -035M |
| 40.0 mm | -040M |
| 45.0 mm | -045M |
| 50.0 mm | -050M |
| 75.0 mm | -075M |
| 80.0 mm | -080M |
| 0.500 in | -0050¹ |
| 0.640 in | -0064¹ |
| 1.000 in | -0100 |
| 1.400 in | -0140 |
| 2.000 in | -0200 |
Selecting Extensometer Gauge Length
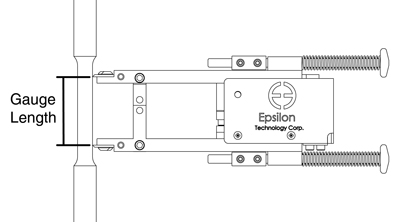
Extensometer Gauge Length is the distance between the extensometer’s initial measuring points on the specimen. If you are using a testing standard, check the standard for extensometer gauge length requirements. Many test standards specify the specimen dimensions and a matching extensometer gauge length.
Many specimens have a reduced section length that is designed to be greater than the extensometer’s gauge length.
Measuring Range² i
| % strain | # |
|---|---|
| ±5% | -005³ |
| ±10% | -010 |
| +20%/-10% | -020 |
| +25%/-10% | -025 |
| +50%/-10% | -050 |
| +100%/-10% | -100 |
Selecting Extensometer Measuring Range
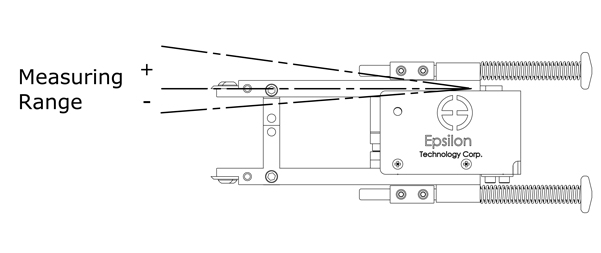
Measuring Range is the measuring capacity of the extensometer in tension (+) or compression (-) in units of % strain, maximum extension, or maximum deflection. When measuring range is in units of % strain, this means the maximum extension as a percentage of the gauge length.
Estimate the maximum strain or extension values you will need to measure, such as the total strain when the extensometer is removed after offset yield or the elongation at fracture. Then select a measuring range for the extensometer that meets or exceeds the requirements for the materials you are testing. If you are using a testing standard, also check the standard for extensometer requirements.
Temperature Range
| degrees | # |
|---|---|
| -270 °C to 100 °C (-454 °F to 210 °F) | -LT |
| -40 °C to 100 °C (-40 °F to 210 °F) | -ST |
| -40 °C to 150 °C (-40 °F to 300 °F) | -HT1 |
| -40 °C to 200 °C (-40 °F to 400 °F) | -HT2 |
| -270 °C to 200 °C (-454 °F to 400 °F) | -LHT |
Model Number: 3542 – _ _ _ _ – _ _ _ – _ _
Model 3542 Available Versions: Any combination of gauge length, measuring range and temperature range listed above is available, except as noted. Other configurations may be available with special order; please contact Epsilon to discuss your requirements.
¹Epsilon recommends model 3442 for applications with gauge lengths <20 mm (0.8 inches).
²Compressive ranges can be adjusted to higher values if required. Please contact Epsilon for your specific testing requirement.
³Not available in 10 mm, 12.5 mm, or 0.50 inch gauge lengths.
Example: 3542-050M-050-HT2: 50.0 mm gauge length, +50%/-10% measuring range, high temperature option (-40 °C to 200 °C)
Miniature Axial Extensometers – Model 3442
Miniature Axial Extensometers – Model 3442
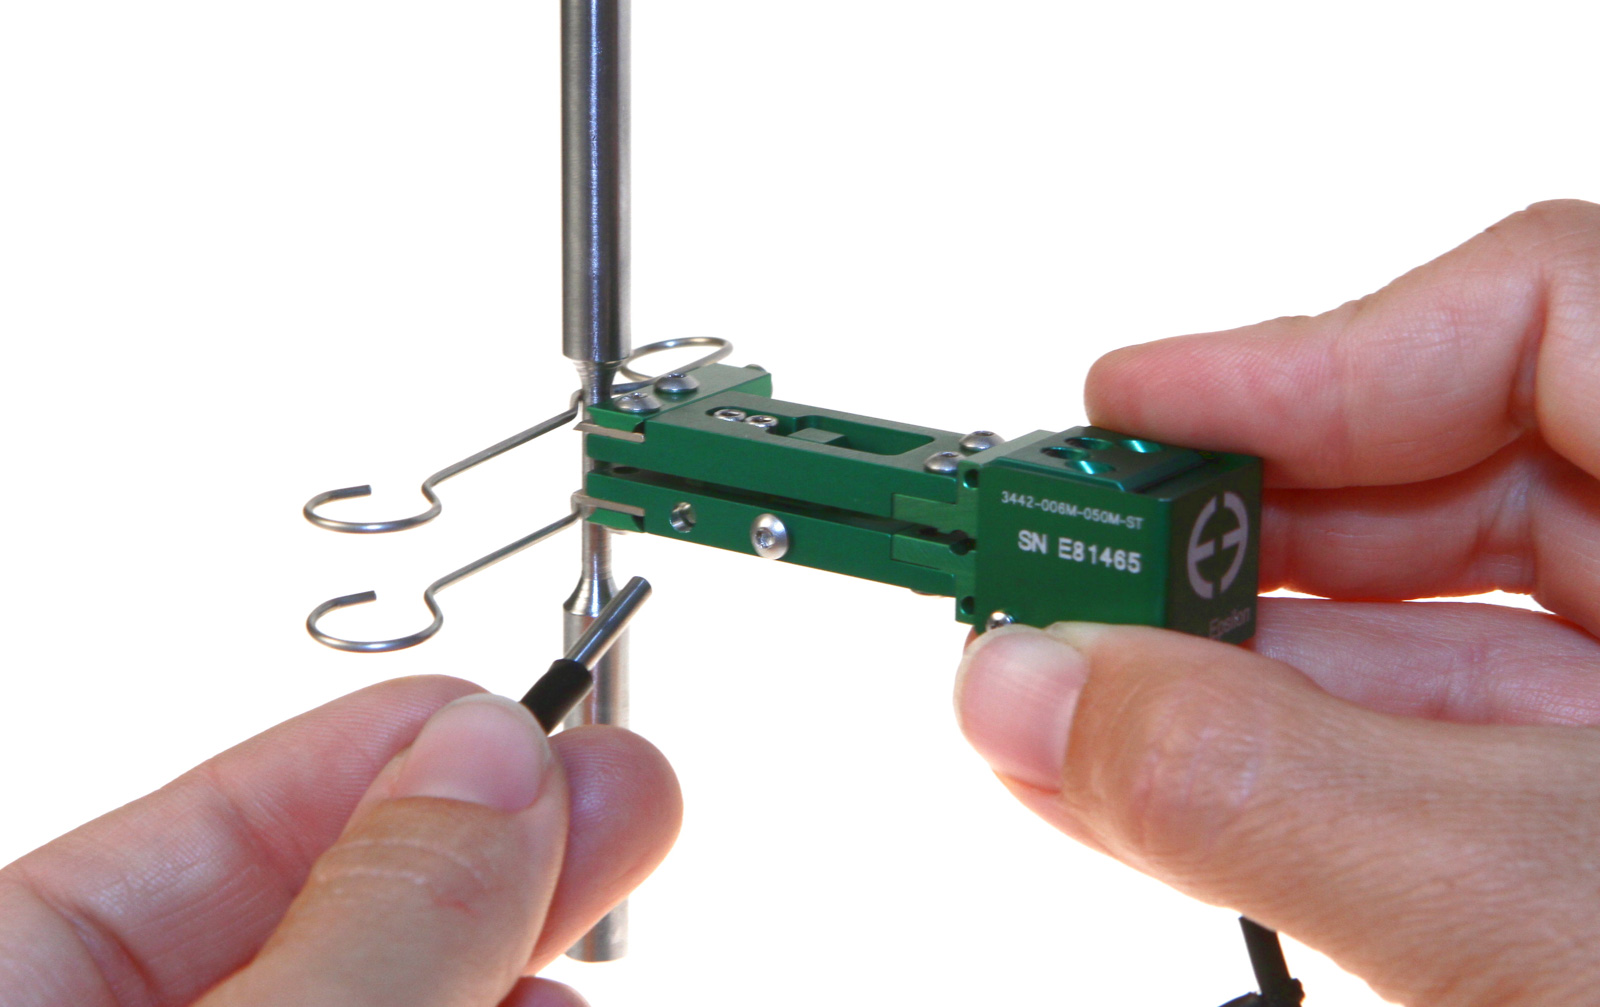
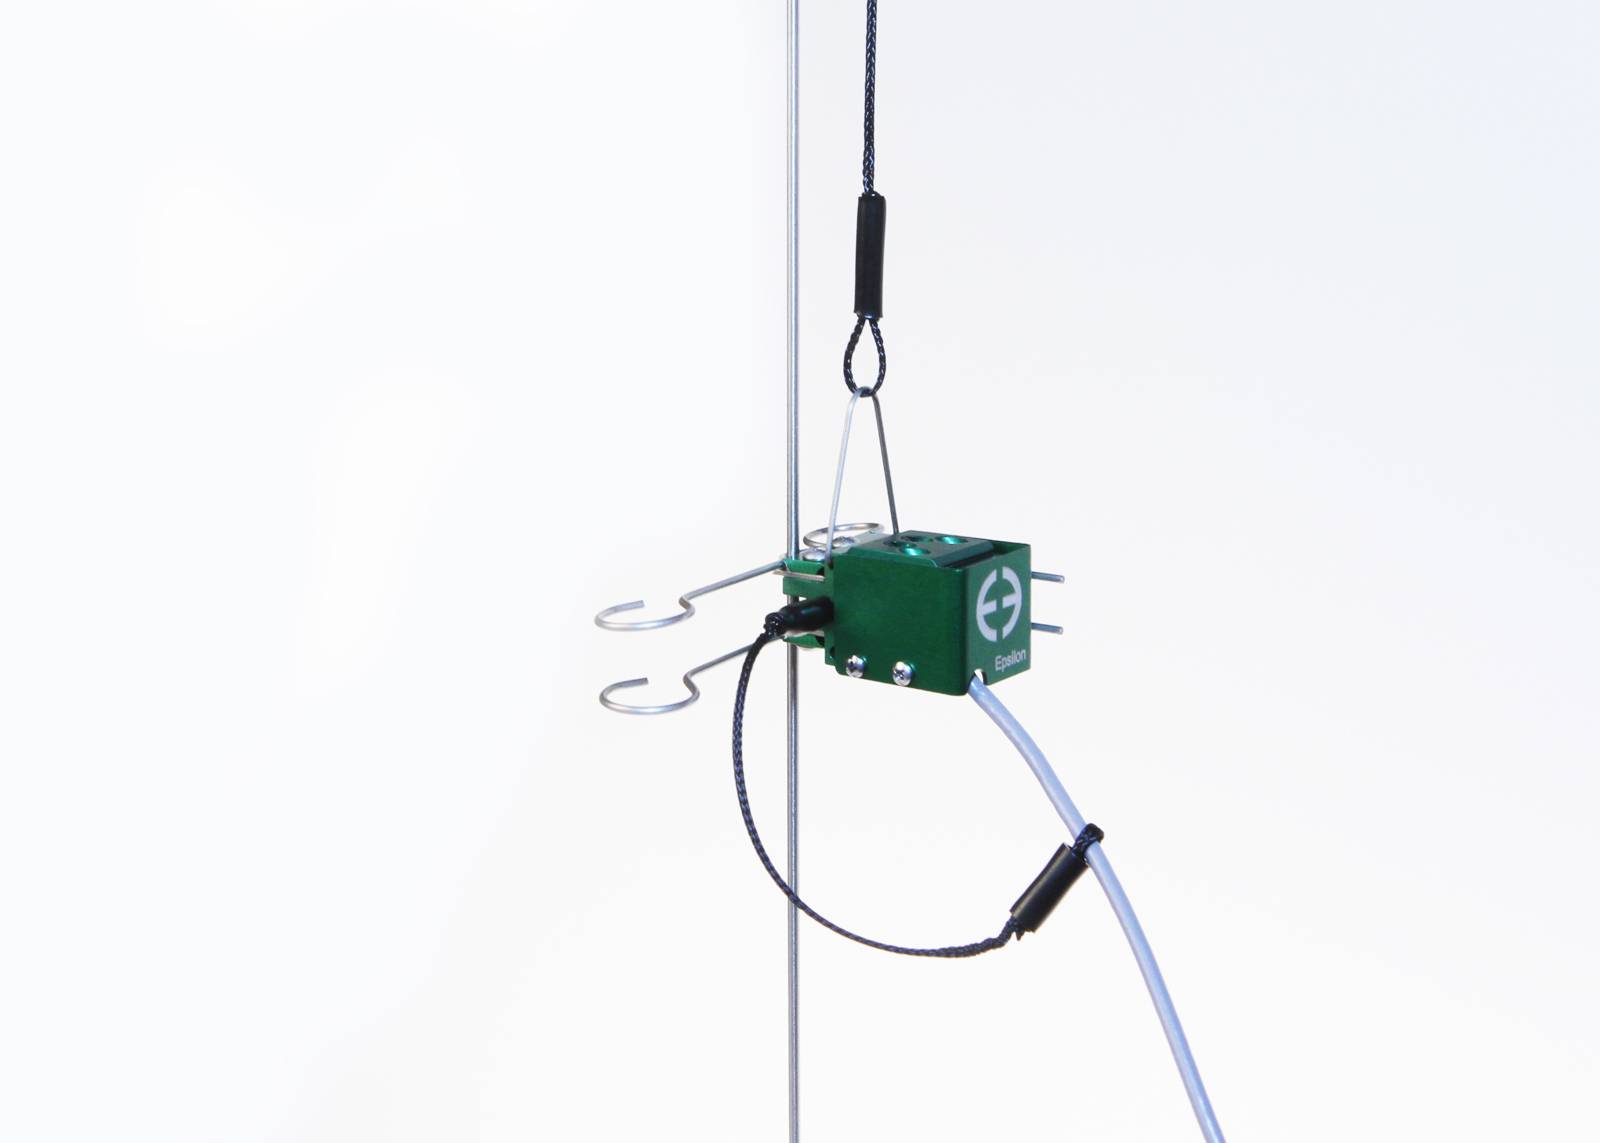
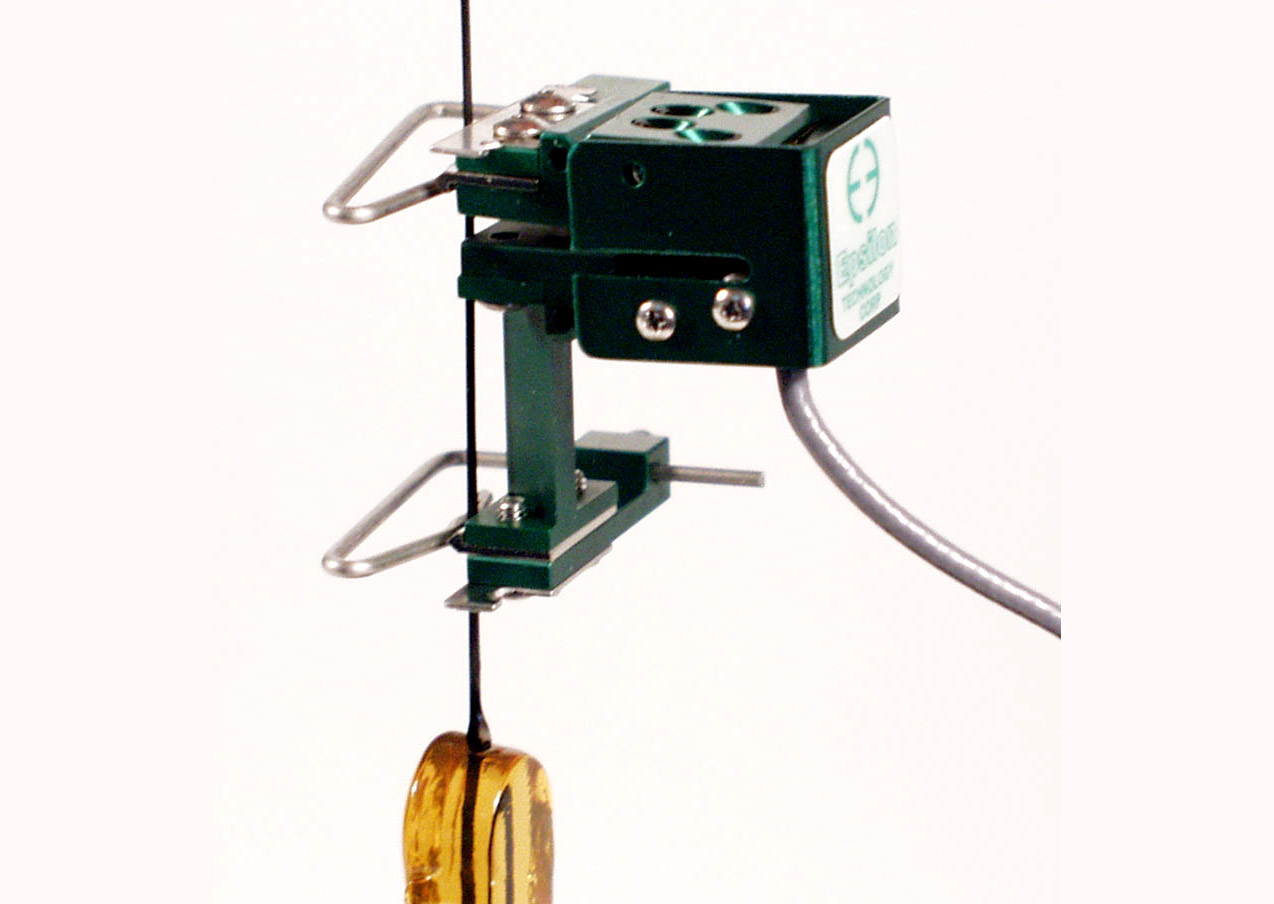
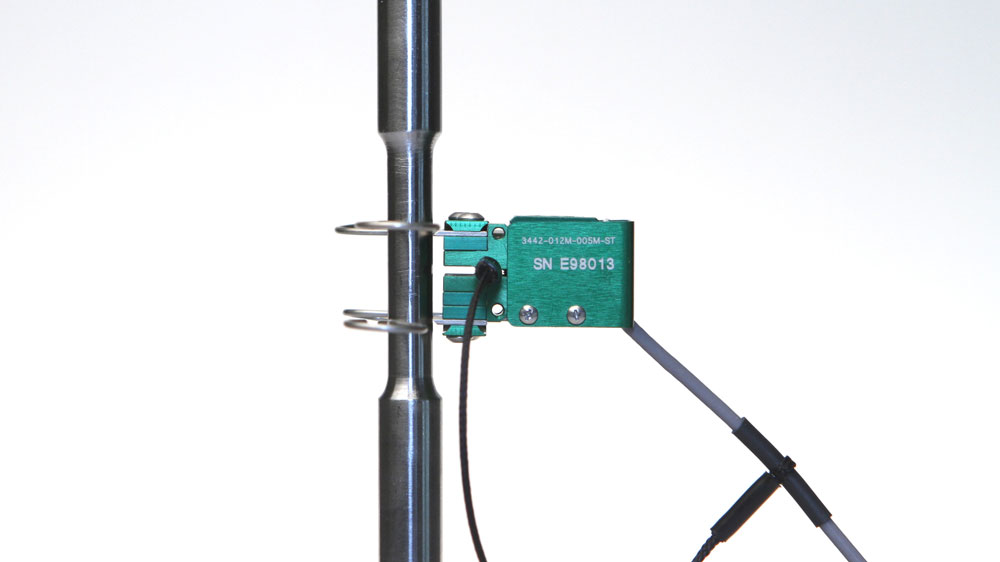
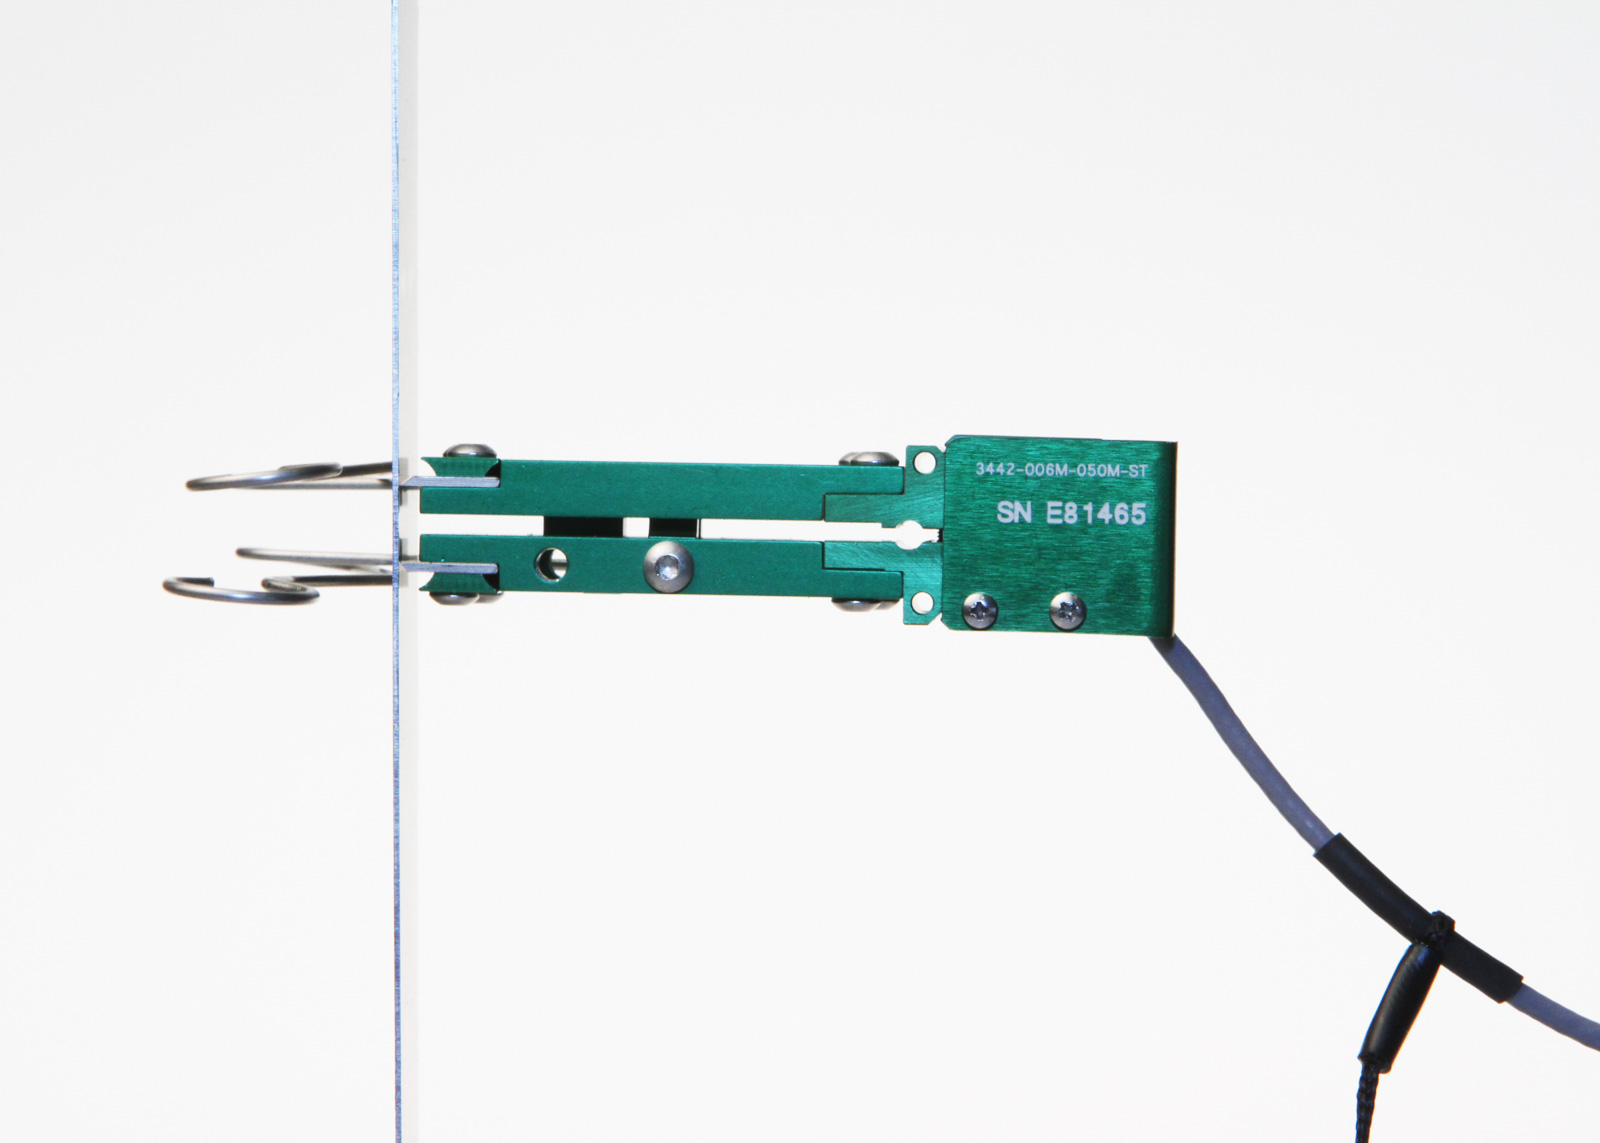
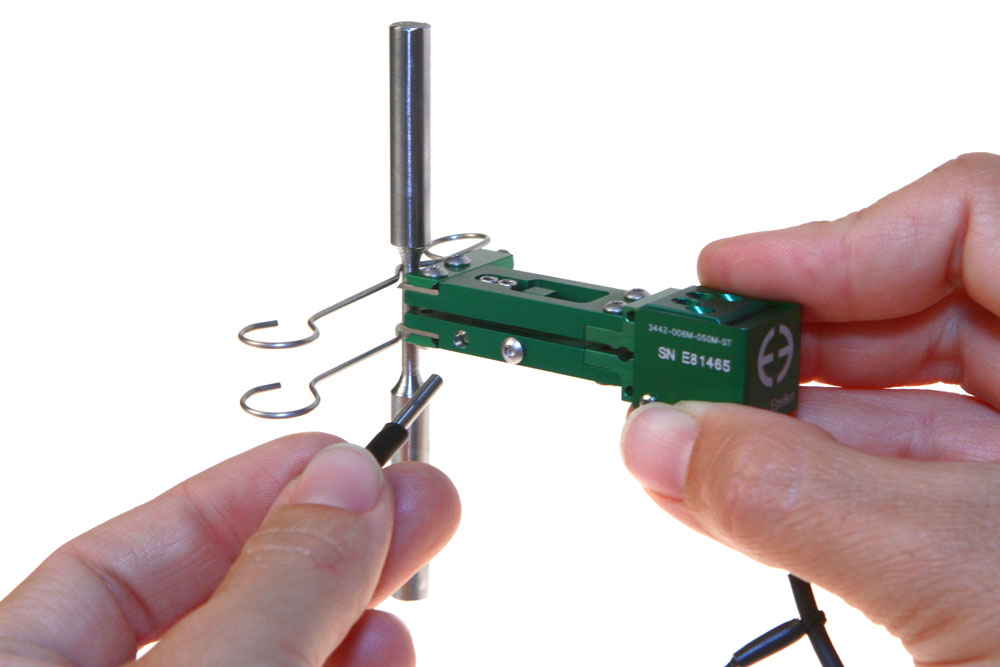
Weighing as little as 8 grams, these miniature extensometers are designed to have very low operating force with minimal specimen influence. Their low mass makes them the optimum choice for fatigue testing in strain control and high-frequency testing.
Suitable for tension or compression testing, all configurations use an improved version of Epsilon’s dual flexure design which makes them very rugged for their size. With a compact module that is 15.2 mm (0.6 inches) high, they will fit in the limited space between grips that is typical with small test samples.
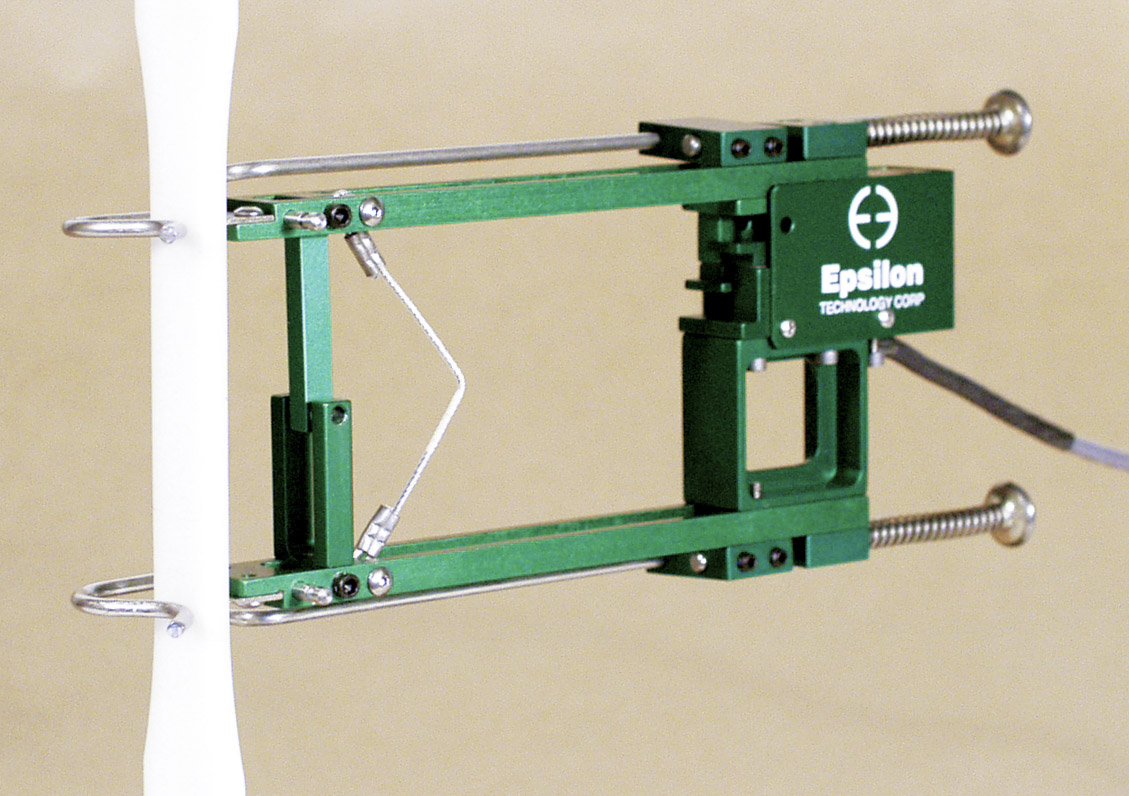
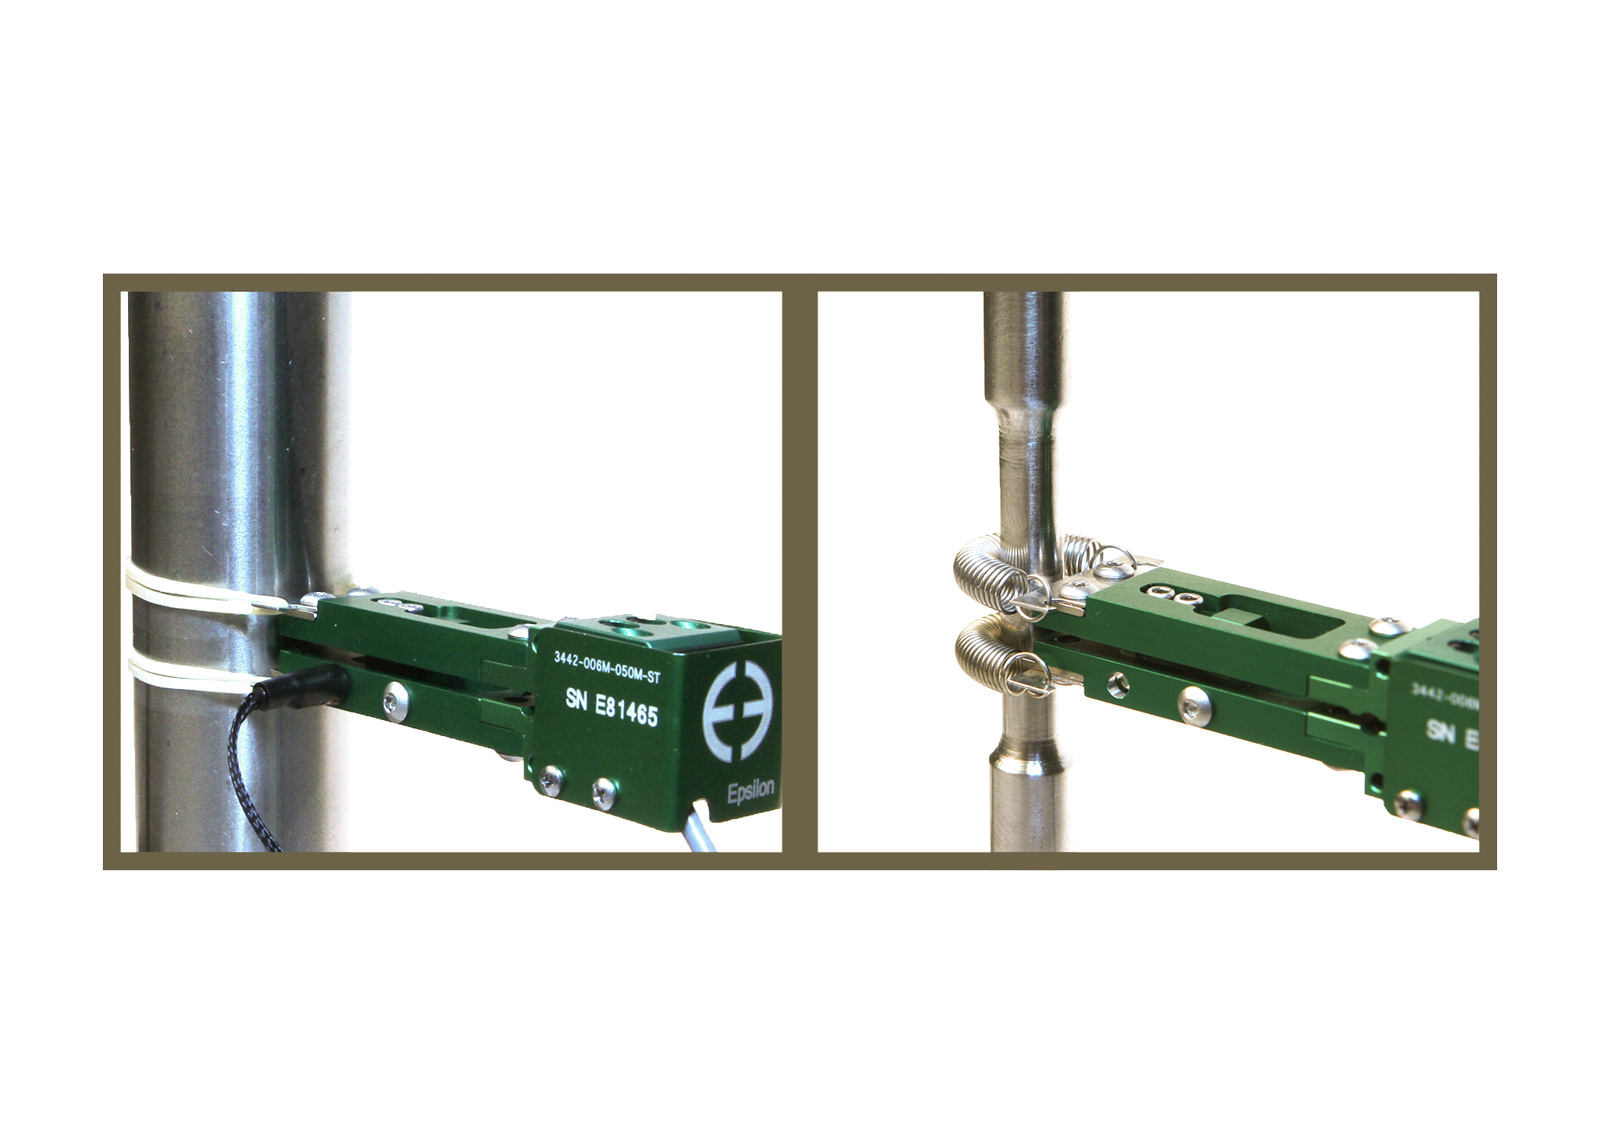
Gauge lengths can be as short as 3 mm or as long as 50 mm. A newly designed gage setting pin and assembly allows the gauge length to be set accurately and repeatably to ASTM and ISO requirements for all gauge lengths. Reengineered quick attach wire forms provide simple and secure specimen attachment. Wire forms for round and flat specimens are included, as well as knife edges in flat, 3-point, and vee configurations. The wire forms may be removed to enable mounting using elastic bands or springs. A tethering attachment point provides fall protection and enables counterbalancing of the extensometer’s weight when testing delicate specimens.
Model 3442 extensometers are strain gaged devices, making them compatible with any electronics designed for strain gaged transducers. Most often they are connected to a test machine controller with electronics for a strain channel, and Epsilon will equip the extensometer with a compatible connector wired to plug directly into the controller. For systems lacking the required electronics, Epsilon can provide a variety of solutions for signal conditioning and connection to data acquisition systems or other equipment.
- May be left on through specimen failure in most applications i
- Full bridge, 350 ohm strain gaged design for compatibility with nearly any test system.
- Gauge length pin helps set gauge length accurately for all gauge length configurations.
- All models can measure in both tension and compression and can be used for cyclic testing.
- Mechanical overtravel stops in both directions.
- Rugged, dual flexure design for strength and improved performance. Much stronger than single flexure designs, this also allows cyclic testing at higher frequencies.
- Gauge length adapter kits enable configuration of multiple gauge lengths with one extensometer.
- Replaceable arms and spacers for ease of repair.
- High and low temperature options extend operation from as low as -270 °C to +200 °C (-454 °F to +400 °F).
- Includes the Epsilon Shunt Calibration System for on-site electrical calibration.
- Includes high quality foam lined case.
When does an extensometer have to be removed before specimen failure?
Remove model 3542 and 3442 extensometers before specimen failure, or use an Epsilon ONE® non-contacting extensometer, in the following applications:
- Rebar and other materials with textured or rough surface finishes (note: use model 3543 or Epsilon ONE to test rebar through failure)
- Wire cable
- Unidirectional composites and similar materials that explode / disintegrate at failure
- Non-rigid griping systems such as “lever action” wedge grips with moveable grip faces or grips with spherical seats
- Long samples of elastic material
- When the expected elongation of the material exceeds the extensometer’s measuring range (for example, using a 10% extensometer with a metal specimen that fails at 20% elongation)
- Rupture of internally pressurized specimens
Excitation: 5 to 10 VDC recommended, 12 VDC or VAC max.
Output: 2 to 4 mV/V nominal, depending on model
Accuracy: Standard configurations meet ASTM E83 class B-1 accuracy requirements for gauge lengths ≥6 mm and class B-2 for ≤5 mm. All standard configurations meet ISO 9513 class 0,5. A test certificate is included.
Linearity: ≤0.15% of full scale measuring range
Temperature Range: Standard (-ST) is -40 °C to +100 °C (-40 °F to 210 °F)
Cable: Integral, ultra-flexible cable, 2.5 m (8 ft) standard
Standard Quick Attach Kit: Fits round samples 0.5-13 mm (0.02-0.5 inch) diameter and flats 0.1-13 mm thick by up to 15 mm wide (0.005-0.5 inch by up to 0.6 inch); attach to larger specimens using rubber bands or springs (included)
Operating Force: Depends on model configuration; 10 to 100 g typical
![]()
- Adapter kits to change gauge lengths
- Connectors to interface to nearly any brand of test equipment
- Special coatings and stainless steel knife edges available for biomedical tests
- Specialty Knife Edges
Product Videos
Ordering Information
Click table options to configure
Gauge Length i
| mm or inches | # |
|---|---|
| 3.0 mm | -003M¹ |
| 4.0 mm | -004M¹ |
| 5.0 mm | -005M¹ |
| 6.0 mm | -006M |
| 8.0 mm | -008M |
| 10.0 mm | -010M |
| 12.0 mm | -012M |
| 12.5 mm | -0125M |
| 20.0 mm | -020M |
| 25.0 mm | -025M |
| 50.0 mm | -050M |
| 0.250 in | -0025 |
| 0.300 in | -0030 |
| 0.500 in | -0050 |
| 0.640 in | -0064 |
| 1.000 in | -0100 |
| 2.000 in | -0200 |
Selecting Extensometer Gauge Length

Extensometer Gauge Length is the distance between the extensometer’s initial measuring points on the specimen. If you are using a testing standard, check the standard for extensometer gauge length requirements. Many test standards specify the specimen dimensions and a matching extensometer gauge length.
Many specimens have a reduced section length that is designed to be greater than the extensometer’s gauge length.
Measuring Range i
| extension | # |
|---|---|
| ±0.5 mm | -005M |
| ±1.0 mm | -010M |
| +2.0 mm / -1.0 mm | -020M |
| +2.5 mm / -1.0 mm | -025M² |
| +5.0 mm / -1.0 mm | -050M² |
| +10.0 mm / -1.0 mm | -100M² |
| +12.5 mm / -1.0 mm | -125M² |
| ±0.050 in | -005T |
| +0.100 in / -0.050 in | -010T² |
| +0.250 in / -0.050 in | -025T² |
| +0.500 in / -0.050 in | -050T² |
Selecting Extensometer Measuring Range

Measuring Range is the measuring capacity of the extensometer in tension (+) or compression (-) in units of % strain, maximum extension, or maximum deflection. When measuring range is in units of % strain, this means the maximum extension as a percentage of the gauge length.
Estimate the maximum strain or extension values you will need to measure, such as the total strain when the extensometer is removed after offset yield or the elongation at fracture. Then select a measuring range for the extensometer that meets or exceeds the requirements for the materials you are testing. If you are using a testing standard, also check the standard for extensometer requirements.
Temperature Range
| degrees | # |
|---|---|
| -270 °C to 100 °C (-454 °F to 210 °F) | -LT |
| -40 °C to 100 °C (-40 °F to 210 °F) | -ST |
| -40 °C to 150 °C (-40 °F to 300 °F) | -HT1 |
| -40 °C to 200 °C (-40 °F to 400 °F) | -HT2 |
| -270 °C to 200 °C (-454 °F to 400 °F) | -LHT |
Model Number: 3442 – _ _ _ _ – _ _ _ – _ _
Model 3442 Available Versions: ANY combination of gauge length, measuring range and temperature range listed above is available, except as noted. The measuring range should not exceed the gauge length. Other configurations may be available with special order; please contact Epsilon to discuss your requirements.
¹Available in -010M and -020M measuring ranges only; meets accuracy requirements for ASTM E83 class B-2. Gauge lengths of 6 mm or larger are recommended.
²Extended compressive measuring ranges are available – inquire with Epsilon.
Example: 3442-008M-010M-ST: 8 mm gauge length, ±1.0 mm measuring range, standard temperature range (-40 °C to 100 °C)
Precision Optical Extensometers – Epsilon ONE®
Precision Optical Extensometers – Epsilon ONE®
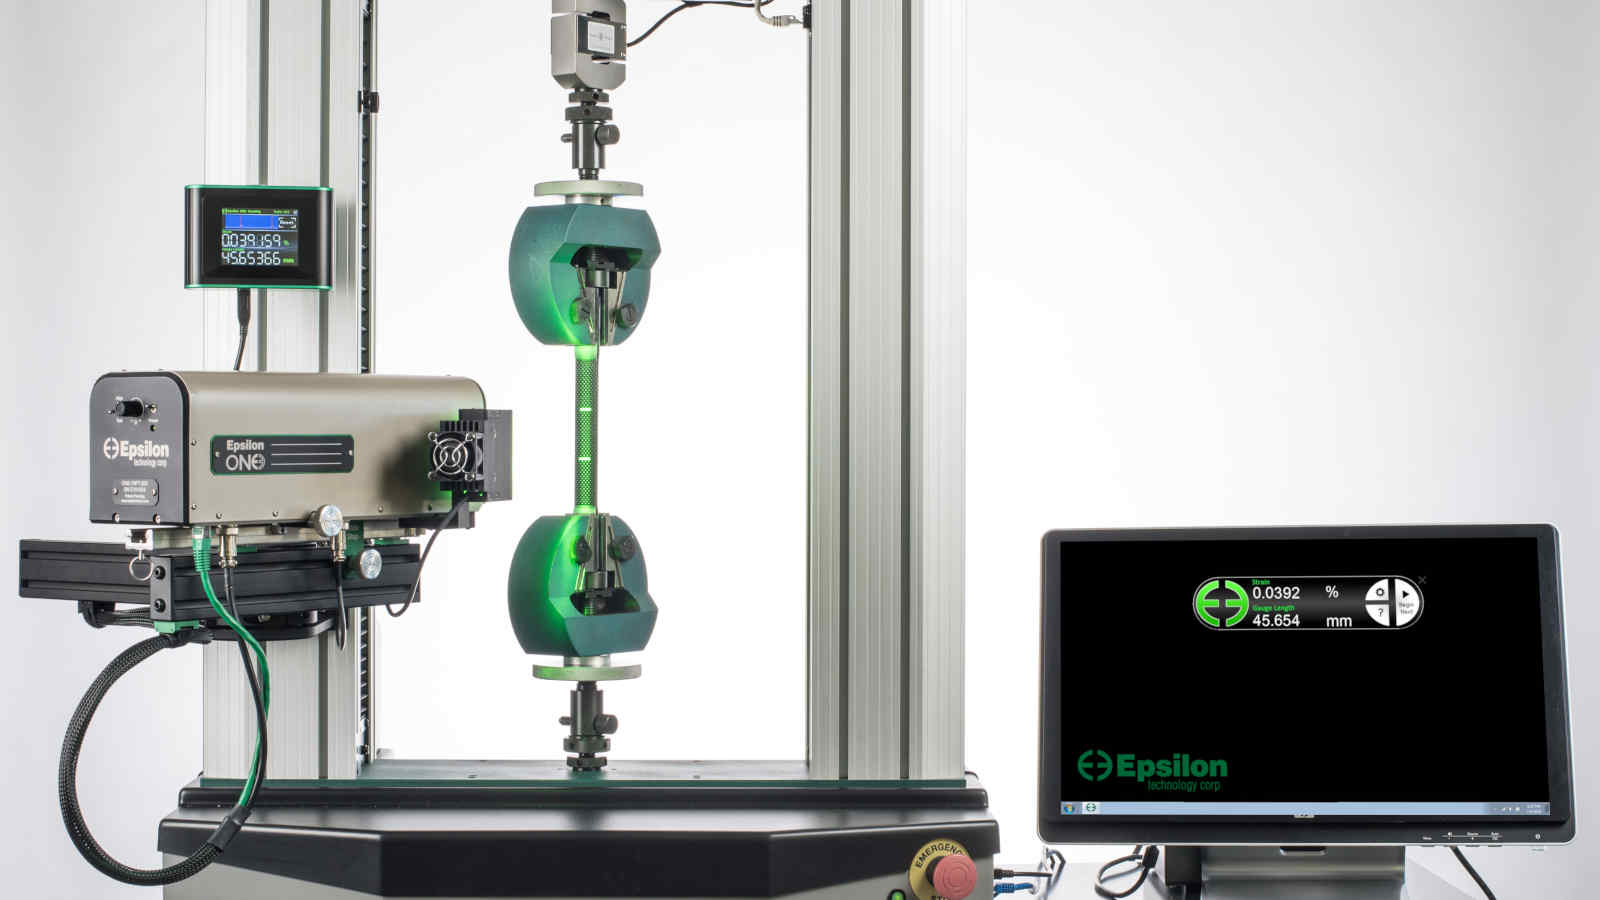
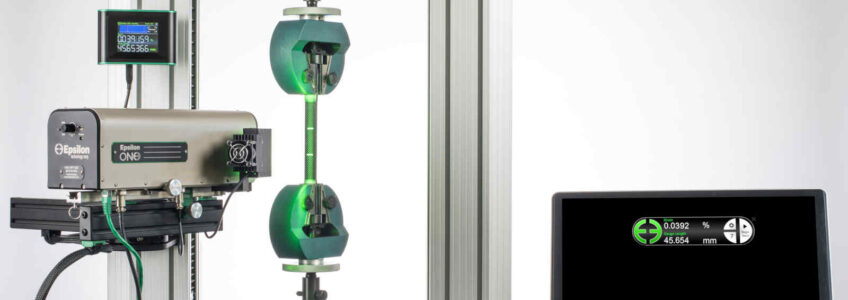
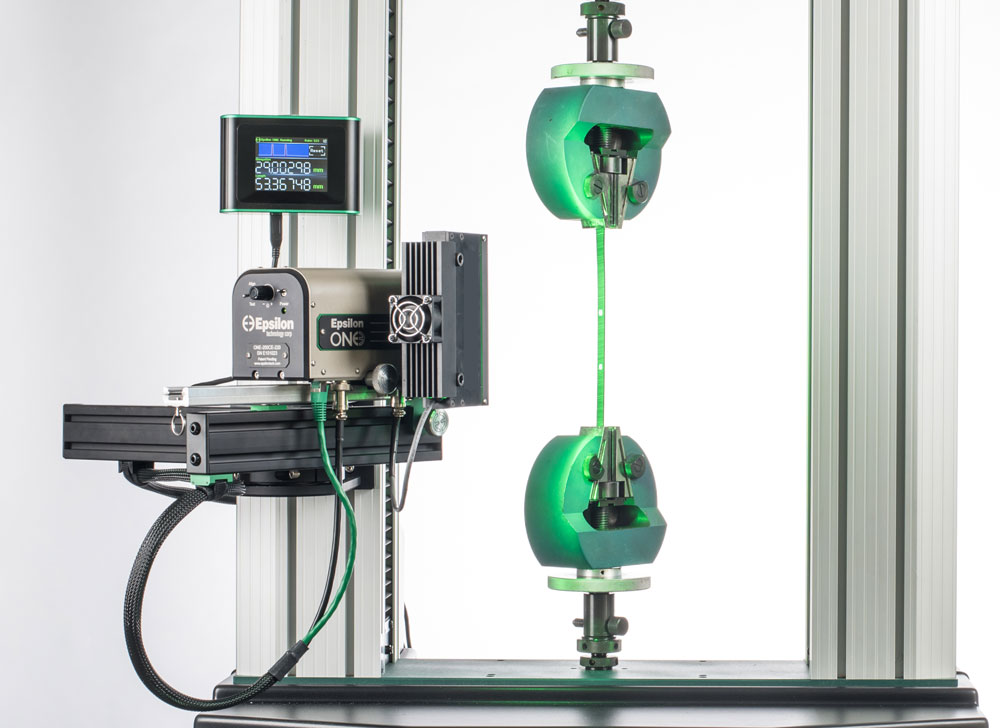
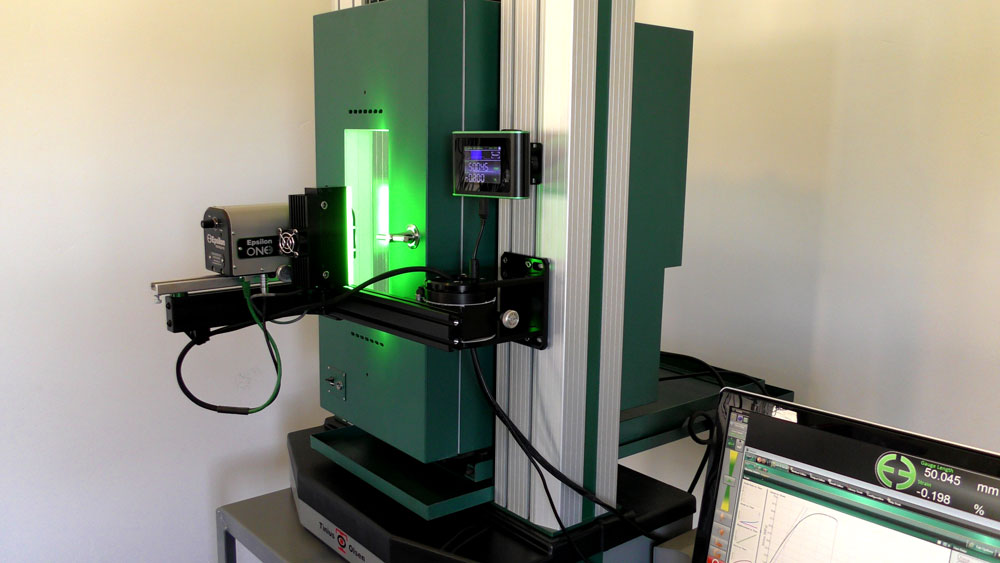
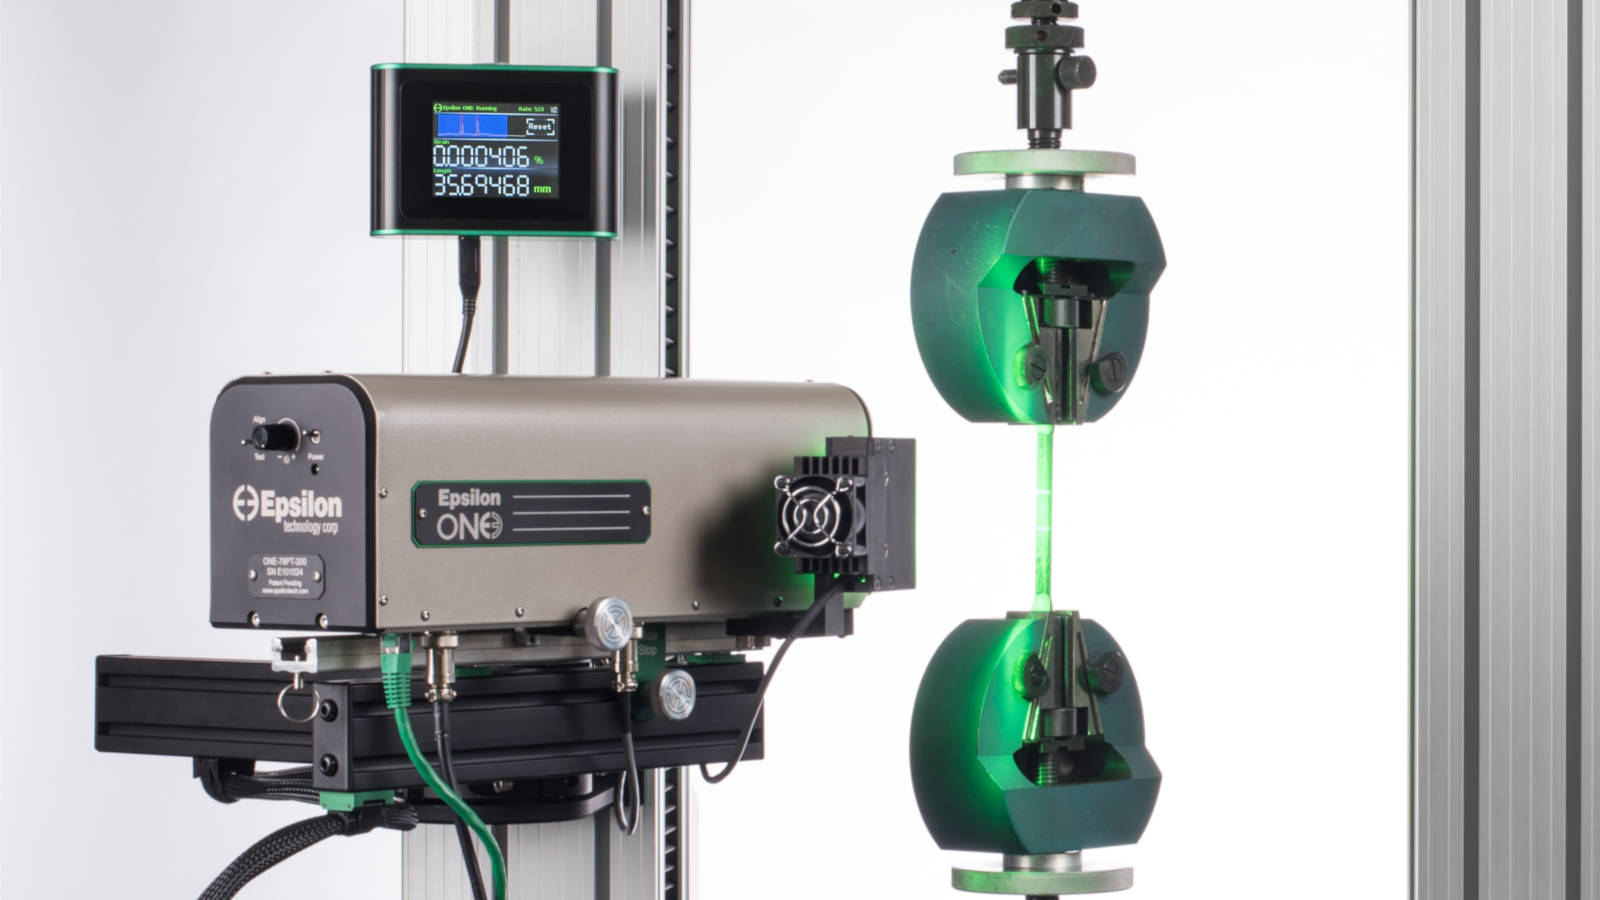
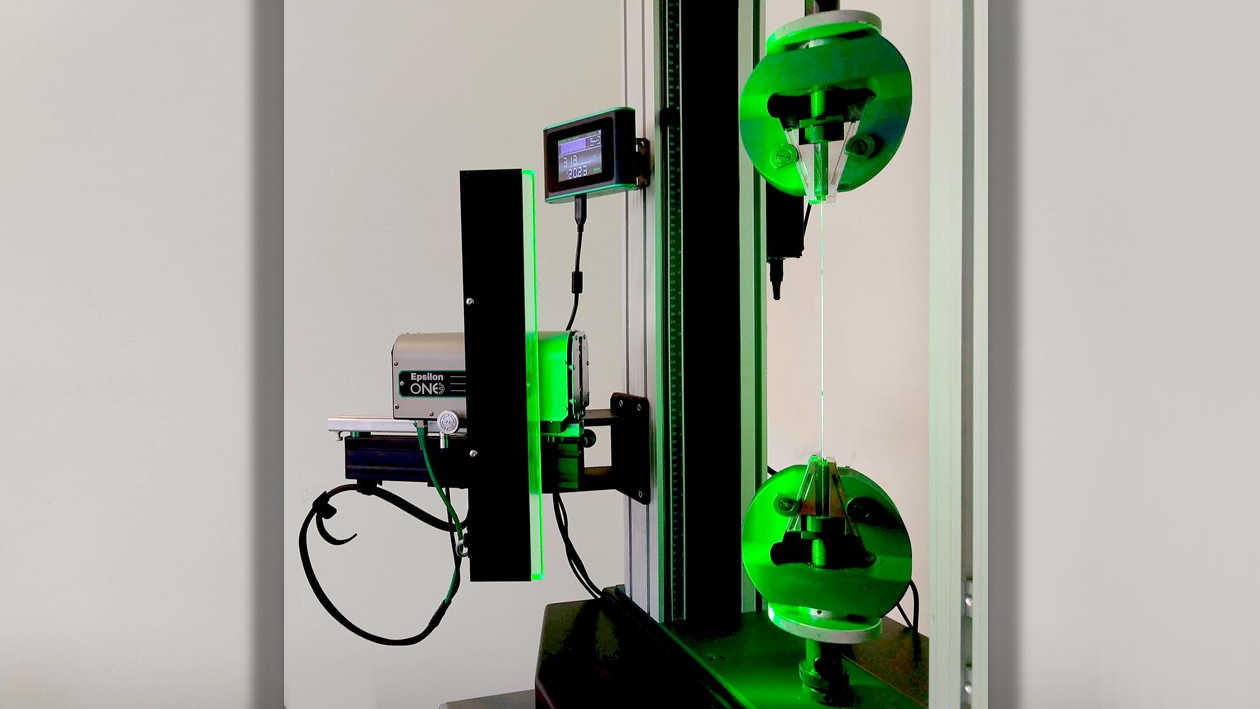
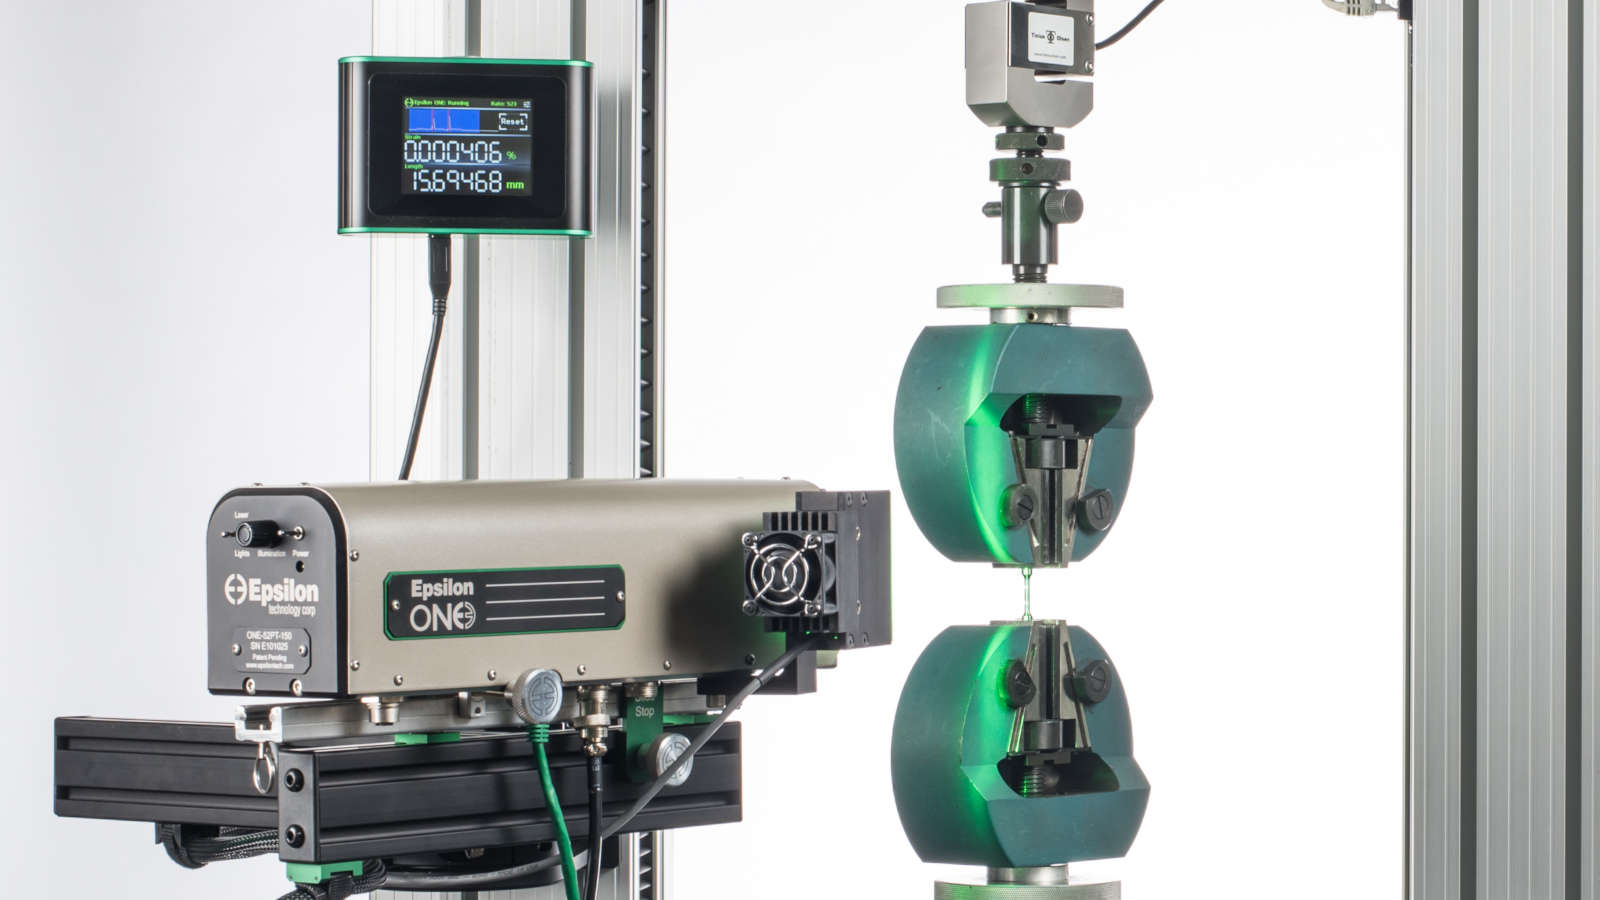
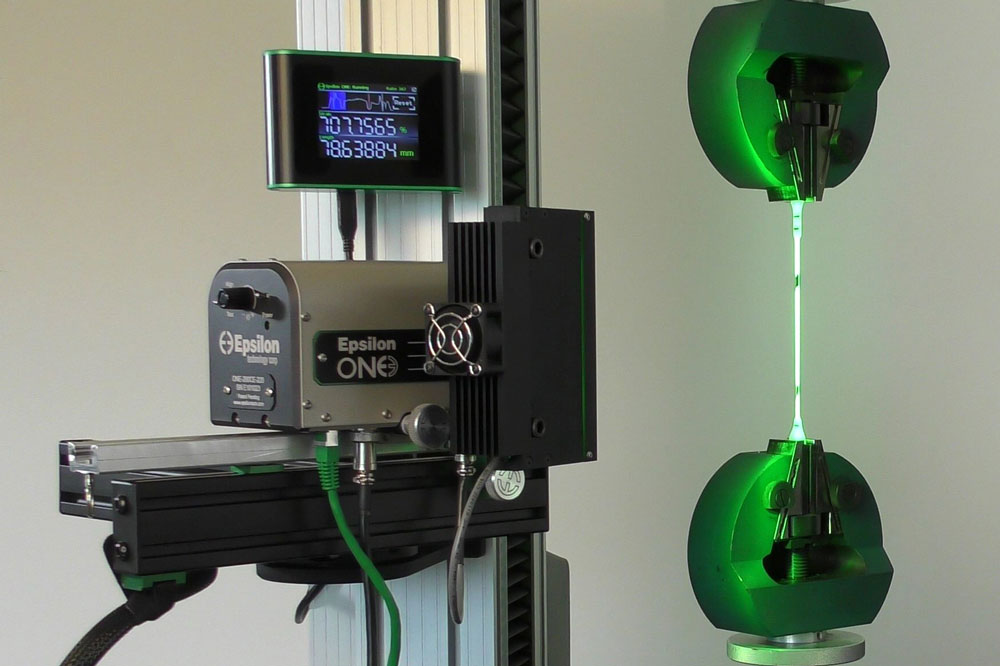
Epsilon ONE® optical non-contact extensometers perform high-accuracy, high-resolution, non-contacting axial strain and displacement measurement. These extensometers are suitable for testing high-modulus materials such as metals and composites, high-elongation materials, thin or delicate specimens, cyclic fatigue, strain controlled testing, deflectometer applications, and measuring crack opening displacements. Strain or extension is measured and output in real time.
Epsilon ONE’s high resolution and ISO 0,5 / ASTM B-1 accuracy classes make it suitable for non-contact measurement of a wide range of strain values, from very small strains required to measure modulus* of metals, composites, ceramics and CMCs through elastomers and everything in between.
Class-leading accuracy and resolution are achieved by Epsilon’s comprehensive optical path optimization, a unification of several optical technologies and signal processing algorithms. Ultra-high camera resolution, real-time data rates up to 3000 Hz, minimization of optical error sources, and signal processing techniques provide high strain resolution and accuracy with the lowest noise. No other system on the market combines all of these technologies.
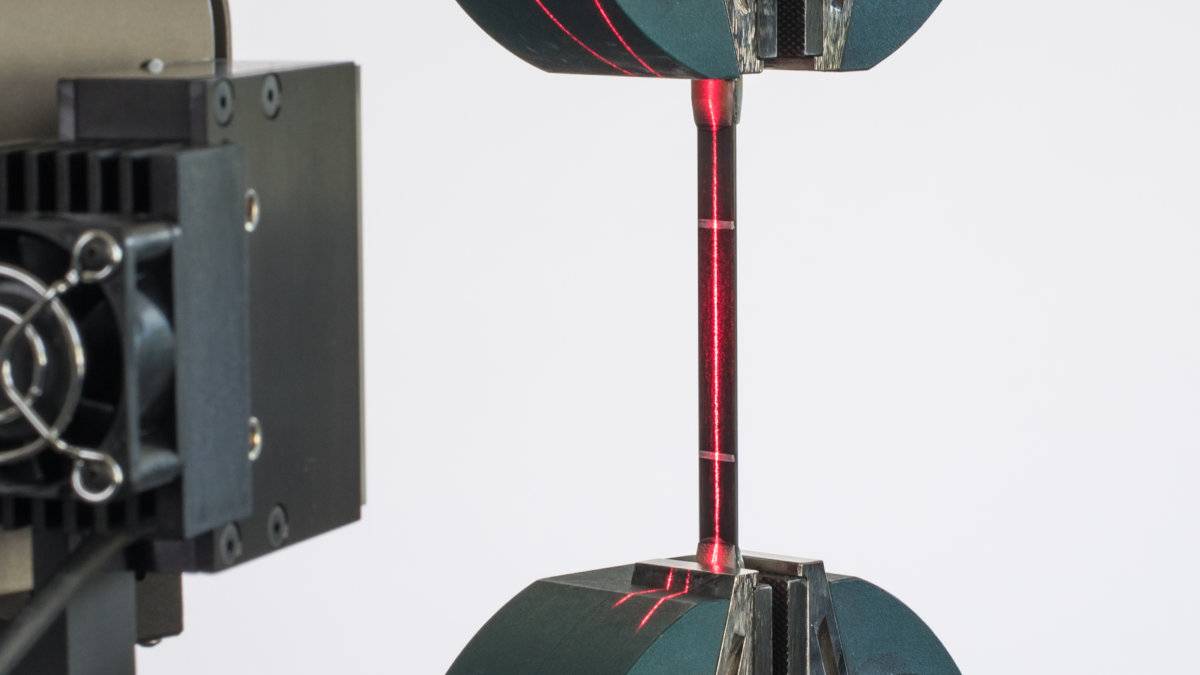
The Laser-Assist Alignment System provides an instant alignment and distance spot check. Epsilon ONE will project pre-aligned laser lines on the specimen before the test, revealing any misalignment. During the test, high precision telecentric lenses on the PT models eliminate errors due to out-of-plane movements – a common source of errors for many video extensometers. Epsilon ONE arrives factory calibrated – there are no calibration grids or gauge length bars, saving a great deal of time.
The system sets up for new specimen types in minutes and requires very little training or skill to use. The desktop user interface software and optional Touch Interface provide continuous digital readouts and status information.
Epsilon ONE was designed for the fastest specimen cycle times. Auto-start repetitive tests without any software interaction; Epsilon ONE is always running, and its Instant Reset and Automatic Mark Detection eliminate software start/stop interactions common with video extensometers.
Epsilon ONE provides a calibrated ±10V strain signal as an input for the testing machine’s controller. The extensometer fits all types of materials testing machines, including machines that have an environmental chamber with a window (contact Epsilon for fitment).
*As with clip-on extensometers, accurate measurement of modulus requires a well-aligned load train and grips, and symmetrical specimens that are centered in the grips. Gauge lengths ≥25 mm are recommended in most cases. Contact Epsilon for additional Best Practices.
- Always on, always ready: Unlike DIC systems, software interactions are unnecessary when running repetitive tests.
- Always real-time: Post-processing is never required, even at the highest data rates.
- Faster throughput with Instant Reset: Auto-start repetitive tests without touching the extensometer or software.
- Reliable, automatic mark detection: Robust tracking of bright or dark marks beyond 1000% strain and speeds >1500 mm/second.
- Laser Assist Alignment System: Provides an instant visual spot-check for specimen alignment and optics positioning.
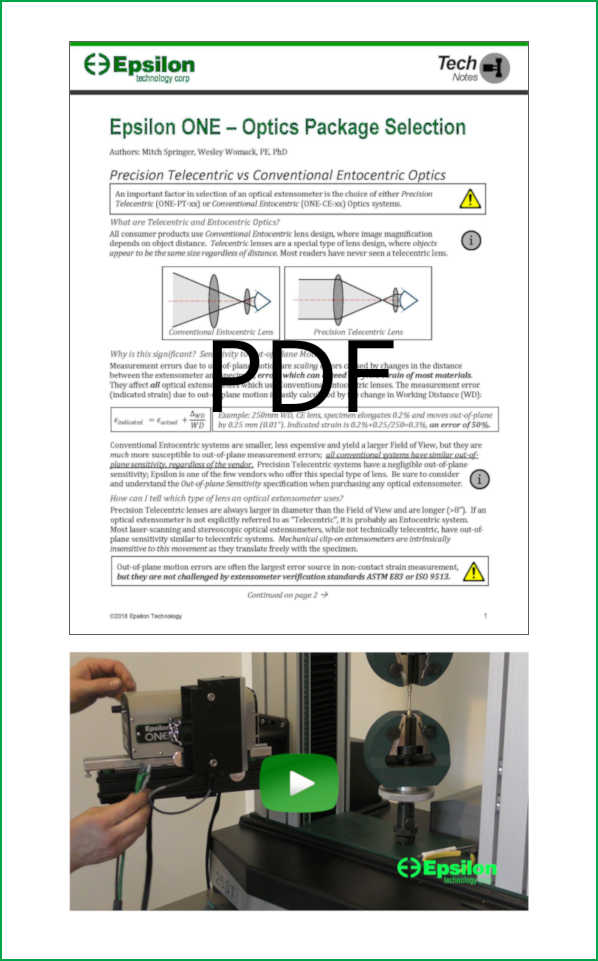
- Precision Telecentric Design: Epsilon ONE’s telecentric lenses prevent common sources of error – Read this Tech Note.
- Fully factory calibrated: Epsilon calibrates using the industry’s most comprehensive process to account for scaling, skew, lens distortion, and uneven lighting. A2LA accredited factory calibration, traceable to the SI; no grids or bars are required for calibration.
- Cleaner workspace: No need for an additional computer and monitor; the included User Interface software has very low resource requirements and can run on the test machine’s computer.
- Optional Touch Interface: Access and control the Epsilon ONE without a computer. (see a demo )
- Retractable high-stiffness mounting: Industry-leading ease-of-use while maintaining maximum dynamic range and vibration rejection.
- Selectable multi-line specimen marking: Automatically identify and report the region of highest strain concentration, in real time.
- Wide range of selectable filter and optical settings enable high performance with many different materials and specimens.
- Faster Testing: Save time with industry-leading 200+ Hz dynamic range and automatic gain compensation filters.
- Admin/User Modes: Define, save and reload settings for specific specimens and test methods, then lock them in User Mode.
- Real-time digital output: High-speed data stream including APIs for control and status, and examples for automation and integration.
- Better Strain Control: Built-in high speed 16-bit analog output; not susceptible to unpredictable cyclic bias errors typical of DIC systems.
- Versatile Output Modes: output ±10V as % Strain, Length (mm), or Elongation (mm).
- Strain Metrics: Report strain measures using five finite or small strain theories.
- Applicable for testing with many ISO and ASTM standards, including:
- ISO 6892-1, 527-2, 527-4, 527-5
- ASTM E8, E9, D3039, D638, A370, D3552, E646
- Turn-key: Each base package includes
- Optics Package with laser-assist alignment system
- ±10V calibrated strain output
- Lighting Module
- Sensor Controller
- Mounting Interface Subassembly
- Specimen Marking Kit (templates, paint pens and wire clips)
- Cables and software
- Includes high quality foam lined case.
- Patented.
Key Applications
- Testing of high-modulus materials – resolution and accuracy for very small strain measurements typical with these materials
- Automated testing – no software interaction is required between repetitive tests
- Fine / thin specimens – <Ø20 μm (0.001”) specimens
- Elastomers and high-elongation plastics – best-in-class performance; >1000% strain and >1.5 meters/second tracking speed
- High speed cyclic testing – test frequencies up to 100 Hz and real time data rate up to 3000 Hz
- Long-term creep testing – excellent thermal stability and automatic recovery in the event of a test interruption
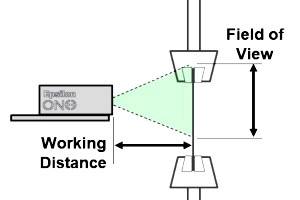
Field of View: 52-500 mm. See specific optics packages; contact Epsilon for other options.
Working Distance: 150-300 mm typical. See specific optics packages; contact Epsilon for other options.
Real-Time Data Rate: 300-3000 Hz, >2000 Hz typical. Includes image frame rate, analysis, analog output, and digital output
Analog Output: ±10VDC typical, short-protected. Selectable units & range. Includes 2.4 m (8 ft) shielded output cable with connector for test equipment.
Digital Output: 16-64 bit at >2000 Hz typical, over RS232. Includes 1.8 m (6 ft) shielded null modem cable.
Resolution: <0.5 µm quasistatic, <2.5 µm dynamic, <0.1 µm creep; Typical RMS resolution at typical settings. Resolution is a function of the optics and filter settings.
Extensometer Class: ISO 9513 Class 0,5 and ASTM E83 Class B-1 or better typical at ≥10 mm gauge length
Absolute Accuracy:
PT models: <±1 µm or 0.5% of value, not exceeding ±30 µm typical
CE models: <±1 µm or 0.5% of value
Thermal Drift: Room Temperature Stability <0.002%ε/°C (20 µε/°C )
Minimum Specimen Size: < Ø20 μm (0.001”)
Gauge Length: 2 mm minimum, ≥4x specimen width or diameter recommended. For gauge lengths <10 mm contact Epsilon.
Maximum Elongation: >1000%, limited by field of view and gauge length
Maximum Tracking Speed: >1500 mm/second (90,000 mm/minute)
Cyclic Testing: >100 Hz typical cyclic test frequency, waveform independent
Strain Control: Suitable for monotonic and cyclic strain control applications
Out-of-Plane Sensitivity*: Allowable out-of-plane motion for ISO 9513 Class 0,5 @15 mm gauge length and ASTM E83 Class B-1:
<1000 µm (0.040”) for ONE-PT-xx
<25 µm (0.001”) for ONE-CE-xx
*Understand this specification before you purchase any optical extensometer
Power Supply: 100-240 VAC, 50-60 Hz, 100W, IEC 320 C14 receptacle. Specify plug type when ordering
System Environment: 10-40°C (50-100°F), for use and storage; 20-80% relative humidity non-condensing environments
Host PC (optional): Requires Windows 7 or 10 PC, 900×550 minimum display, one serial or USB port
![]()
- Mounting Systems for testing machine base mount, T-slot column mount, or cylindrical column mount
- ONE-TI-1 Touch Interface (see a demo )
- ONE-BIS Barrier Interlock Systems for setups where Epsilon ONE is installed behind the test area (opposite the test machine operator)
- Customized specimen marking templates
- Connectors to interface to nearly any brand of test equipment
Product Videos
Ordering Information
Epsilon ONE® Optical Extensometer Systems
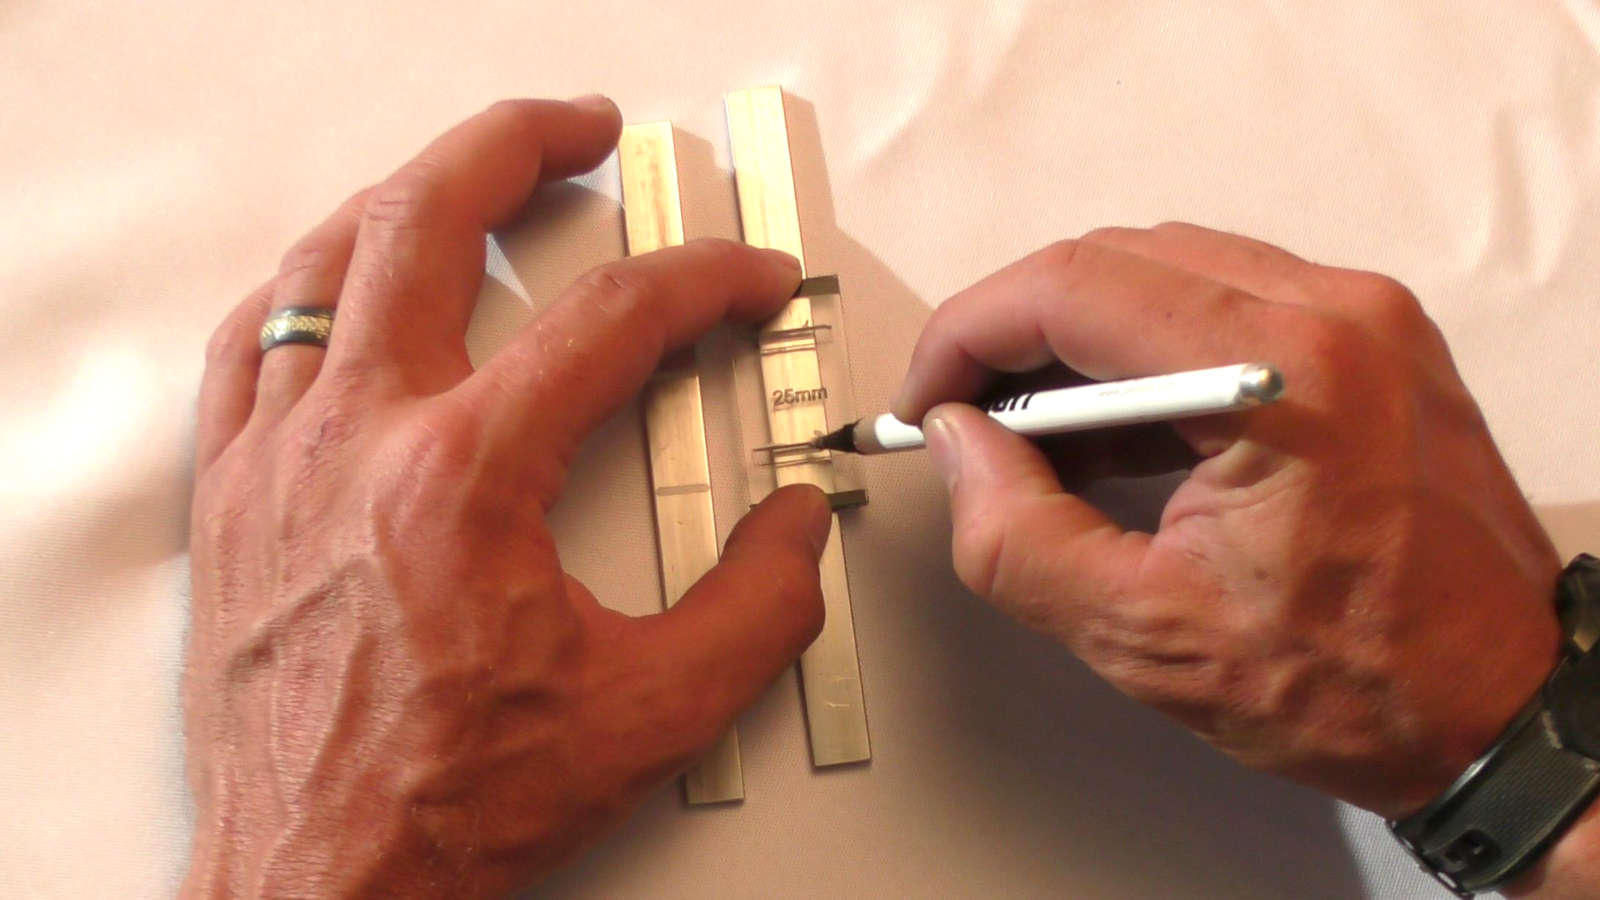
The Epsilon ONE system includes an Optics Package, lighting, Laser Assist Alignment System, Sensor Controller, cables, mounting interface, standard specimen marking kit (see a marking video ) and software. The included user interface software will run on your testing machine’s existing computer.
Select an Optics Package that meets your range of gauge length and elongation requirements. Start with the largest gauge length that you will need and determine which Optics Packages have enough elongation range for that gauge length. Repeat this process for the smaller gauge lengths in your range of applications. You can determine what Field of View you require by running an experiment (VIDEO ) or by calculating it (PDF).
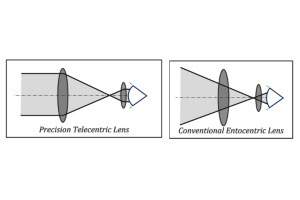
Telecentric lenses are superior to conventional lenses, especially for applications involving strain measurements <~2%. Learn more about telecentric lenses here.
Epsilon ONE will work with any gauge length that is within the stated range for the Optics Package. Maximum strain values in the tables below are estimates for tensile specimens with a reduced cross-sectional area in the gauge section. When using straight-sided specimens, see ‘determine what Field of View you require’ above for recommended estimating methods.
Epsilon ONE models with >280 mm working distance are available – contact us.
Precision Telecentric Lens Systems i
Model Number: ONE-78PT-System
- Premium performance, precision telecentric lens (learn more about telecentric lenses)
- 78 mm field of view and 200 mm working distance
- Any gauge length between 10 mm and 65 mm
- See table for the estimated maximum tensile elongation for a specific gauge length
- Learn more about gauge length and measuring range
| Gauge Length | Maximum Strain | Maximum Elongation |
| 10 mm | 580% | 58 mm |
| 12 mm | 470% | 56 mm |
| 20 mm | 240% | 48 mm |
| 25 mm | 170% | 43 mm |
| 50 mm | 35% | 18 mm |
| 65 mm | 5% | 3 mm |
Precision Telecentric Lens Systems i
Model Number: ONE-52PT-System
- Precision telecentric lens (learn more about telecentric lenses)
- 52 mm field of view and 150 mm working distance
- Any gauge length between 10 mm and 40 mm
- See table for the estimated maximum tensile elongation for a specific gauge length
- Learn more about gauge length and measuring range
Advantages of Telecentric Lenses
Telecentric Lens: the image of the test specimen seen by the camera’s sensor is the same size even if the specimen moves closer to the Optics Package or further away. Full strain measurement accuracy is maintained even if the specimen is bent and straightens out under tensile load, if the testing system has flexible grip mountings that straighten out, or if the specimen thins out due to Poisson’s ratio. Telecentric lenses are more accurate and less subject to optical measurement errors than entocentric lenses.
Models ONE-78PT-System and ONE-52PT-System have telecentric lenses.
| Gauge Length | Maximum Strain | Maximum Elongation |
| 10 mm | 320% | 32 mm |
| 12 mm | 250% | 30 mm |
| 20 mm | 110% | 22 mm |
| 25 mm | 68% | 17 mm |
| 40 mm | 5% | 2 mm |
Conventional Entocentric Lens Systems i
Model Number: ONE-200CE-System
- Conventional entocentric lens – recommended for high elongation applications and for measuring strain values of ~2% or greater
- Suitable for smaller strains in some applications – learn more about lenses
- 200 mm field of view and 220 mm working distance
- Any gauge length between 10 mm and 180 mm
- See table for the estimated maximum tensile elongation for a specific gauge length
- Learn more about gauge length and measuring range
Telecentric Lenses Compared to Entocentric Lenses
Entocentric Lens: the image of the test specimen seen by the camera’s sensor will appear larger if the specimen moves closer to the Optics Package or smaller if it moves further away. Consequently, strain measurement errors occur if the specimen straightens out under tensile load and moves “out of plane”, if the testing system has flexible grip mounting that straightens out, or if the specimen thins out significantly due to Poisson’s ratio. These errors are often significant when making strain measurements <2% strain, and consequently entocentric lenses are best suited when strain values being measured are 2% or greater.
Model ONE-200CE-System has an entocentric lens.
Epsilon recommends telecentric lenses when strain measurements are <2%.
| Gauge Length | Maximum Strain | Maximum Elongation |
| 10 mm | >1000% | 180 mm |
| 25 mm | 660% | 165 mm |
| 50 mm | 280% | 140 mm |
| 75 mm | 150% | 115 mm |
| 100 mm | 90% | 90 mm |
| 150 mm | 25% | 40 mm |
| 180 mm | 5% | 10 mm |
Conventional Entocentric Lens Systems i
Model Number: ONE-250CE-System
- Typical applications:
- High-elongation materials that require a larger field of view than ONE-200CE
- Testing with a large environmental chamber that requires a greater working distance than ONE-78PT or ONE-200CE
- Conventional entocentric lens – recommended for high elongation applications and for measuring strain values of ~2% or greater
- Suitable for smaller strains in some applications – learn more about lenses
- 250 mm field of view and 280 mm working distance
- Any gauge length between 10 mm and 200 mm
- See table for the estimated maximum tensile elongation for a specific gauge length
- Learn more about gauge length and measuring range
Telecentric Lenses Compared to Entocentric Lenses
Entocentric Lens: the image of the test specimen seen by the camera’s sensor will appear larger if the specimen moves closer to the Optics Package or smaller if it moves further away. Consequently, strain measurement errors occur if the specimen straightens out under tensile load and moves “out of plane”, if the testing system has flexible grip mounting that straightens out, or if the specimen thins out significantly due to Poisson’s ratio. These errors are often significant when making strain measurements <2% strain, and consequently entocentric lenses are best suited when strain values being measured are 2% or greater.
Model ONE-250CE-System has an entocentric lens.
Epsilon recommends telecentric lenses when strain measurements are <2%.
| Gauge Length | Maximum Strain | Maximum Elongation |
| 10 mm | >1000% | 230 mm |
| 25 mm | 860% | 215 mm |
| 50 mm | 380% | 190 mm |
| 75 mm | 220% | 165 mm |
| 100 mm | 140% | 140 mm |
| 150 mm | 60% | 90 mm |
| 200 mm | 20% | 40 mm |
Conventional Entocentric Lens Systems i
Model Number: ONE-500CE-System
- Typical applications:
- High-elongation materials – elastomers, rubber, unreinforced / flexible plastics
- Specimens with long gauge lengths – rebar, metals, tubing
- Conventional entocentric lens – recommended for high elongation applications and for measuring strain values of ~2% or greater
- Suitable for smaller strains in some applications – learn more about lenses
- 500 mm field of view and 270 mm working distance
- Any gauge length between 10 mm and 400 mm
- See table for the estimated maximum tensile elongation for a specific gauge length
- Learn more about gauge length and measuring range
- ONE-500CE may require filter setting adjustments to achieve the desired resolution; see the Selection Guide for details
Telecentric Lenses Compared to Entocentric Lenses
Entocentric Lens: the image of the test specimen seen by the camera’s sensor will appear larger if the specimen moves closer to the Optics Package or smaller if it moves further away. Consequently, strain measurement errors occur if the specimen straightens out under tensile load and moves “out of plane”, if the testing system has flexible grip mounting that straightens out, or if the specimen thins out significantly due to Poisson’s ratio. These errors are often significant when making strain measurements <2% strain, and consequently entocentric lenses are best suited when strain values being measured are 2% or greater.
Model ONE-500CE-System has an entocentric lens.
Epsilon recommends telecentric lenses when strain measurements are <2%.
| Gauge Length | Maximum Strain | Maximum Elongation |
| 10 mm | >1000% | 480 mm |
| 25 mm | >1000% | 465 mm |
| 50 mm | 880% | 440 mm |
| 100 mm | 390% | 390 mm |
| 200 mm | 145% | 290 mm |
| 300 mm | 63% | 190 mm |
| 400 mm | 23% | 90 mm |
Touch Interface (Optional)
Model Number: ONE-TI-1
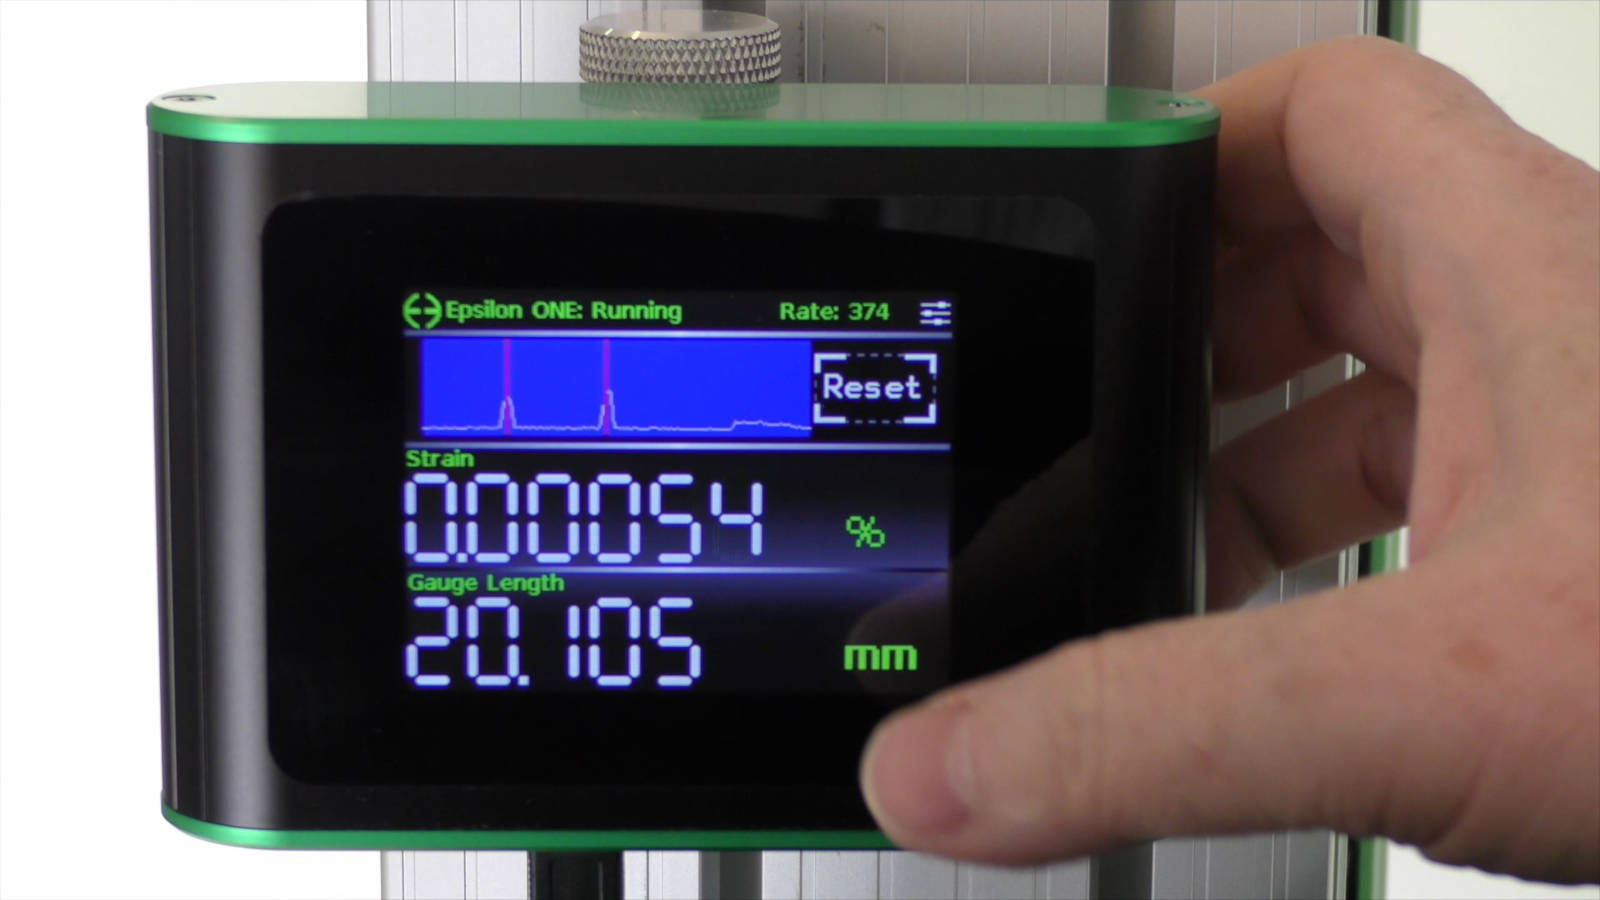
The optional full-color Touch Interface provides all functions necessary to set up and use an Epsilon ONE system. May be mounted on the column of the testing machine near the Epsilon ONE.
- Continuous display of two digital measurements and the live image
- One-touch instant reset
- System status indication
- Setup functions, filter and sensor settings, analog and digital output settings
- Digital readouts are configurable to show strain, length, and more in a variety of engineering units
- Configurable, continuous data trend chart
- Mounting for any ONE-MS-xx mounting system or test frame T-slot
High-Stiffness Mounting Systems
Epsilon ONE® is a high-precision optical extensometer and requires rigid load frame mounting. The mounting systems below provide a rigid, easily aligned mounting platform that is fastened directly to the load frame. The systems include retraction and swing-away features for convenient access to the grips.
Other configurations than the ones shown below are available – contact Epsilon.
Further details are in the Epsilon ONE Mounting System Selection Guide.
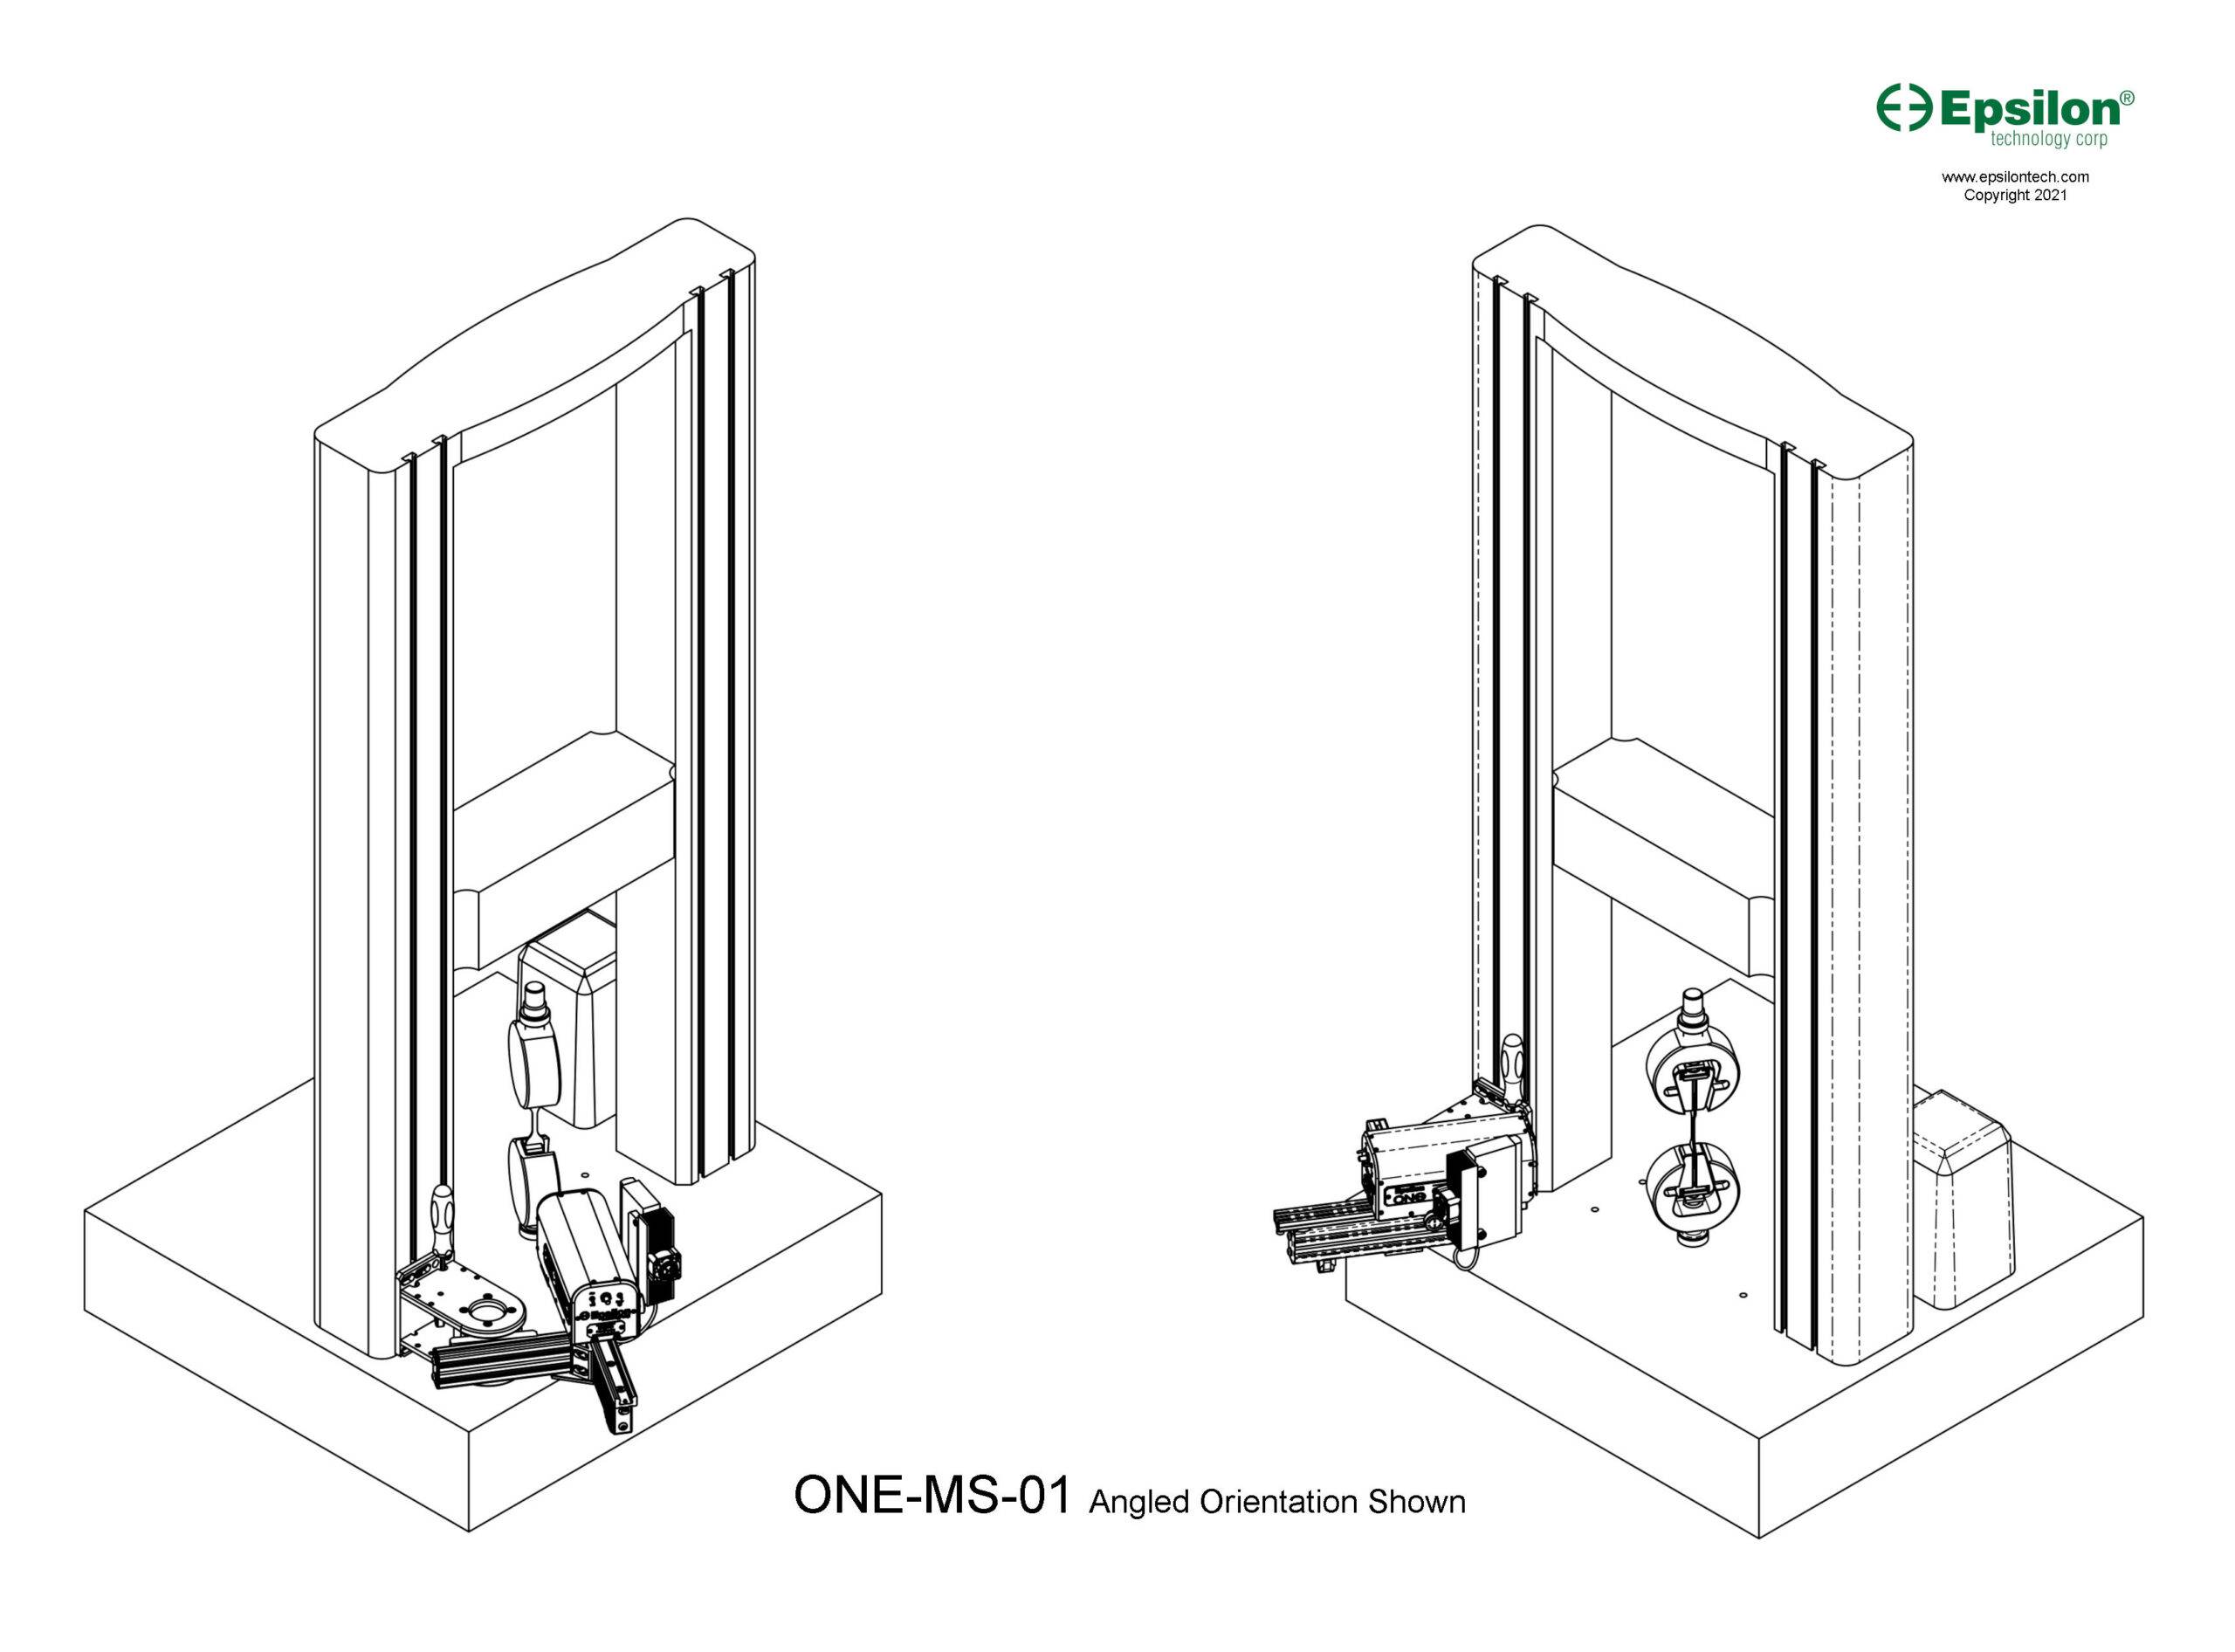
Model Number: ONE-MS-01
For testing machines with integral T-slots on the column
- Mounts to the vertical T-slots of the testing machine
- Provides rigid mounting for any Epsilon ONE Optics Package
- Swing-away and retraction features make it easy to move the Epsilon ONE out of the way when not in use or between tests
- Repeatable placement provided by reference stops
- See Epsilon ONE Mounting System Selection Guide for additional information
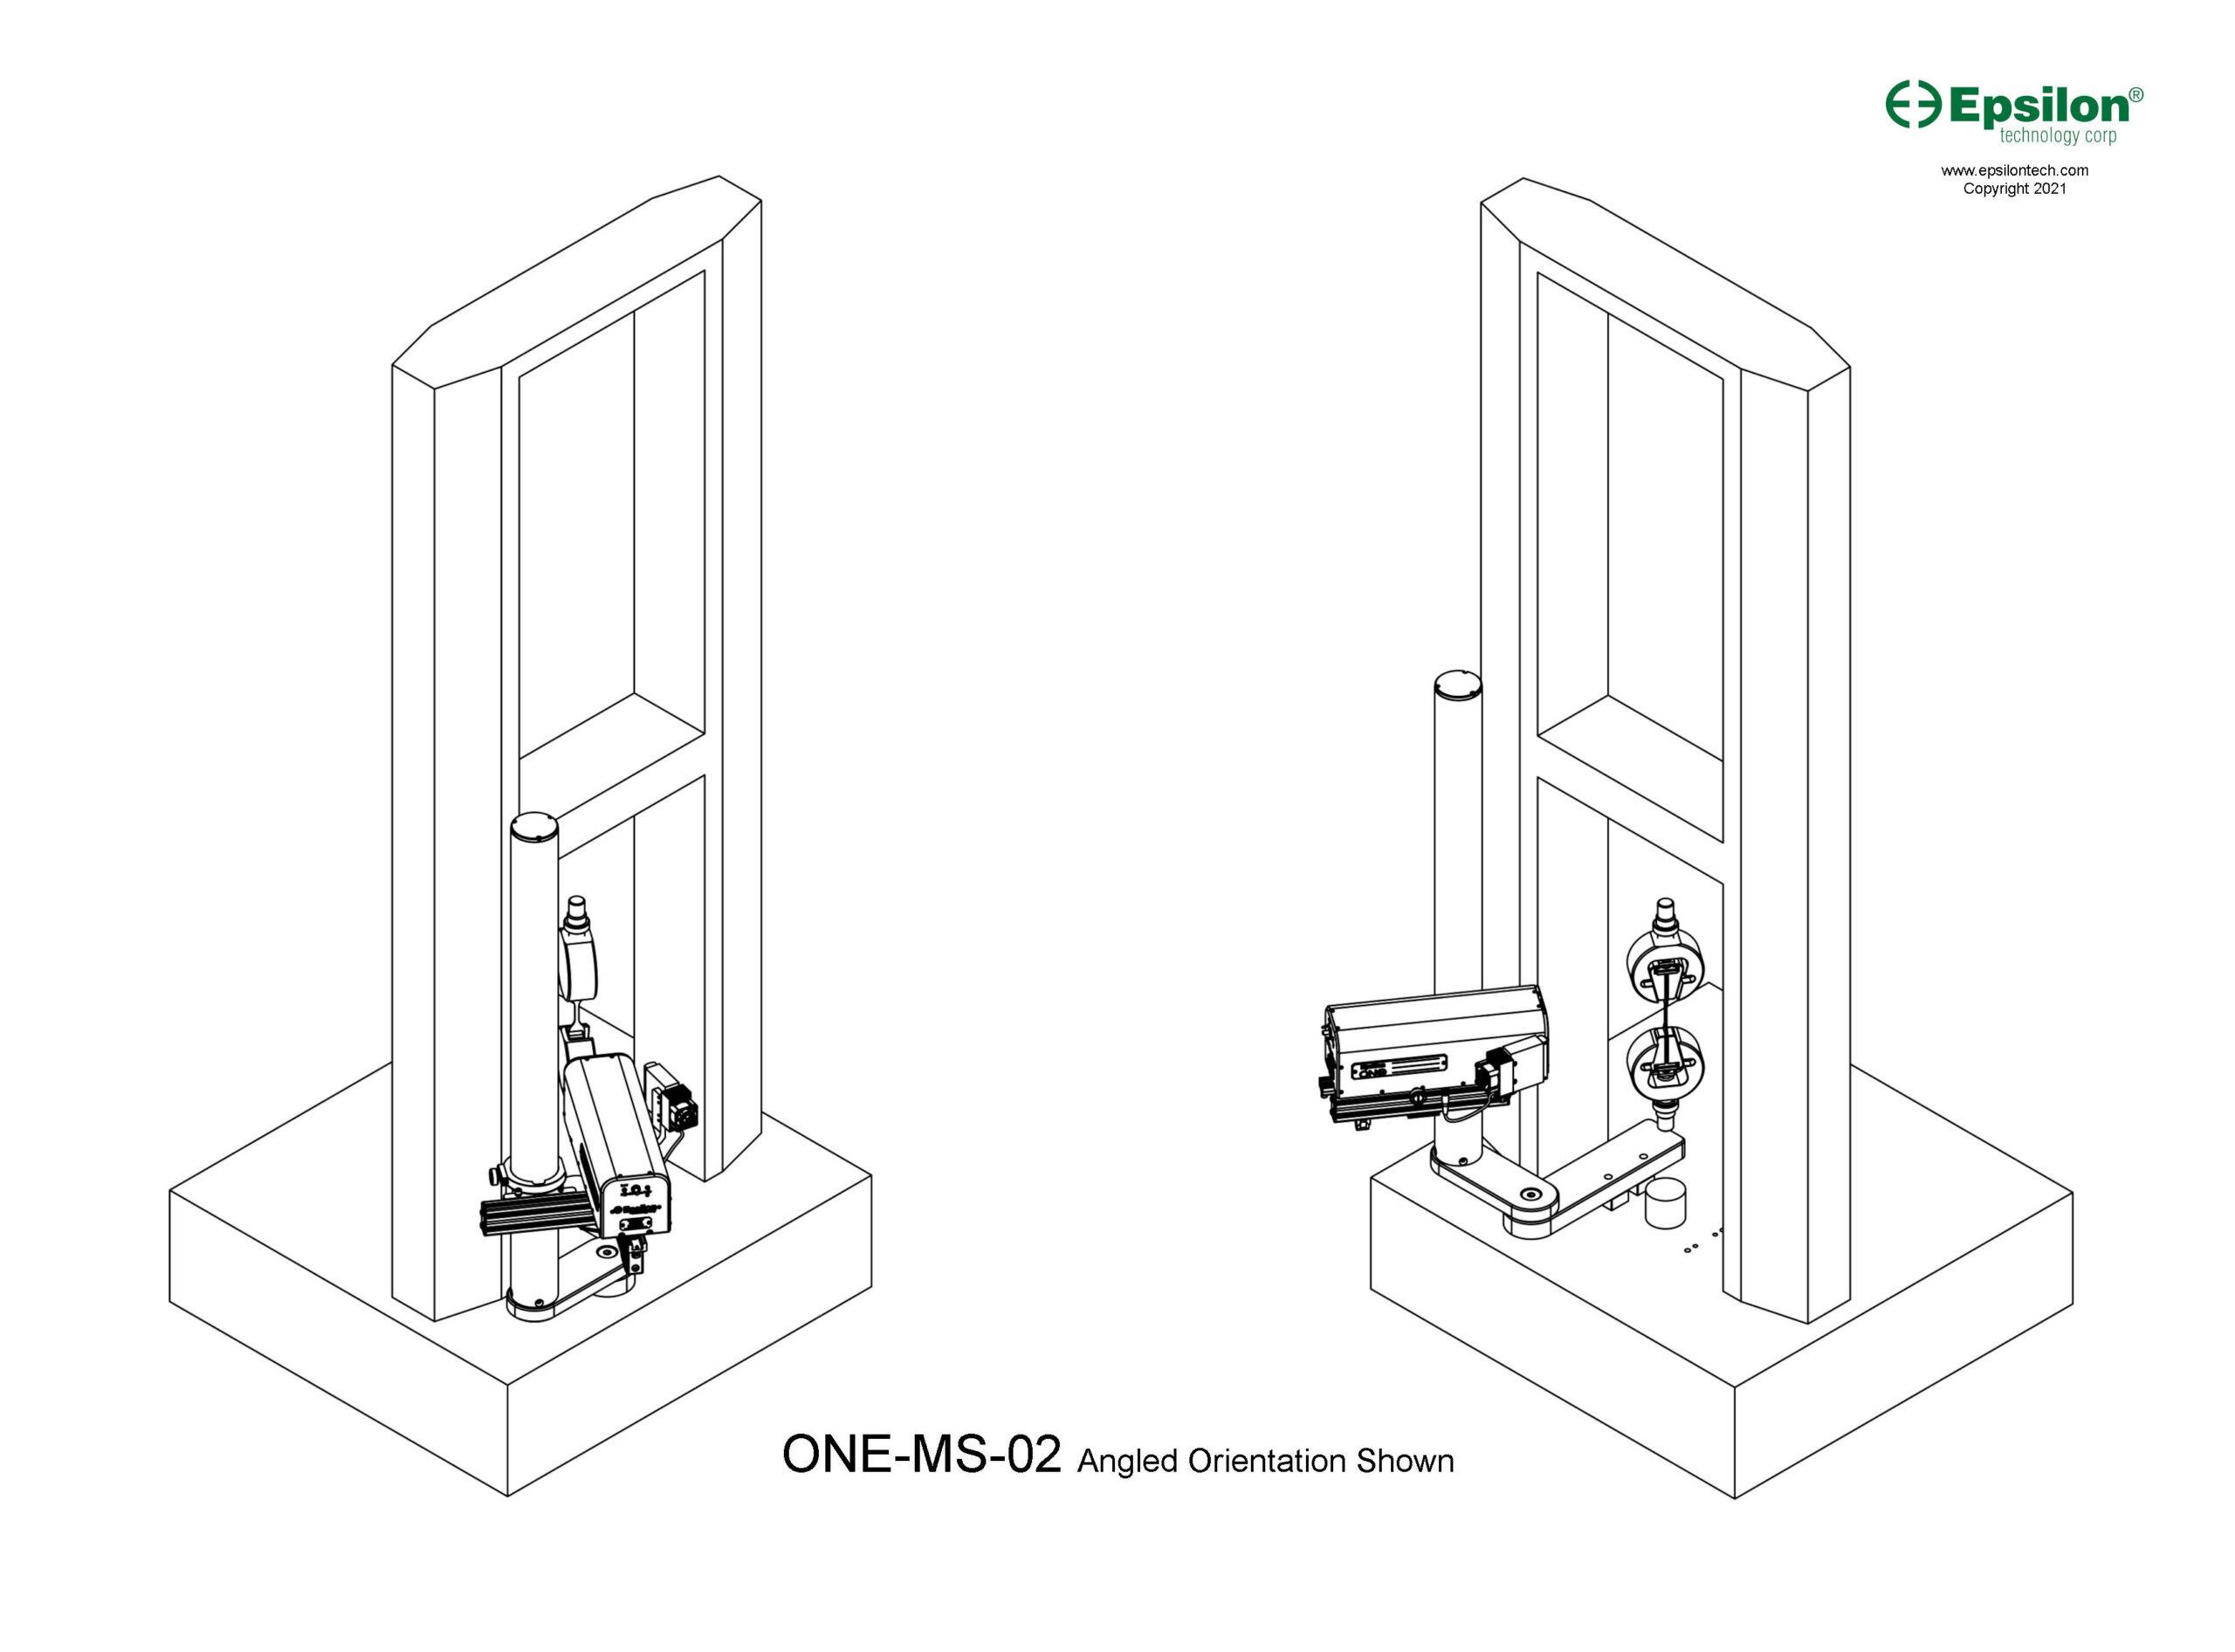
Model Number: ONE-MS-02
Universal base mounting for all testing machines
- Mounts to the horizontal surface of the stationary baseplate / lower crosshead on most any testing machine
- Provides rigid mounting for any Epsilon ONE Optics Package
- Swing-away and retraction features make it easy to move the Epsilon ONE out of the way when not in use or between tests
- Repeatable placement provided by reference stops
- Includes design by an Epsilon engineer to ensure that ONE-MS-02 fits your specific testing machine
- See Epsilon ONE Mounting System Selection Guide for additional information
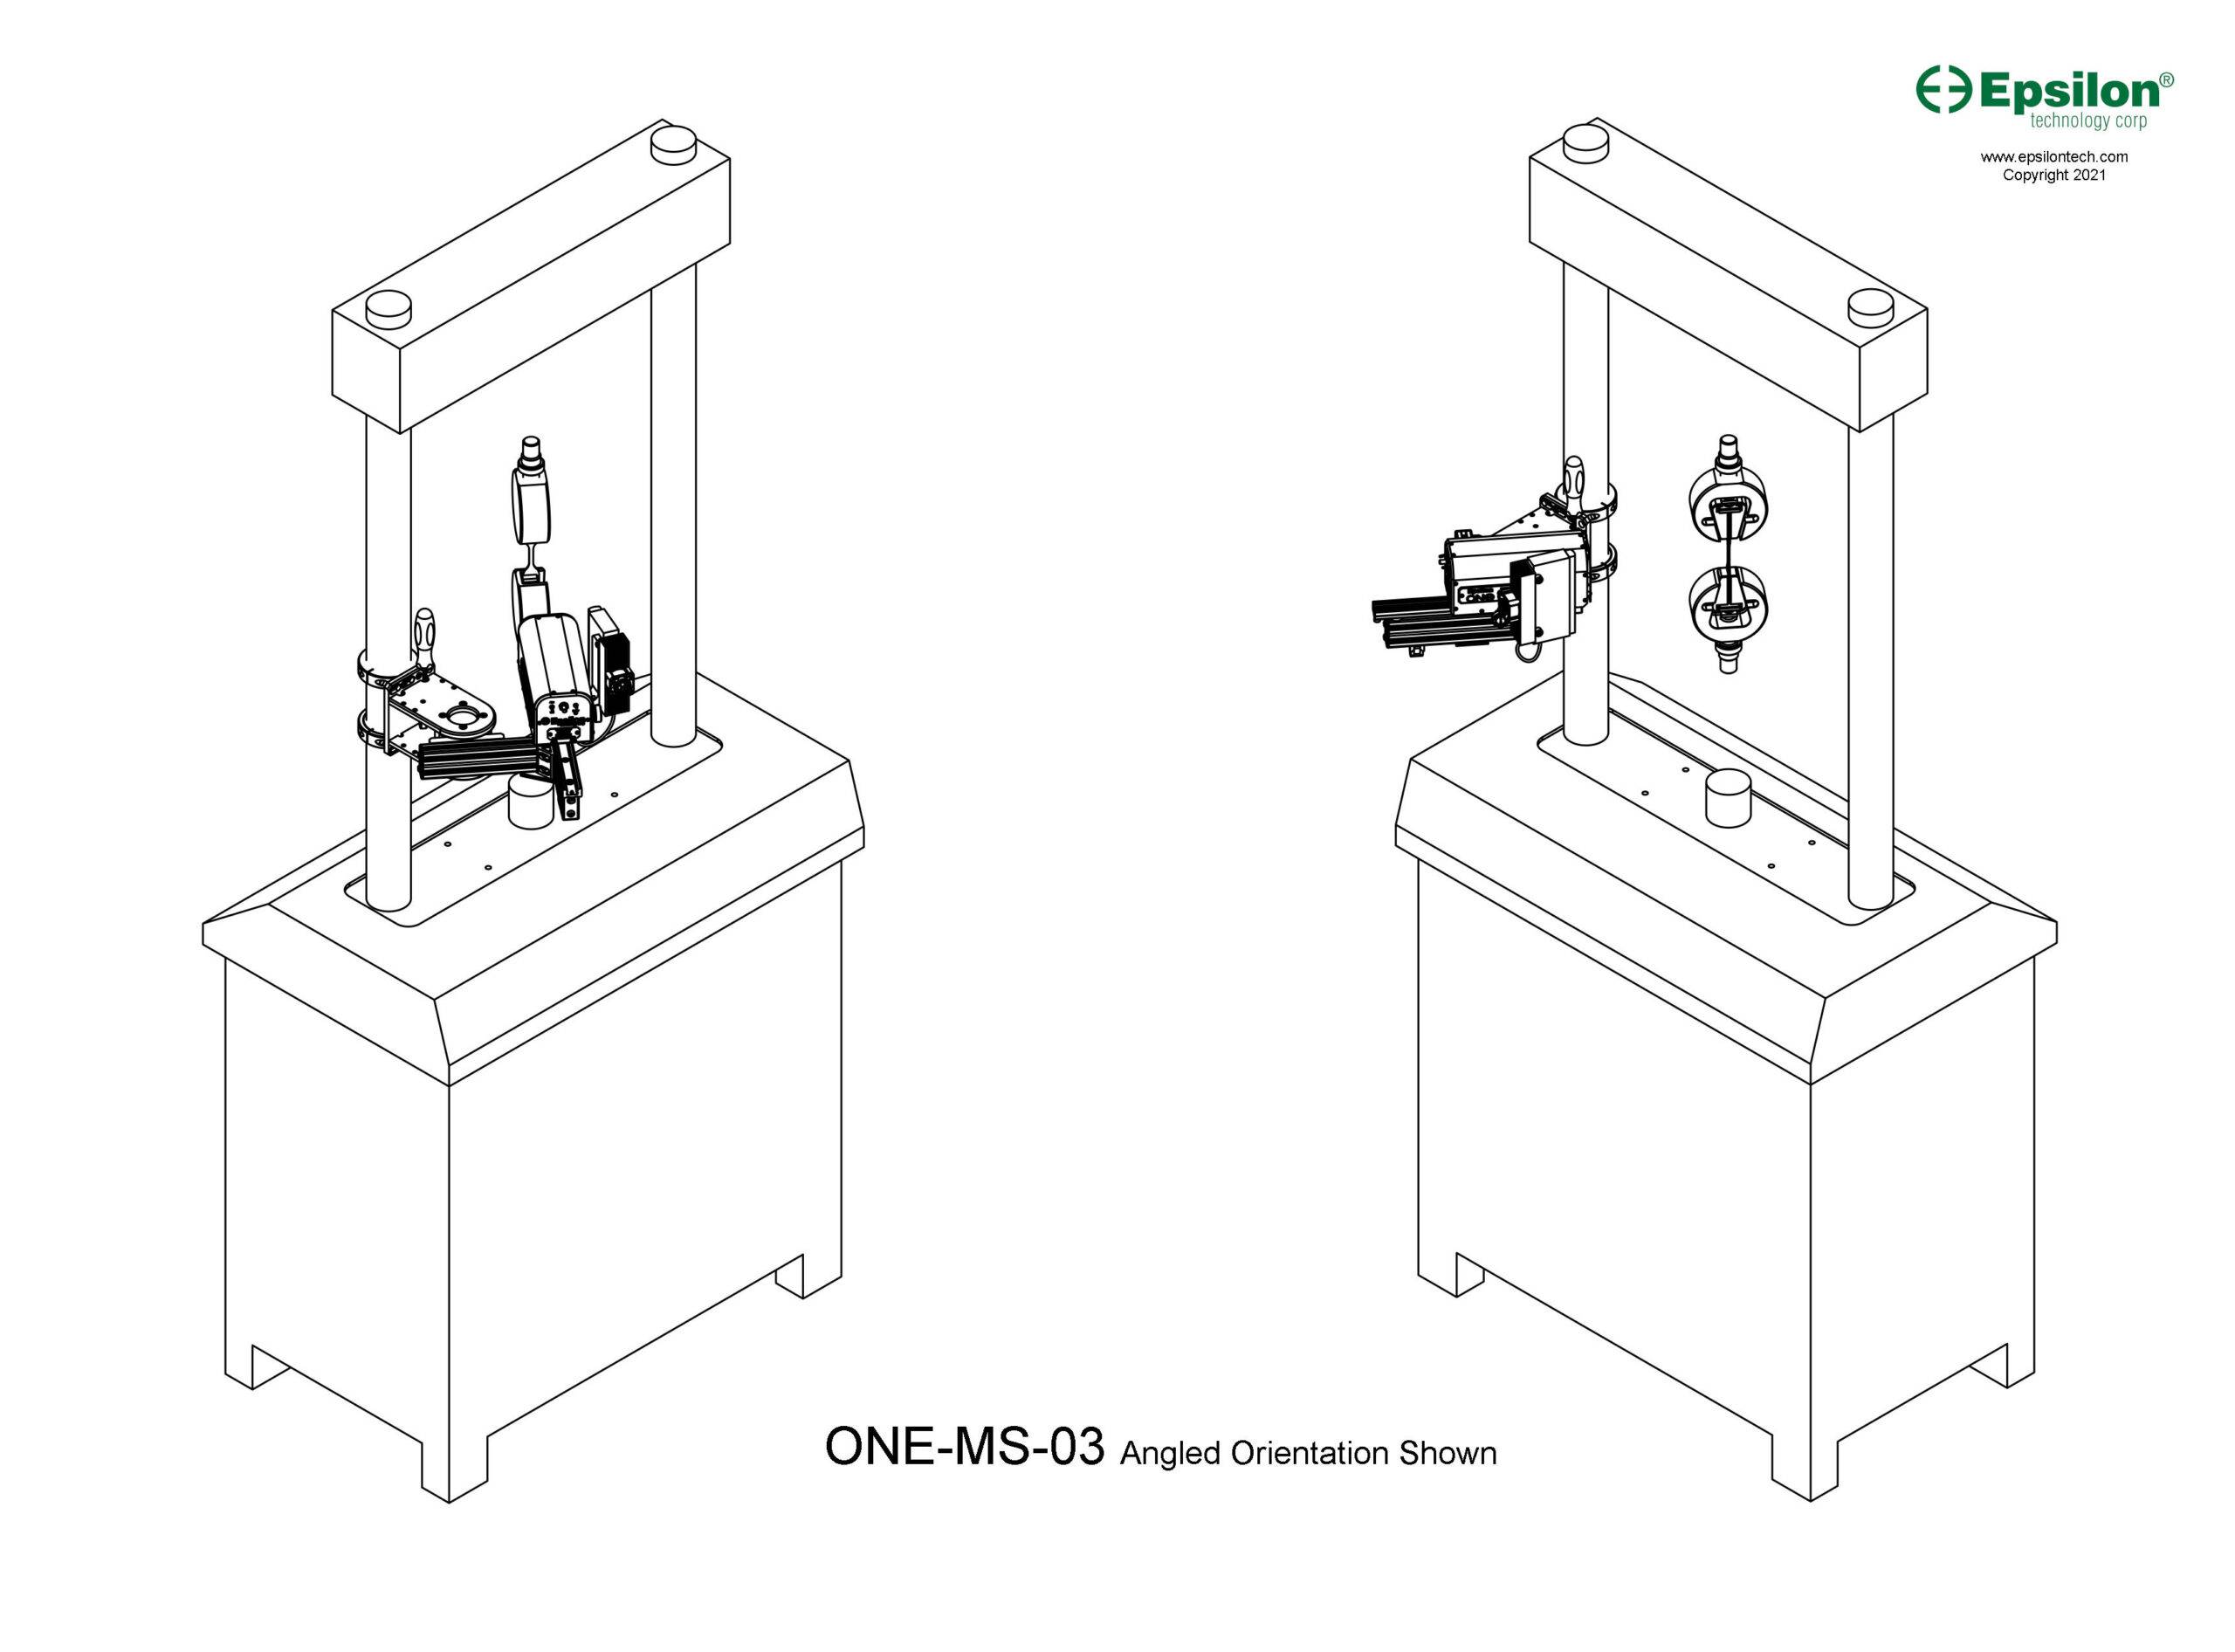
Model Number: ONE-MS-03
For servohydraulic, electrodynamic and static hydraulic testing machines with cylindrical columns
- Mounts to a cylindrical column on a servohydraulic, electrodynamic or static hydraulic testing machine
- Provides very rigid mounting for any Epsilon ONE Optics Package
- Swing-away and retraction features make it easy to move the Epsilon ONE out of the way when not in use or between tests
- Repeatable placement provided by reference stops
- See Epsilon ONE Mounting System Selection Guide for additional information
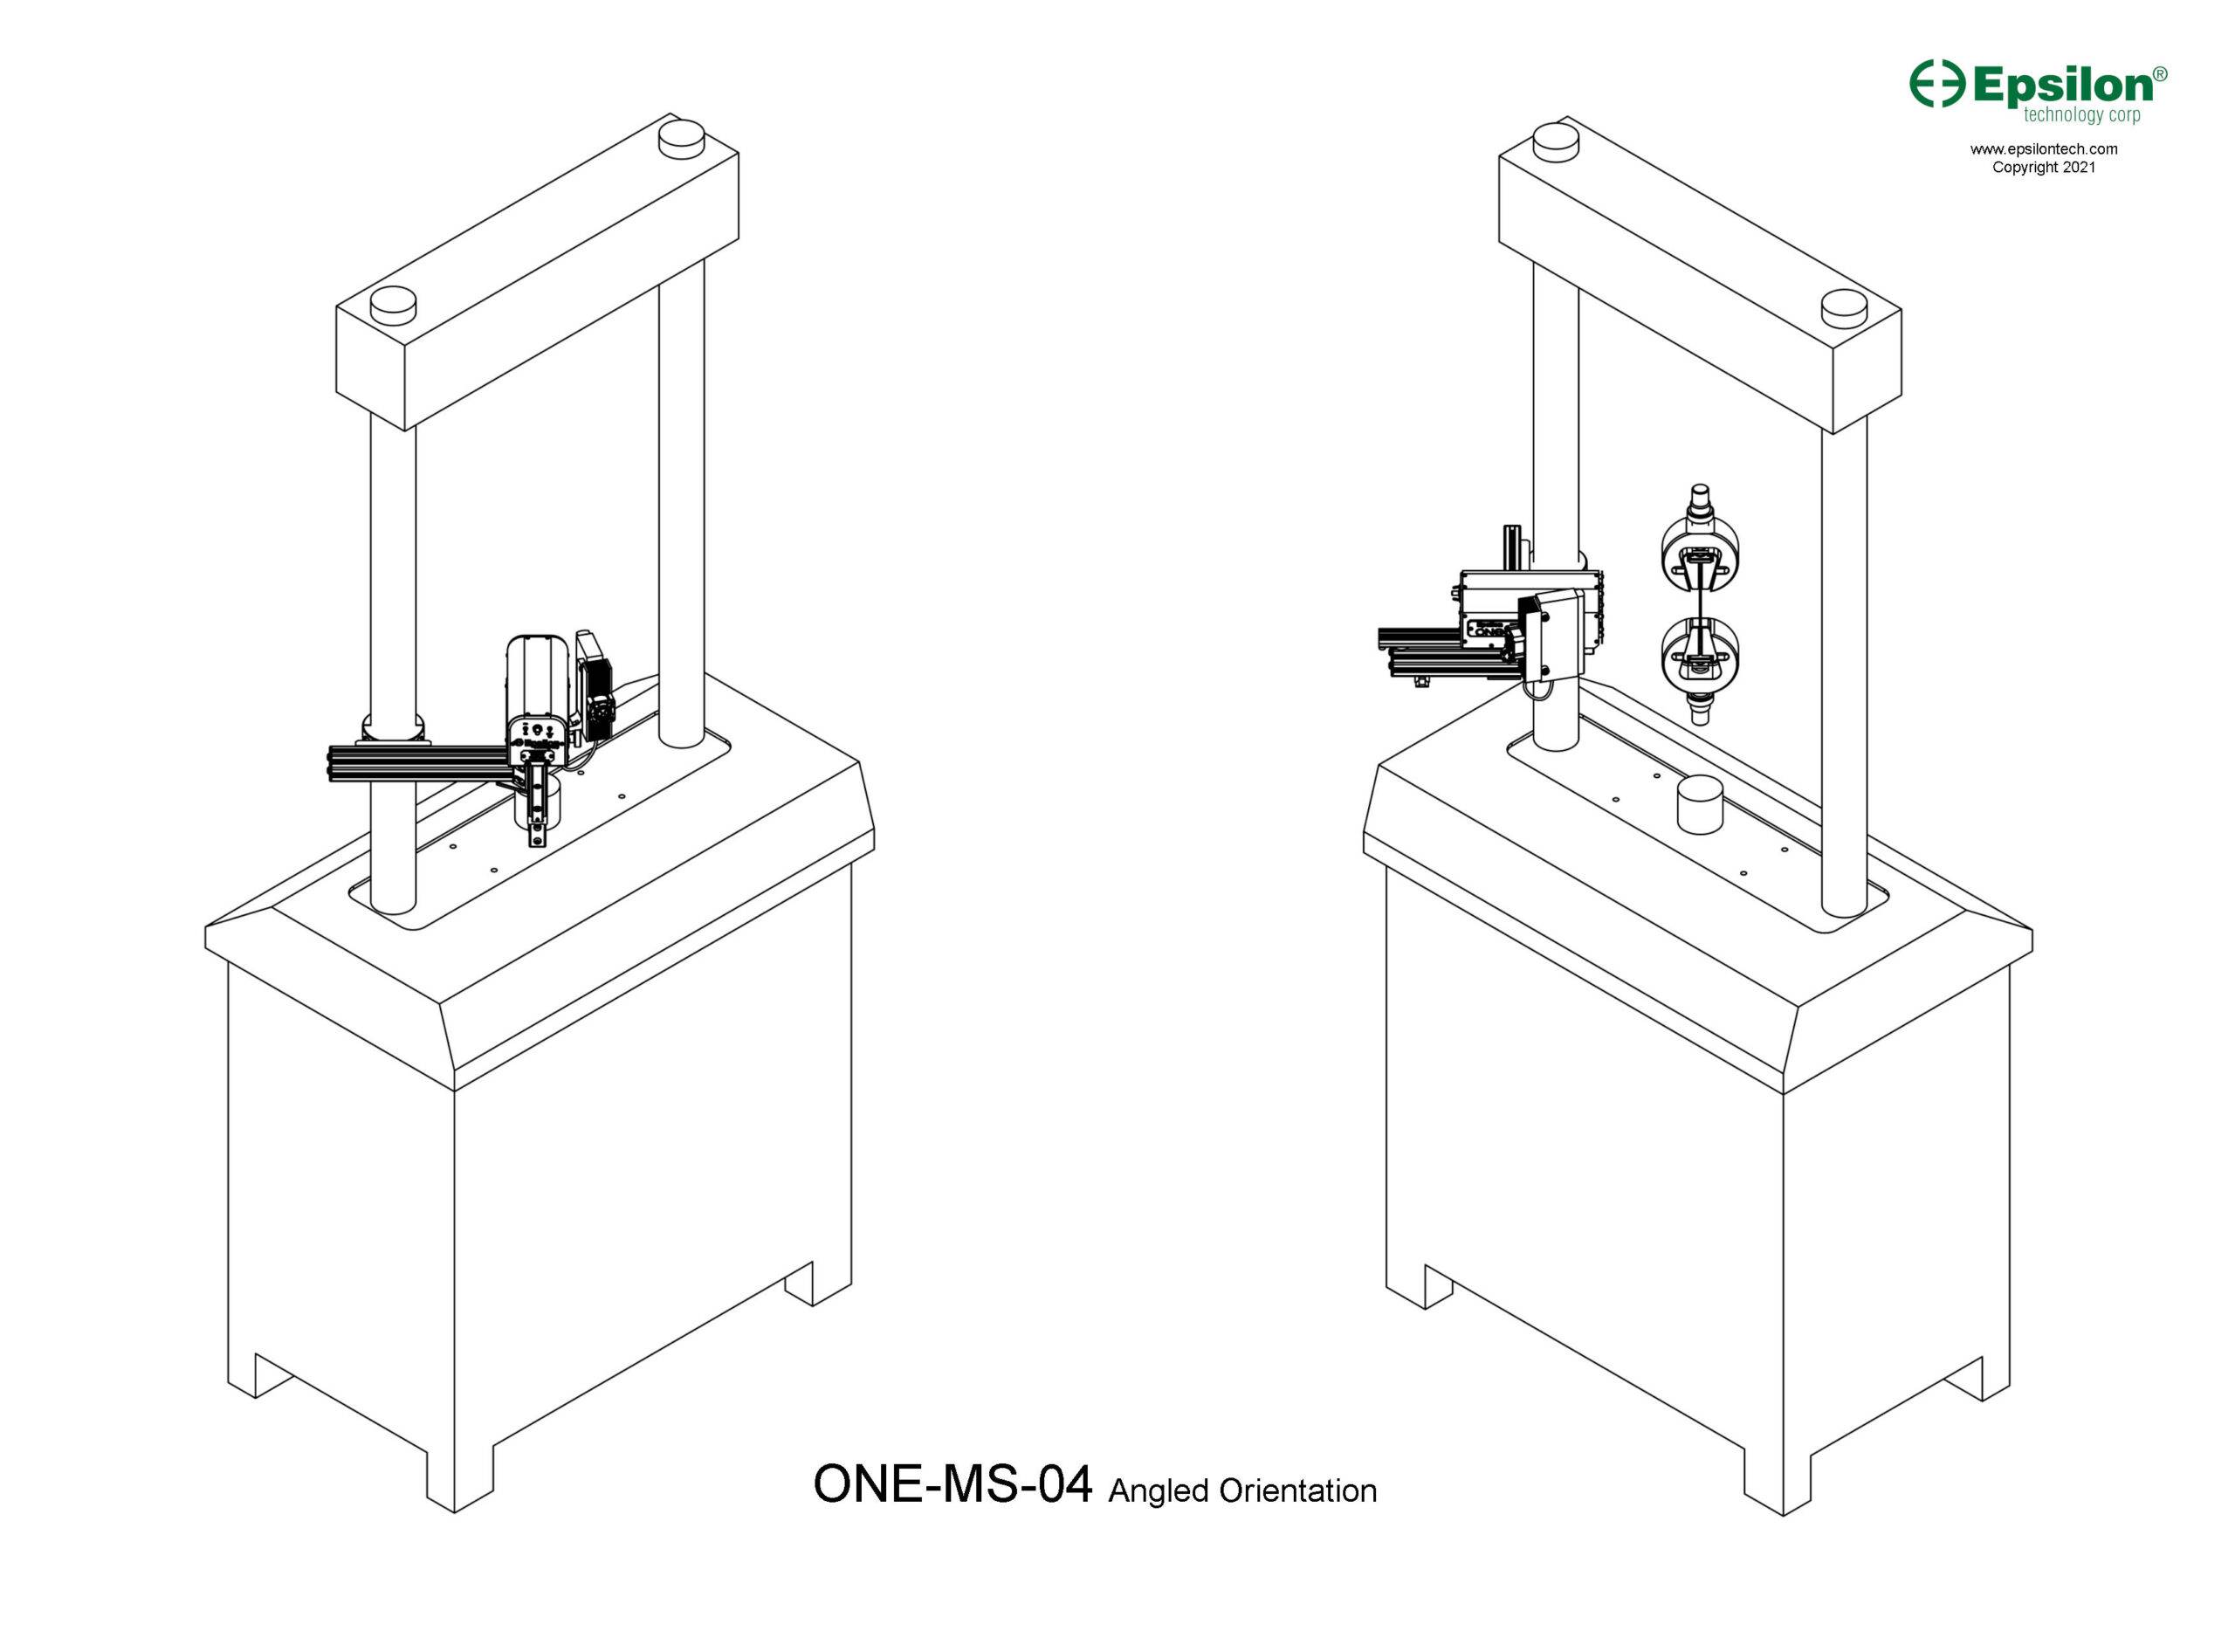
Model Number: ONE-MS-04
For servohydraulic, electrodynamic or static hydraulic testing machines with cylindrical columns.
- Mounts to a cylindrical column on a servohydraulic, electrodynamic or static hydraulic testing machine
- Provides rigid mounting for any Epsilon ONE Optics Package
- Retraction feature makes it easy to move the Epsilon ONE out of the way when not in use or between tests
- Designed to put the Epsilon ONE in a fixed position; this model does not have the swing-away feature and only mounts Epsilon ONE in an angled orientation
- See Epsilon ONE Mounting System Selection Guide for additional information
Example: ONE-78PT-System, ONE-MS-01, and ONE-TI-1: Precision Telecentric Lens, 78 mm Field of View, mounting for vertical T-slots on column of the testing machine, and the Touch Interface.
Resources
Demonstrations
Overview
Faster Testing
Demonstration
Specs and Information About How It Works
Determine What Field of View You Require – Experimental Method
Determine What Field of View You Require – Calculation Method
Learn About Telecentric Lenses
Mounting System Selection Guide
Specimen Marking Demonstration
See the Effect of Out-of-Plane Motion
Using Epsilon ONE with an Environmental Chamber
Touch Interface Demonstration
“How To” Videos About Setting Up and Using
Current Epsilon ONE customers can contact us for access to these “How To” videos.
- Mounting Installation
- Aligning the Light
- Setting Up the Analog Output
- Specimen Marking – Detailed Instructions
- Getting Good Contrast
- Working With Shiny Specimens
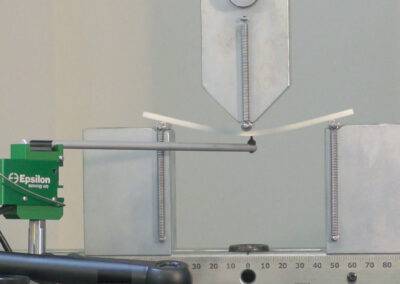
Deflection Gages (Deflectometers) – Model 3540
Deflection Gages (Deflectometers) – Model 3540
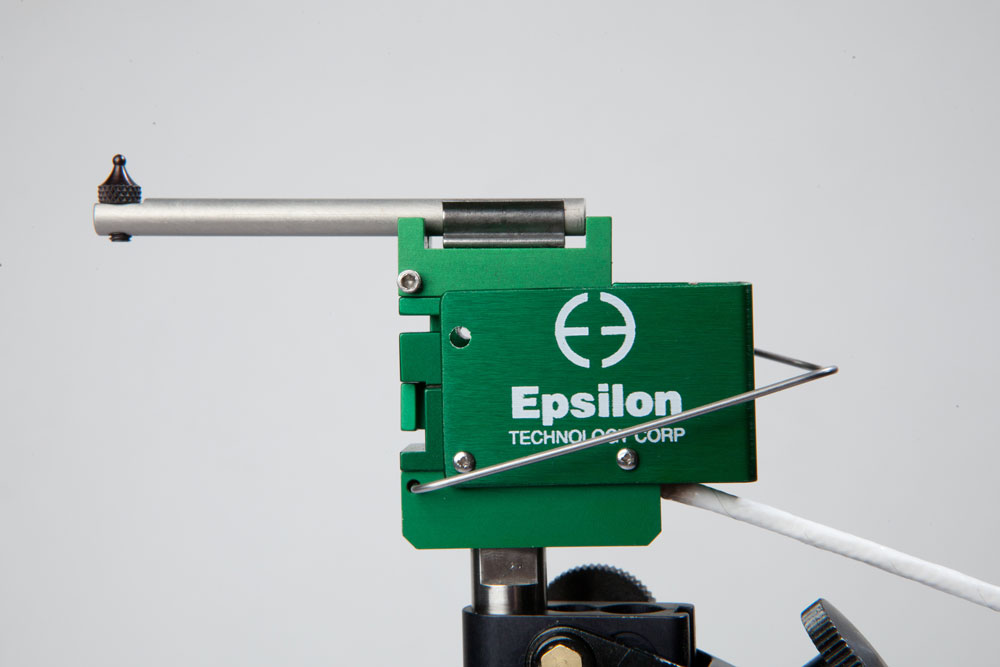
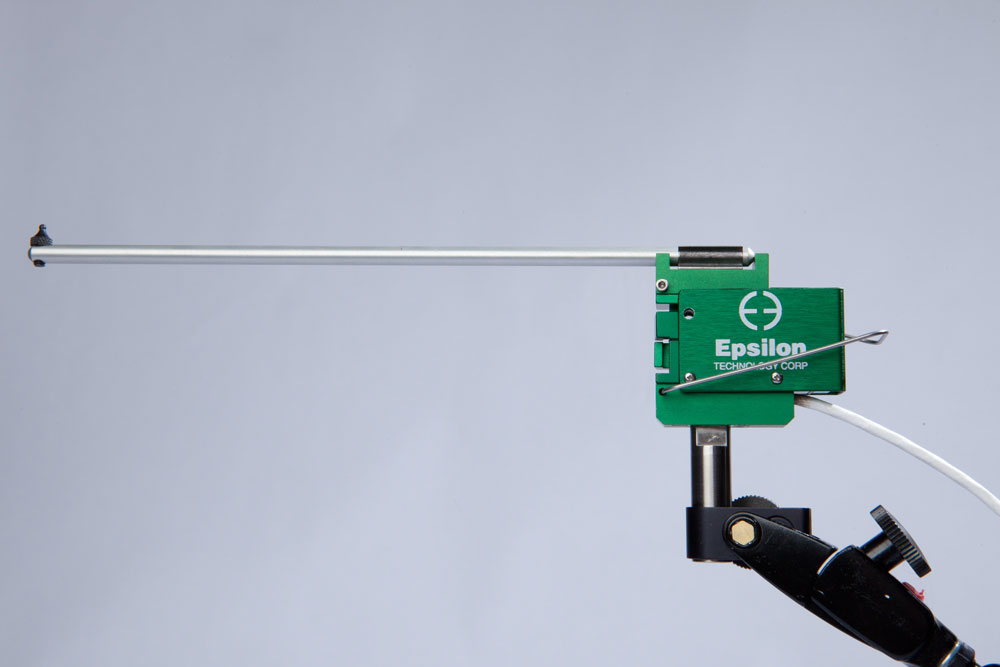
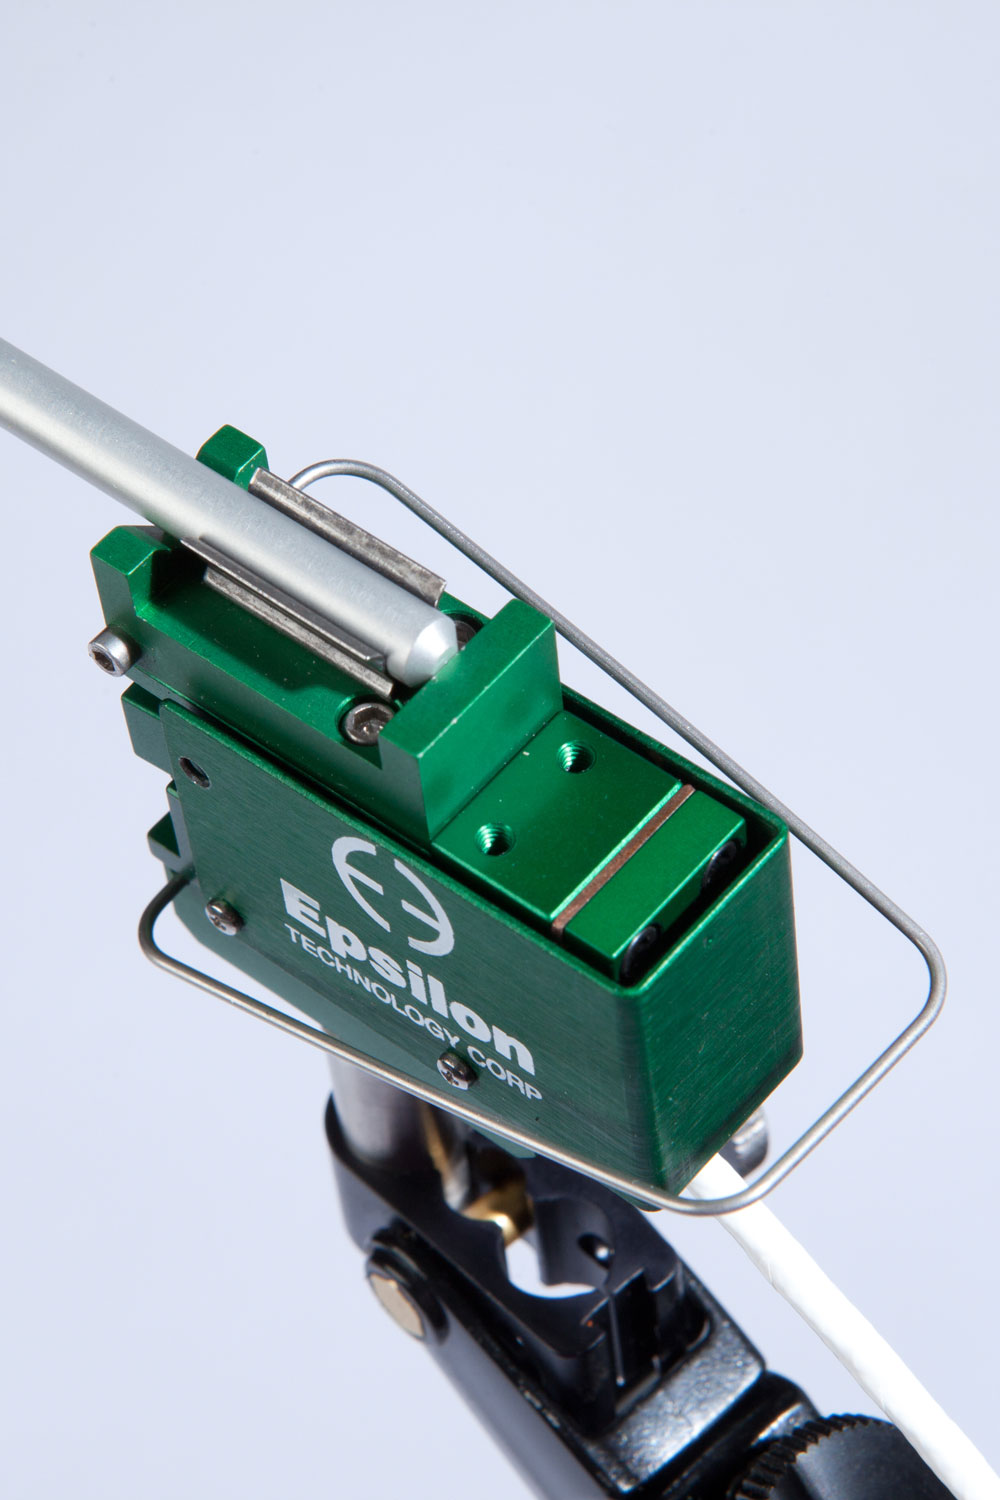
Deflection is measured with a single arm with an attached spherical contact tip, similar to those on a dial indicator. The full bridge strain gaged construction provides an electrical output compatible with any electronics designed for a strain gaged transducer.
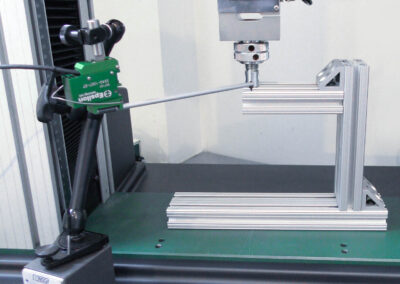
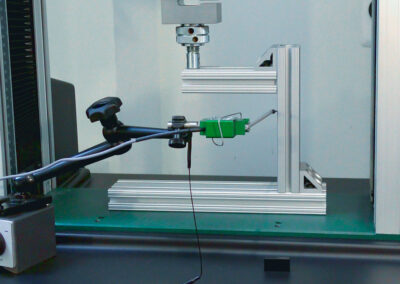
The magnetic base furnished with the gage can be mounted to the desired reference surface, whether flat or round. The tip can then be positioned to measure the deformation encountered during the test. The magnetic base can only be used for low and standard temperature testing. Elevated temperature testing requires additional support considerations.
All models feature a spring loaded arm that can break free in the event of excessive displacement, protecting the deflection gauge from damage. The upper arm exerts a small spring force against the specimen, which is sufficient to allow dynamic cyclic testing if desired, yet light enough in force to avoid influence on the test. Because small variations in arm length can result in changes in the system calibration, the 3540 includes a mechanical stop for repeatable placement of the arm in situations where it becomes detached.
These units come standard with the arm set to measure downward deflections when oriented in the upright position. They can be used upside down or in any orientation. They may also be configured with the extensometer arm spring loaded downward. Specify this if desired. Note that the measuring ranges listed are total displacement.
The Model 3540 extensometers are strain gaged devices, making them compatible with any electronics designed for strain gaged transducers. Most often they are connected to a test machine controller. The signal conditioning electronics for the extensometer is typically included with the test machine controller or may often be added. In this case the extensometer is shipped with the proper connector and wiring to plug directly into the electronics. For systems lacking the required electronics, Epsilon can provide a variety of solutions, allowing the extensometer output to be connected to data acquisition boards, chart recorders or other equipment.
- Full bridge, 350 ohm strain gaged design for compatibility with nearly any test system.
- Comes with an adjustable magnetic base for easy mounting.
- Spring loaded arm detaches to prevent damage from overtravel.
- Meets ASTM and ISO accuracy classes as follows.
- -001M, -004M, -006M, -005T, -015T, -025T:
ASTM E2309 Class A
ISO 9513 Class 1
ASTM E83 Class B-2 (assuming 50 mm gauge length per D790 and D6272) - -012M, -025M, -050M, -050T, -100T, -200T:
ASTM E2309 Class B
ISO 9513 Class 2
ASTM E83 Class C (assuming 50 mm gauge length per D790 and D6272)
- -001M, -004M, -006M, -005T, -015T, -025T:
- All standard units have linearity of 0.25% of FS or better.
- Includes the Epsilon Shunt Calibration System for on-site electrical calibration.
- Rugged, dual flexure design for improved performance.
- Includes high quality foam lined case.
Excitation: 5 to 10 VDC recommended, 12 VDC or VAC max.
Output: 2 to 4 mV/V, nominal, depending on model
Linearity: ≤0.25% of full scale measuring range
Temperature Range: Standard (-ST) is -40 °C to +100 °C (-40 °F to 210°F)
Cable: Integral, ultra-flexible cable, 2.5 m (8 ft) standard
Operating Force:50 g typical
![]()
- Connectors to interface to nearly any brand of test equipment
- Arm orientation
Product Videos
Ordering Information
Click table options to configure
Gauge Length i
| mm or inches | # |
|---|---|
| 1.0 mm | -001M |
| 4.0 mm | -004M |
| 6.0 mm | -006M |
| 12.0 mm | -012M |
| 25.0 mm | -025M |
| 50.0 mm | -050M |
| 0.050 in | -005T |
| 0.150 in | -015T |
| 0.250 in | -025T |
| 0.500 in | -050T |
| 1.000 in | -100T |
| 2.000 in | -200T |
Selecting Extensometer Measuring Range
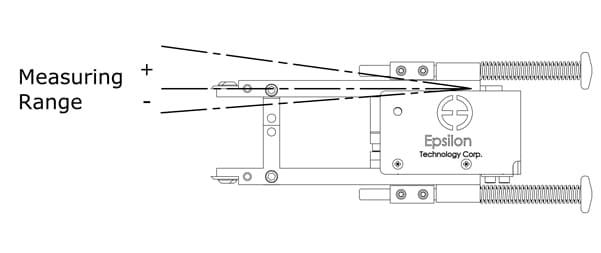
Measuring Range is the measuring capacity of the extensometer in tension (+) or compression (-) in units of % strain, maximum extension, or maximum deflection. When measuring range is in units of % strain, this means the maximum extension as a percentage of the gauge length.
Estimate the maximum strain or extension values you will need to measure, such as the total strain when the extensometer is removed after offset yield or the elongation at fracture. Then select a measuring range for the extensometer that meets or exceeds the requirements for the materials you are testing. If you are using a testing standard, also check the standard for extensometer requirements.
Temperature Range
| degrees | # |
|---|---|
| -270 ˚C to 100 ˚C (-454 ˚F to 210 ˚F) | -LT |
| -40 ˚C to 100 ˚C (-40 ˚F to 210 ˚F) | -ST |
| -40 ˚C to 150 ˚C (-40 ˚F to 300 ˚F)¹ | -HT1 |
| -40 ˚C to 200 ˚C (-40 ˚F to 400 ˚F)¹ | -HT2 |
| -270 ˚C to 200 ˚C (-454 ˚F to 400 ˚F)¹ | -LHT |
Model Number: 3540 – _ _ _ _ – _ _ _
Model3540 Available Versions: ANY combination of measuring range and temperature range listed above is available. Other configurations may be available with special order; please contact Epsilon to discuss your requirements.
¹Magnetic base not suitable for high temperature use; 50 °C (125 °F) max.
Example: 3540-012M-ST: 12.0 mm measuring range, standard temperature option (-40 °C to 100 °C)
High Temperature Self-Supporting Furnace Extensometers (1200 °C) – Model 3448
High Temperature Self-Supporting Furnace Extensometers (1200 °C) – Model 3448
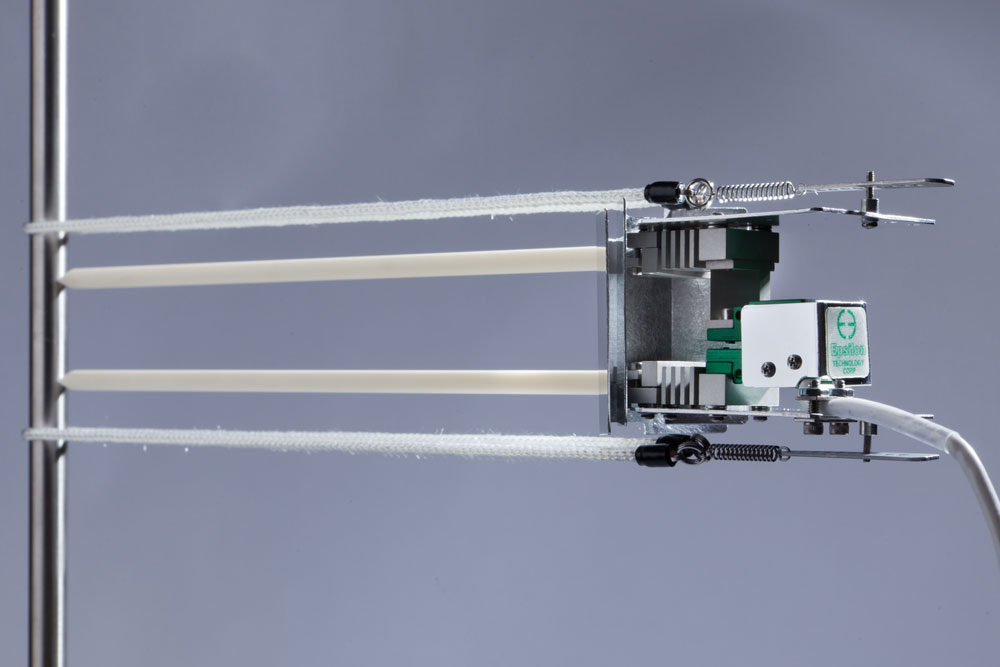
Epsilon developed this unique high temperature extensometer for testing metals, ceramics, and composites at the high temperatures produced by furnaces and induction heating systems. A combination of features make these extensometers easier to use and better in performance than other similar high temperature extensometers.
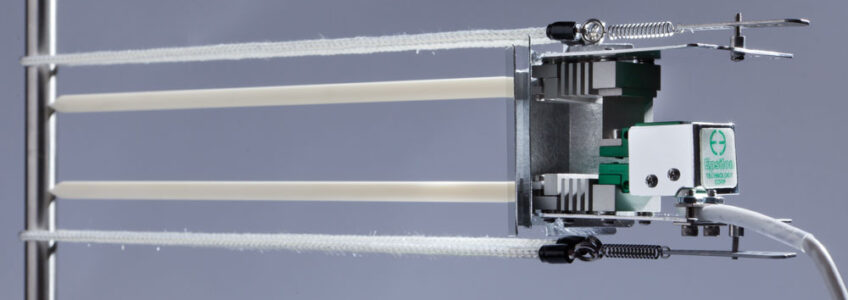
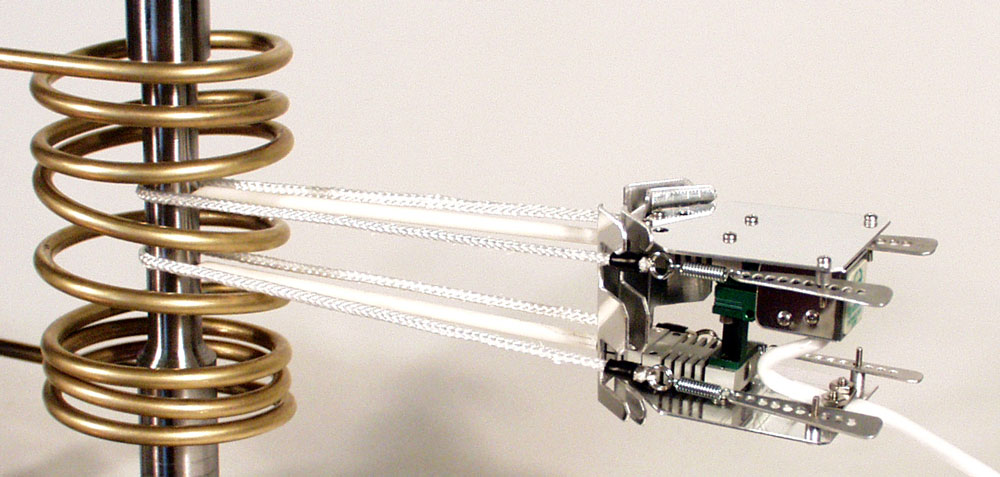
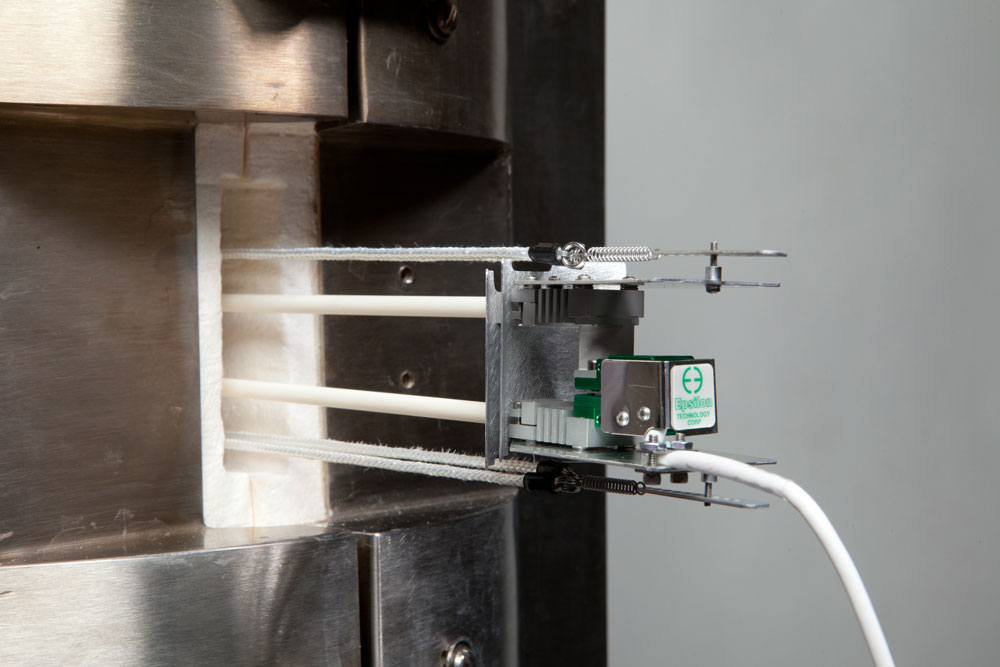
The units are held on the specimen by light, flexible ceramic fiber cords. These make the extensometer self-supporting on the specimen. No furnace mounting brackets are required. The side load on the test sample is greatly reduced because of the self-supporting design and light weight of the sensor. Most materials testing furnaces with a side cut-out for an extensometer will readily accept a Model 3448. For induction heating systems, a different ceramic cord placement allows the extensometer to easily pass between the coils.
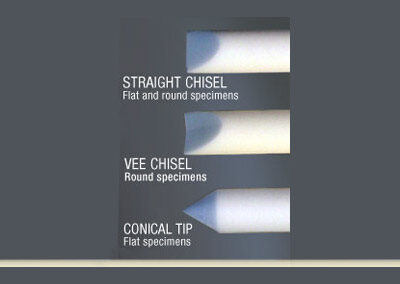
The combination of radiant heat shields and convection cooling fins allow this model to be used at specimen temperatures up to 1200 °C (2200 °F) without any cooling. An optional tiny air fan does enhance stability at the highest temperatures and is recommended for the highest accuracy and for tests with small elongations. The fan comes with a magnetic base for support so it can be mounted at any convenient location near the extensometer. Fan cooling is not generally needed for induction heated systems. High purity alumina ceramic rods are used. These are available in lengths as required to fit your furnace. A spare set is included with every extensometer. Specify chisel, vee chisel or conical contact points as desired.
Most units operate equally well in tension and compression. Tensile, compression and cyclic fatigue tests can all be performed with a single unit. For testing in strain control or to get the highest performance during cyclic fatigue tests, models 3549 or 7650A are recommended.
- May be left on through specimen failure.
- Full bridge, 350 ohm strain gaged design for compatibility with nearly any test system.
- Mechanical overtravel stops in both directions.
- All units come with high purity alumina ceramic rods.
- Mounts with flexible ceramic fiber cords. Very simple to install, this Epsilon exclusive design eliminates the need for external support brackets. Low contact force does not vary during testing like some externally supported extensometers.
- Use without cooling to 1200 °C (2200 °F). Optional small fan improves stability at highest temperatures.
- Versions available for use in vacuum and controlled atmospheres. Radiant heat transfer cooled versions are available for these applications.
- May be used on nearly any furnace with side entry cut-out for extensometers. Alternate configuration available for insertion between coils of induction heaters.
- Includes the Epsilon Shunt Calibration System for on-site electrical calibration.
- Rugged, dual flexure design for strength and improved performance.
- Includes high quality foam lined case, a spare set of ceramic rods, and eight ceramic fiber cords.
Excitation: 5 to 10 VDC recommended, 12 VDC or VAC max.
Output: 2 to 4 mV/V, nominal, depending on model
Accuracy: Standard configurations meet ASTM E83 class B-1 and ISO 9513 class 0,5 requirements for accuracy. A test certificate is included. Rod lengths >250 mm (10″) can affect the final class rating.
Linearity: ≤0.15% of full scale measuring range, depending on model
Temperature Range: Ambient to 1200 °C max (2200 °F), all versions
Cable: Integral, ultra-flexible cable, 2.5 m (8 ft) standard
Contact Force: Adjustable, approximately 200 g depending on configuration
Operating Force:10 to 20 g typical
![]()
- Air cooling fan: add suffix -AC
- Ceramic cord orientation for furnaces or induction heaters (specify)
- Connectors to interface to nearly any brand of test equipment
- Rod tips can be straight chisels, conical tips or vee chisels; specify when ordering
Product Videos
Ordering Information
Click table options to configure
Gauge Length i
| mm or inches | # |
|---|---|
| 10.0 mm | -010M |
| 25.0 mm | -025M |
| 50.0 mm | -050M |
| 0.500 in | -0050 |
| 1.000 in | -0100 |
| 2.000 in | -0200 |
Selecting Extensometer Gauge Length

Extensometer Gauge Length is the distance between the extensometer’s initial measuring points on the specimen. If you are using a testing standard, check the standard for extensometer gauge length requirements. Many test standards specify the specimen dimensions and a matching extensometer gauge length.
Many specimens have a reduced section length that is designed to be greater than the extensometer’s gauge length.
Measuring Range i
| % strain | # |
|---|---|
| ±5% | -005¹ |
| ±10% | -010 |
| +20%/-10% | -020 |
| +50%/-10% | -050 |
| +100%/-10% | -100² |
Selecting Extensometer Measuring Range

Measuring Range is the measuring capacity of the extensometer in tension (+) or compression (-) in units of % strain, maximum extension, or maximum deflection. When measuring range is in units of % strain, this means the maximum extension as a percentage of the gauge length.
Estimate the maximum strain or extension values you will need to measure, such as the total strain when the extensometer is removed after offset yield or the elongation at fracture. Then select a measuring range for the extensometer that meets or exceeds the requirements for the materials you are testing. If you are using a testing standard, also check the standard for extensometer requirements.
Model Number: 3448 – _ _ _ _ – _ _ _
Model 3448 Available Versions: Any combination of gauge length and measuring range listed above is available, except as noted. Ceramic rod lengths are made to fit furnaces as required. Please provide furnace dimensions at the time of order. Other configurations may be available with special order; please contact Epsilon to discuss your requirements.
¹For 10 mm and 0.5 inch gauge lengths, the ±5% strain range is only available with short ceramic rods.
²Not available in 50 mm or 2.0 inch gauge lengths.
Example: 3448-0100-020: 1.000 inch gauge length, +20%/-10% measuring range, room temperature to 1200 °C
High-Temperature Hot Mountable Furnace Extensometers (1200°C or 1600°C) – Model 3549
High Temperature Hot Mountable Furnace Extensometers (1200°C or 1600°C) – Model 3549
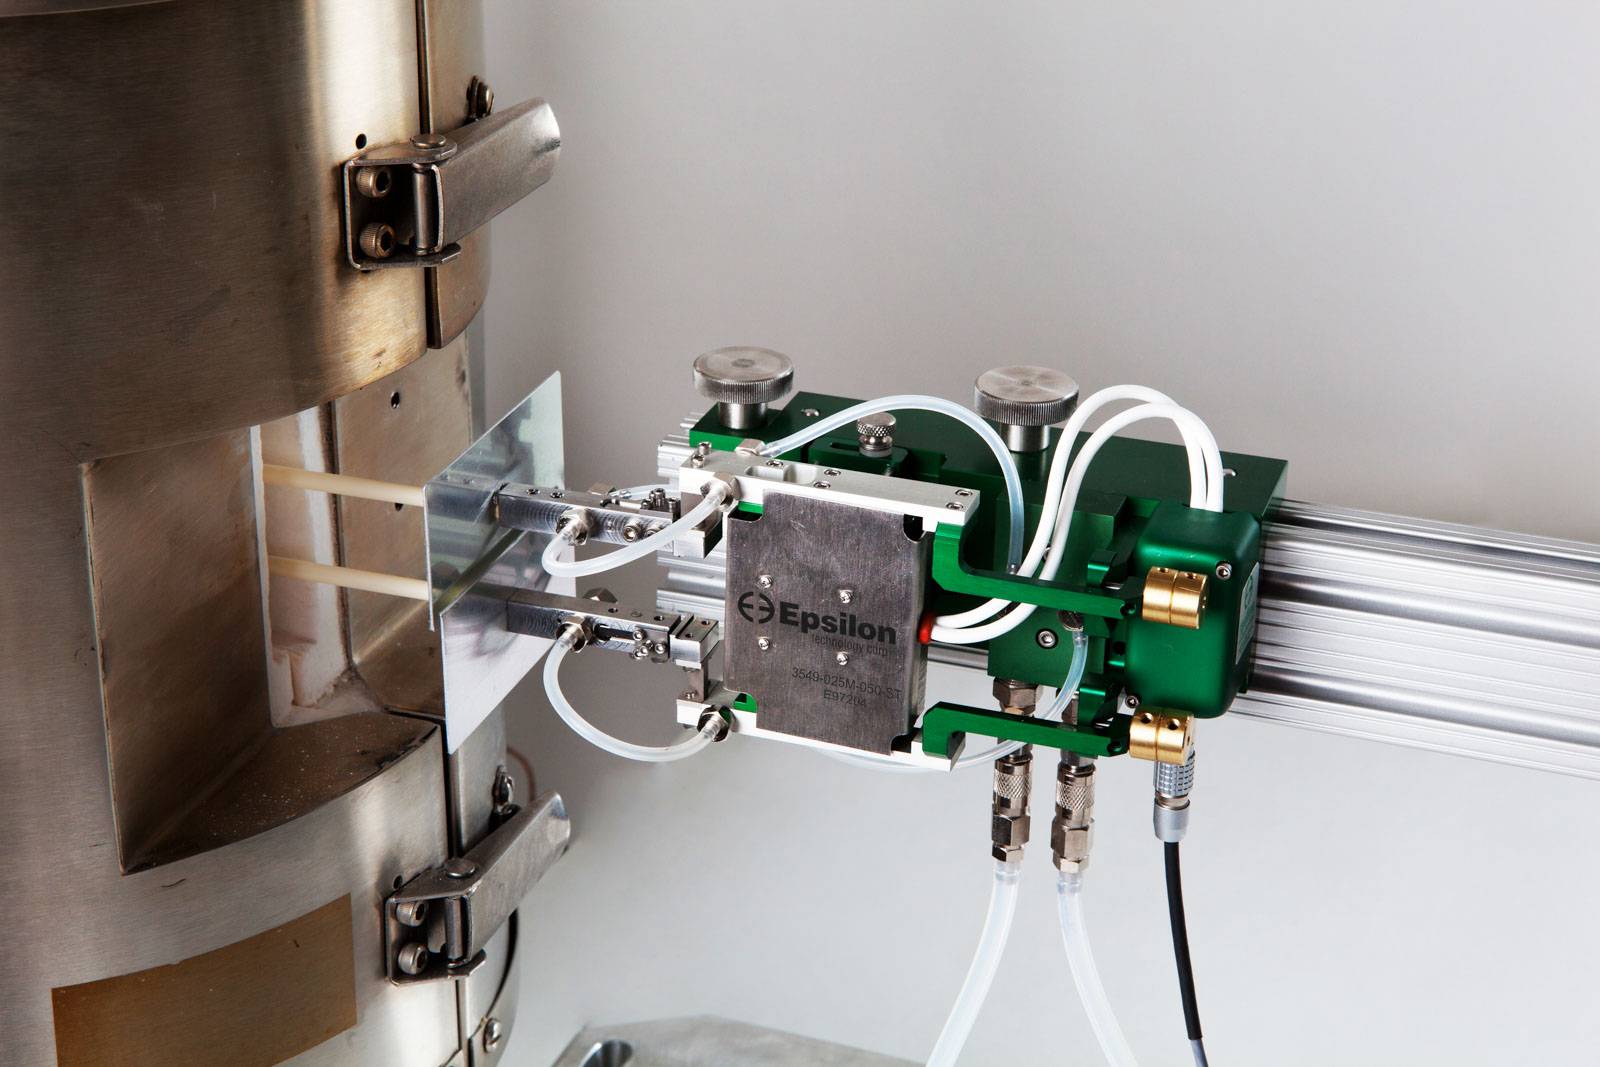
The Model 3549 is a major advancement in the design of externally mounted furnace extensometers. It is designed to meet the stringent requirements of strain-controlled testing as prescribed in ISO 6892, ISO 12106, ASTM E21, and ASTM E606, while introducing many innovative features that improve productivity and performance for static tensile testing, long-term testing such as low cycle fatigue and creep, and other applications requiring small strain measurements.
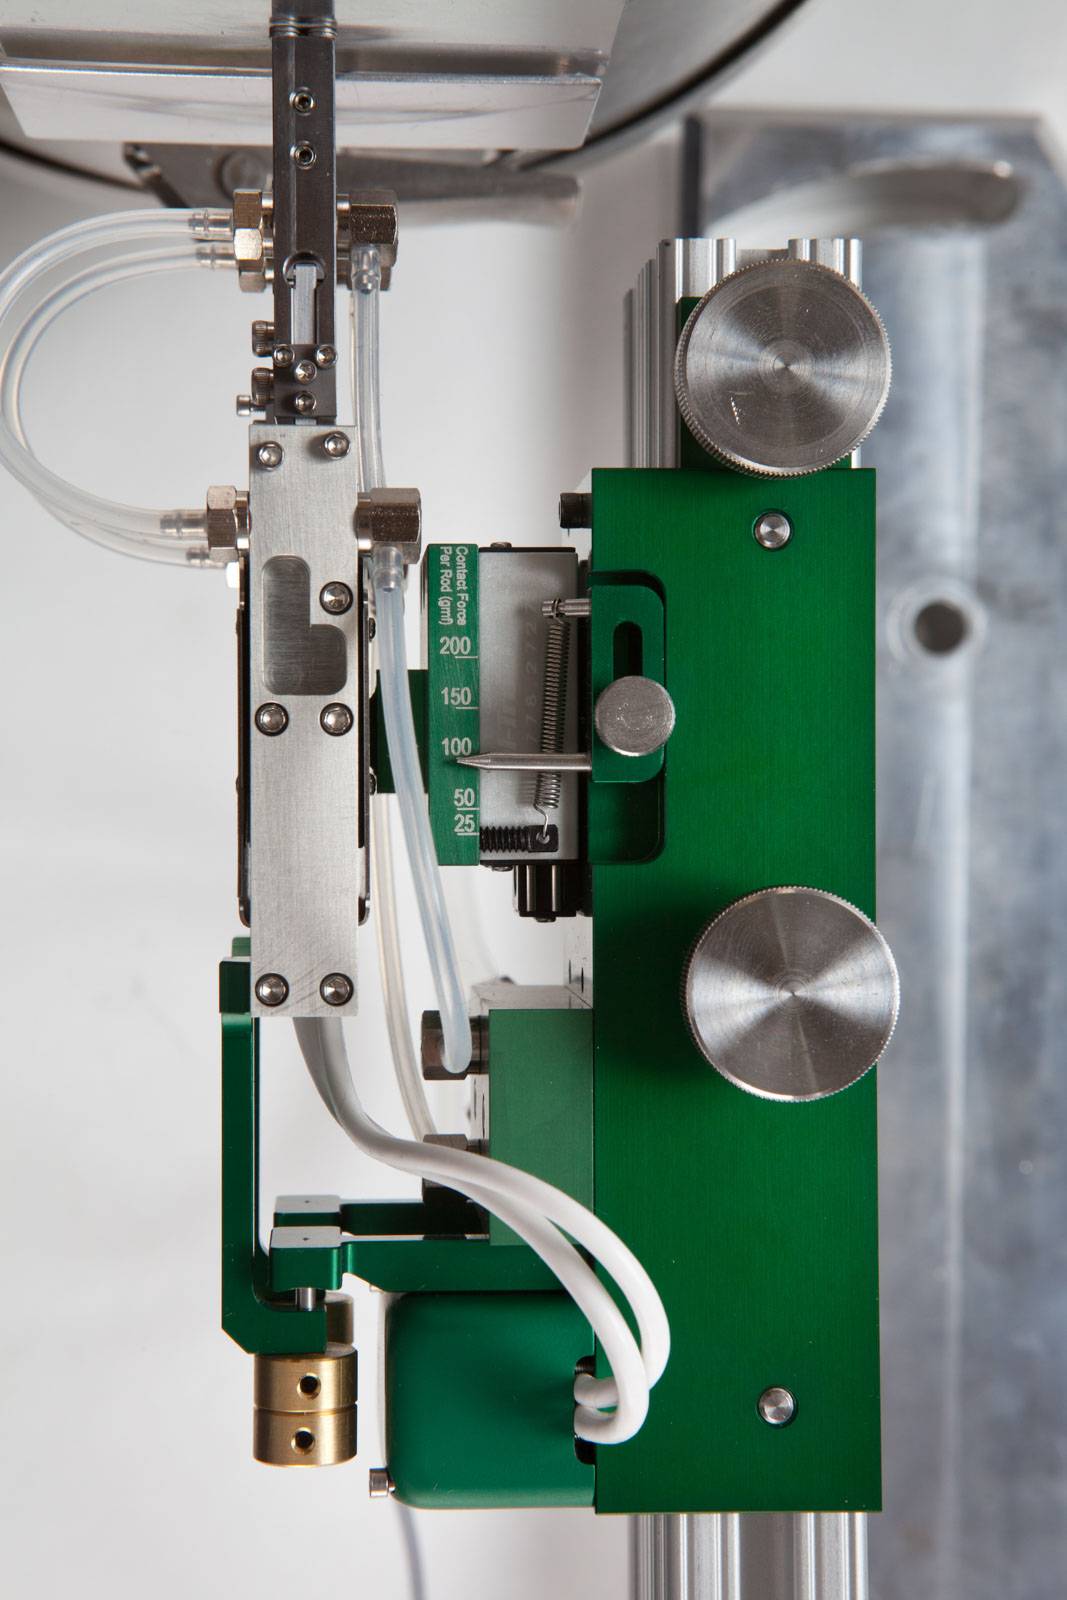
The overall design reduces influence from common lab environment vibrations, thermal noise, and thermal drift. It also allows the user to precisely set the contact force against the test specimen. This allows for even and repeatable contact force, limiting contact force induced errors.
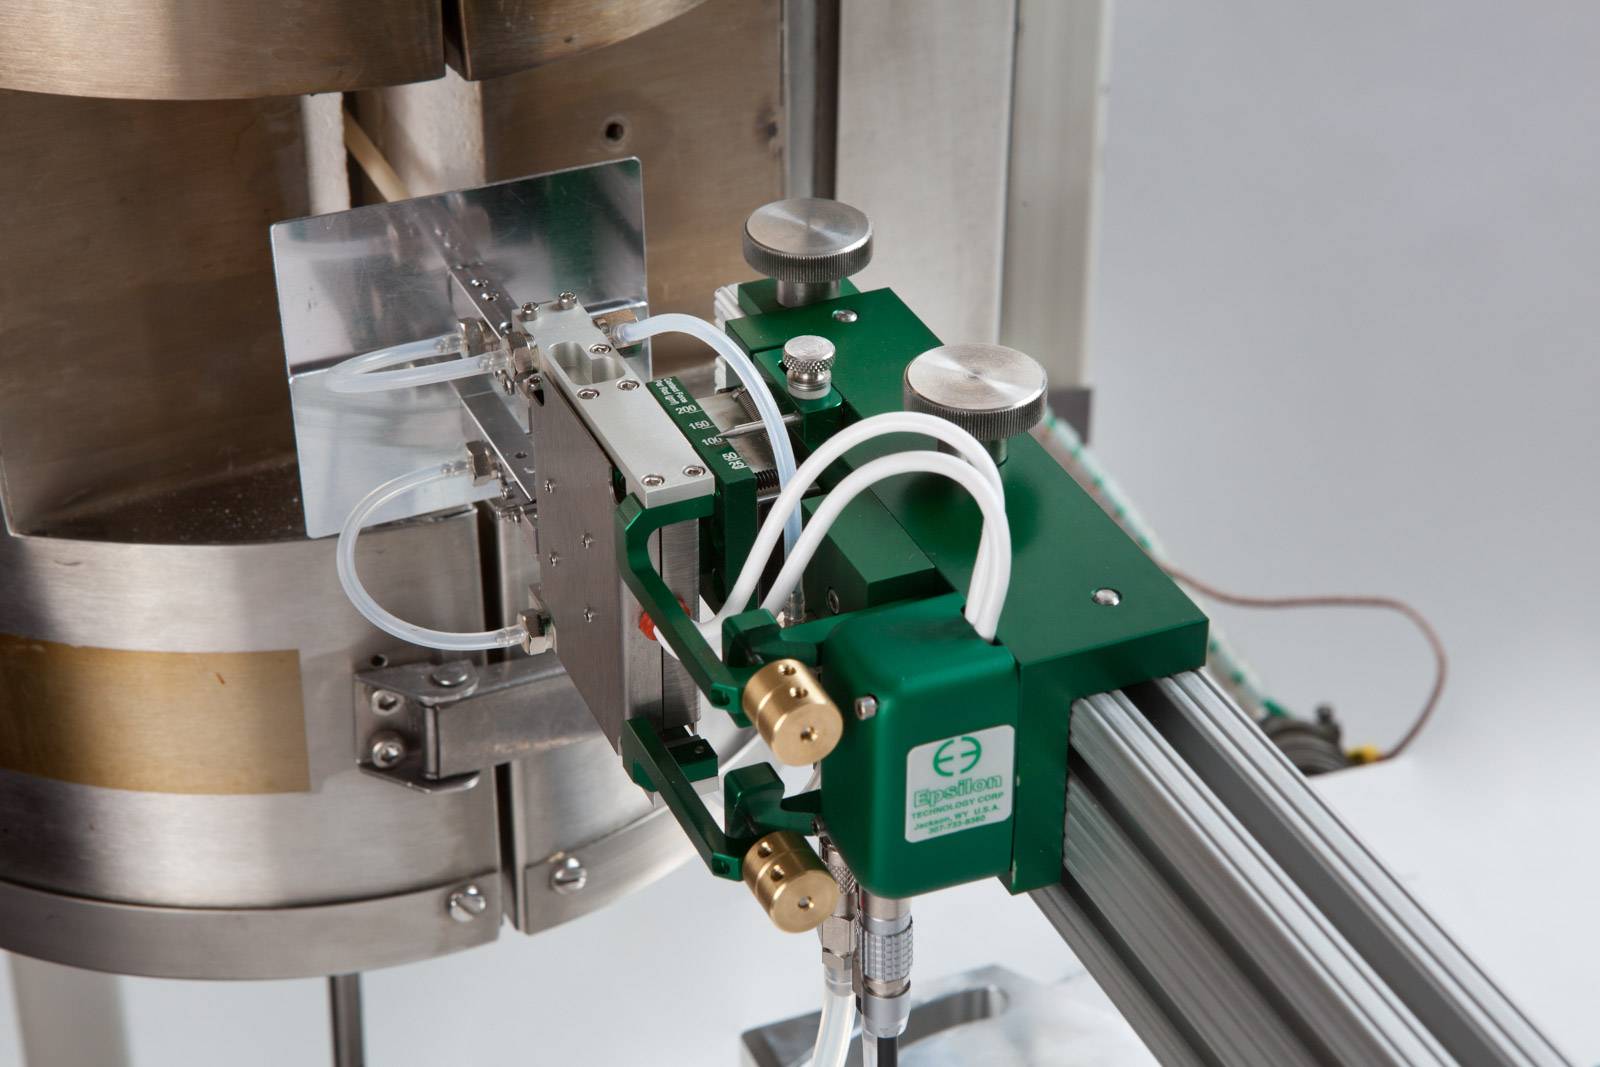
The gauge length for the 3549 is automatically set prior to mounting on the test specimen, which allows for hot mounting after thermal equilibrium has been reached. These extensometers can be used in carousel systems for rapid high temperature testing.
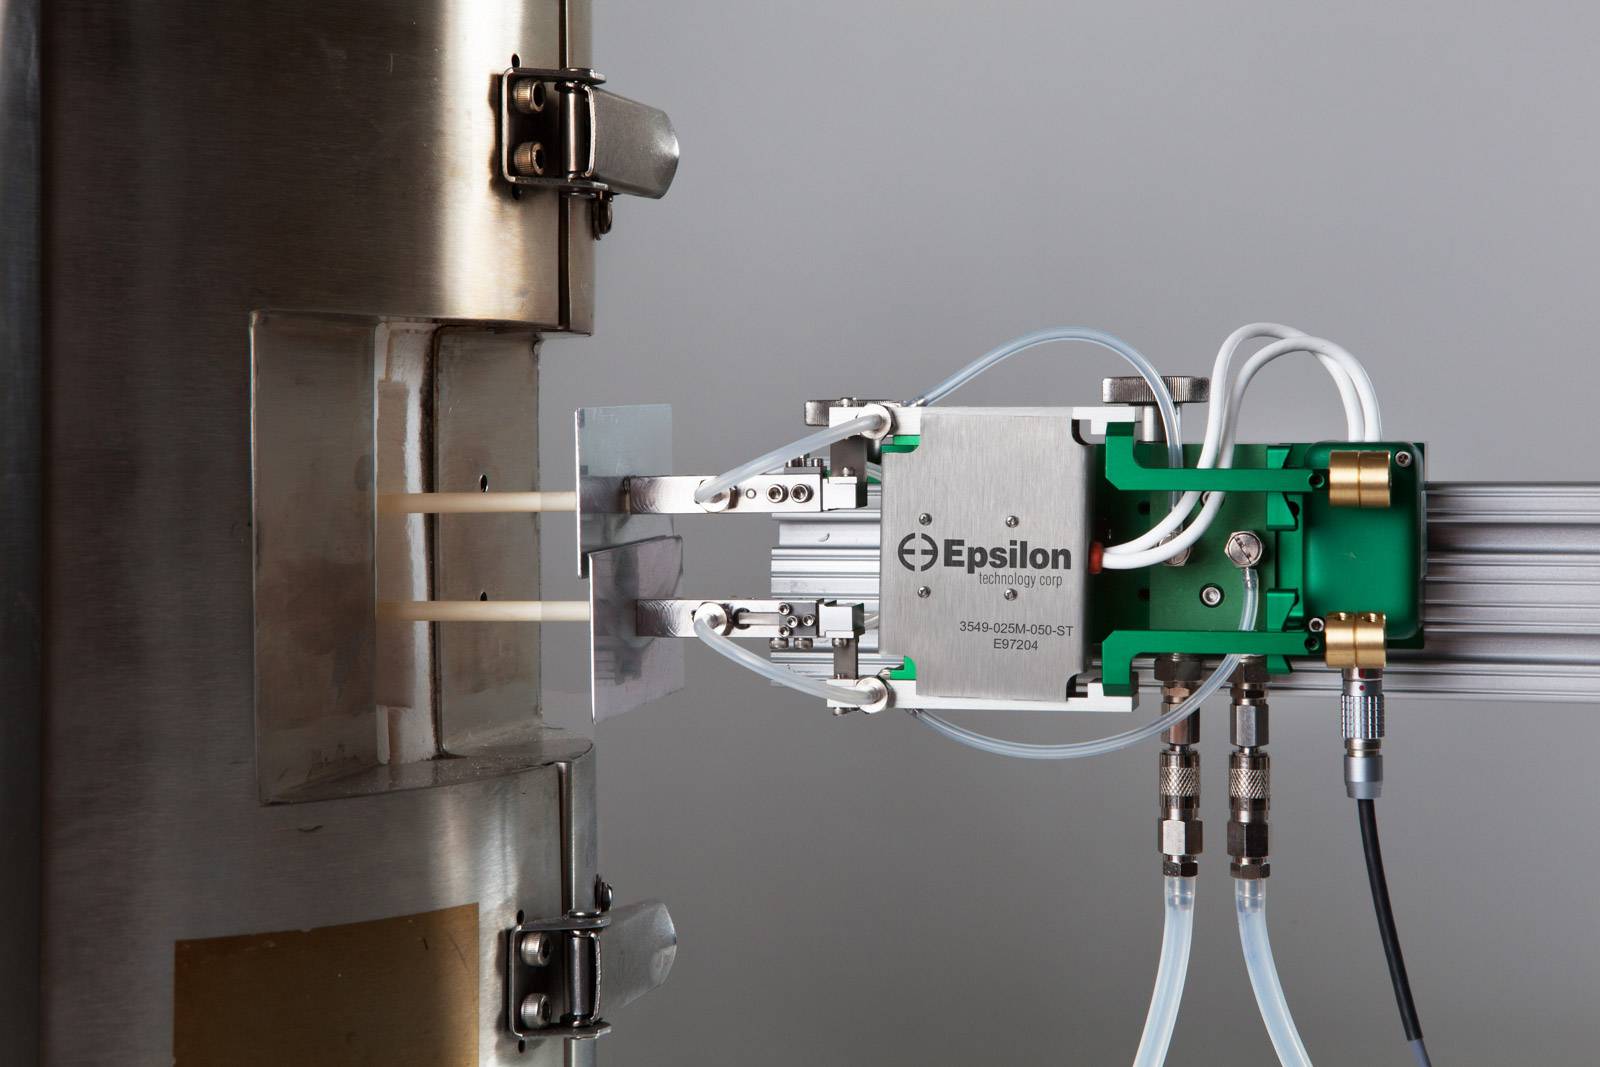
This extensometer mounts on a slide bracket (included) that attaches to a load frame mounting bracket or directly to a furnace that has a suitable cutout. Epsilon can supply mounting brackets for nearly any load frame.
The Model 3549 is made for use with split type materials testing furnaces and induction heaters, and it uses liquid cooling in most applications. The -ST version is rated to 1200 °C (2200 °F) and is supplied with high purity alumina rods. The high temperature -HT option allows use to 1600 °C (2900 °F) and is supplied with alpha grade silicon carbide rods. Rods are made to order to the length required for your furnace.
Model 3549 extensometers are strain gaged devices, making them compatible with any electronics designed for strain gaged transducers. Most often they are connected to a test machine controller with electronics for a strain channel, and Epsilon will equip the extensometer with a compatible connector that is wired to plug directly into the controller. For systems lacking the required electronics, Epsilon can provide a variety of signal conditioning solutions that enable connecting to data acquisition systems or other equipment.
- May be left on through specimen failure.
- Hot mountable and retractable.
- Designed to meet the demanding requirements of strain-controlled testing, such as required by ISO 6892, ISO 12106, ASTM E21, and ASTM E606, as well as more common testing. The 3549 is designed to isolate the strain sensing components from external vibrations and unwanted thermal effects.
- For applications requiring fatigue testing frequencies >2 Hz and to obtain the highest dynamic performance available, see Model 7650A.
- All models can measure in both tension and compression and can be used for cyclic testing.
- Innovative slide mount allows the extensometer to engage the specimen once the test temperature has been achieved.
- The gauge length is set automatically between each test with Epsilon’s unique auto-setting mechanism, which allows the device to be mounted to the sample in seconds.
- The low contact force is easily controlled through the included contact force setting assembly. This allows for easy, repeatable placement of the extensometer on subsequent specimens with the same amount of force.
- The gauge length of the 3549 can be easily adjusted to virtually any gauge length between 10 mm and 50 mm through the use of gauge length spacers.
- The 3549 is designed to be used with single furnaces and carousel systems.
- Rugged, dual flexure design for strength and improved performance.
- Mechanical overtravel stops in both directions.
- All units come with either high purity alumina ceramic rods (1200 °C) or alpha grade silicon carbide rods (1600 °C).
- The 3549 includes quick attach connectors for the liquid cooling lines and the electrical connections, which allow for easy installation of the extensometer body.
- Includes the Epsilon Shunt Calibration System for on-site electrical calibration.
- Full bridge, 350 ohm strain gaged design for compatibility with nearly any test system.
- Includes high quality foam lined case and a spare set of ceramic rods.
Excitation: 5 to 10 VDC recommended, 12 VDC or VAC max.
Output: 1.5 to 2 mV/V, nominal, depending on model
Accuracy: Standard configurations meet ASTM E83 class B-1 and ISO 9513 class 0,5 requirements for accuracy. A test certificate is included. Rod lengths >250 mm (10″) can affect the final class rating.
Temperature Range: Standard (-ST) is to 1200 °C (2200 °F), optional (-HT) 1600 °C (2900 °F)
Cable: Integral, ultra-flexible cable, 2.5 m (8 ft) standard
Coolant Interface: two barbed hose fittings for 1/8” (3.2 mm) ID coolant hoses
Contact Force: Adjustable up to 400 g
Operating Force: <30 g typical
![]()
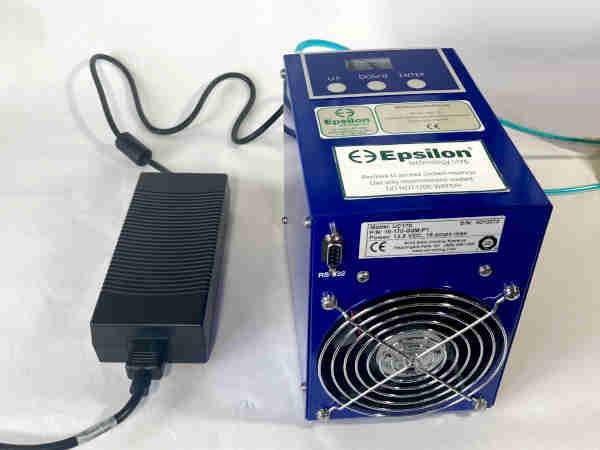
- Model EPS170 constant-temperature recirculating chiller (size: 190 mm L x 130 mm W x 180 mm H; weight: 3.5kg; power: 100-240VAC, 200W)
Liquid cooling is recommended for all elevated temperature tests to obtain the best measurement accuracy and retain the validity of a room temperature calibration when the specimen temperature is >540 °C (1000 °F). Cooling is necessary to prevent extensometer damage for testing in the range of ~800-1600 °C (1500-2900 °F). Epsilon Technology recommends the EPS170 constant-temperature recirculating chiller. - High temperature option (-HT suffix) for use to 1600°C
- Load frame mounting brackets
- Connectors to interface to nearly any brand of test equipment
- Rod tips can be straight chisels or conical tips; specify when ordering
Product Videos
Ordering Information
Click table options to configure
Gauge Length i
| mm or inches | # |
|---|---|
| 10.0 mm | -010M |
| 12.5 mm | -0125M |
| 20.0 mm | -020M |
| 25.0 mm | -025M |
| 30.0 mm | -030M |
| 40.0 mm | -040M |
| 50.0 mm | -050M |
| 0.500 in | -0050 |
| 1.000 in | -0100 |
| 2.000 in | -0200 |
Selecting Extensometer Gauge Length

Extensometer Gauge Length is the distance between the extensometer’s initial measuring points on the specimen. If you are using a testing standard, check the standard for extensometer gauge length requirements. Many test standards specify the specimen dimensions and a matching extensometer gauge length.
Many specimens have a reduced section length that is designed to be greater than the extensometer’s gauge length.
Measuring Range i
| % strain | # |
|---|---|
| ±10% | -010¹ |
| +20%/-10% | -020 |
| +50%/-10% | -050 |
| +100%/-10% | -100² |
Selecting Extensometer Measuring Range

Measuring Range is the measuring capacity of the extensometer in tension (+) or compression (-) in units of % strain, maximum extension, or maximum deflection. When measuring range is in units of % strain, this means the maximum extension as a percentage of the gauge length.
Estimate the maximum strain or extension values you will need to measure, such as the total strain when the extensometer is removed after offset yield or the elongation at fracture. Then select a measuring range for the extensometer that meets or exceeds the requirements for the materials you are testing. If you are using a testing standard, also check the standard for extensometer requirements.
Temperature Range
| degrees | # |
|---|---|
| Ambient to 1200 ˚C (Ambient to 2200 ˚F) | -ST |
| Ambient to 1600 ˚C (Ambient to 2900 ˚F) | -HT |
Model Number: 3549 – _ _ _ _ – _ _ _ – _ _
Model 3549 Available Versions: Any combination of gauge length, measuring range and temperature range listed above is available, except as noted. Other configurations may be available with special order; please contact Epsilon to discuss your requirements.
¹Not available in 10 mm, 12.5 mm, or 0.5 inch gauge lengths.
²Not available in 50 mm or 2 inch gauge lengths.
Example: 3549-025M-050-HT: 25 mm gauge length,+50%/-10% measuring range, high temperature option (room temperature to 1600 °C)
CLC 200R
CLC 200R
eXpert 1000 Series Hydraulic Testing System
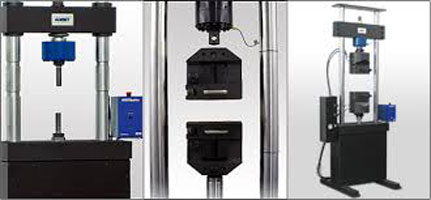
eXpert 1000 Series servo-hydraulic testing machines are ideal for testing metals, composites, medical devices and implants, concrete, webbing, and other materials at very high load capacities without breaking your budget. Each frame employs strain gage load cells for direct measurement of force.
No need to compensate for piston friction and other non-linearities, these frames offer exceptional accuracy and precision while reducing long-term calibration and service costs. A simple design based upon off-the-shelf components allows for lower cost, faster delivery, continuous testing to maximum load, and years of maintenance-free operation.
eXpert 7600 Single Column
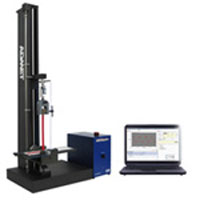
The eXpert 7600 series single column testing machines are capable of performing tension, compression, flexure and peel/adhesion tests in an affordable and compact package. Efficient in design, units fit within a 431x520mm space with force capacities to 5kN. The eXpert 7600 series machines feature the industry’s largest vertical test space, making them ideal for testing high elongation materials. A full line of grips, fixtures, load cells, extensometers and heating and cooling systems is available for use with the 7600. We also will modify the stroke, speed or add a torsion actuator for biaxial tests to meet your testing needs.
